How To Set Up Amazon S3?
Following Steps introduces you to how to set up Amazon S3 and how to use the AWS Management Console to complete the tasks shown in the following figure:First Sign Up for Amazon S3

To use Amazon Simple Storage Service (S3), you need an AWS account. If you don't already have created it, you'll be prompted to create one when you sign up for Amazon S3. You will not be charged for Amazon S3 until you use it and Amazon also provides this service in a free tier account.
To sign up for Amazon S3:- Go to https://aws.amazon.com/s3/ and choose to Get started with Amazon S3.
- Follow the on-screen instructions.
 Steps to Create a Bucket
 Considering that you've signed up for Amazon S3, you're ready to create a bucket using the AWS Management Console. Every object (Data/files) in Amazon S3 is stored in a bucket. Before you can store data (Objects) in Amazon S3, you must create a bucket.
To create an S3 bucket:
Considering that you've signed up for Amazon S3, you're ready to create a bucket using the AWS Management Console. Every object (Data/files) in Amazon S3 is stored in a bucket. Before you can store data (Objects) in Amazon S3, you must create a bucket.
To create an S3 bucket:
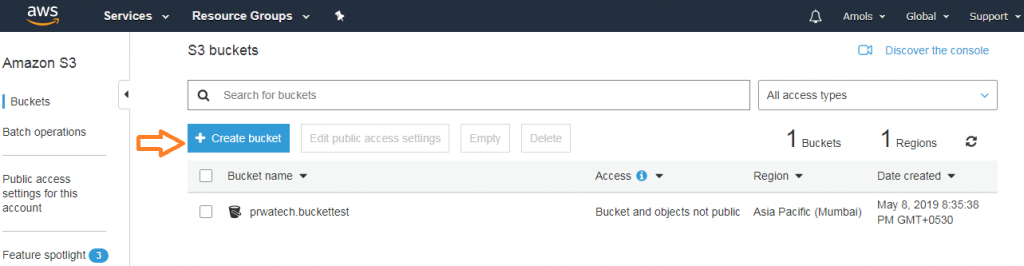
- Sign in to the AWS Management Console and open the Amazon S3 console at https://console.aws.amazon.com/s3/.
- Choose Create bucket.
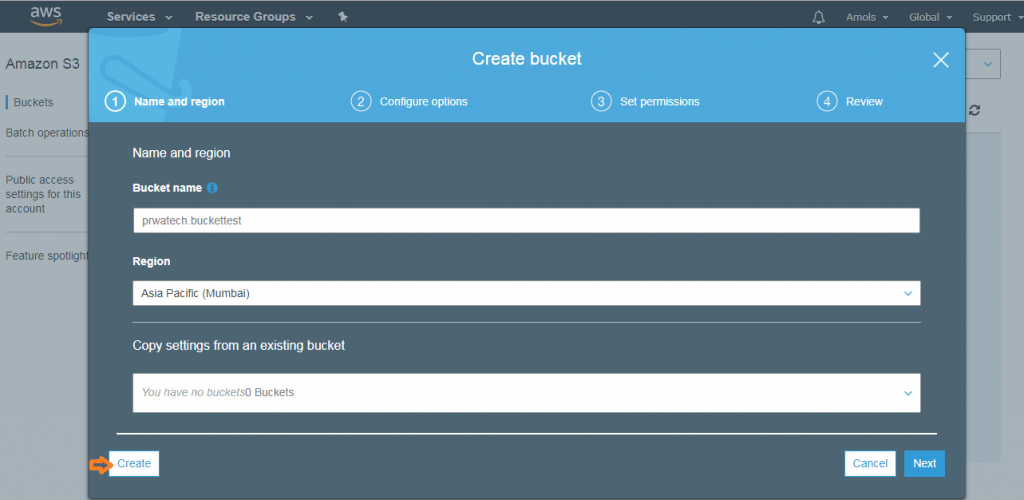
 In the Bucket name text box, type a unique DNS-compliant name for your new bucket. (The example screenshot uses the bucket name prwatech.buckettest. You cannot use this name that I used in this example because S3 bucket names must be unique.) Create your own bucket name which should be unique using the following naming guidelines:
♦ The name of the bucket must be unique across all existing bucket names in Amazon S3.
♦ After you create the bucket you cannot change its name, so choose wisely.
♦ Select a bucket name that reflects the objects in the bucket because the bucket name is visible in the URL that points to the objects that you're going to put in your bucket.
For Region, choose Asia Pacific (Mumbai) as the region where you want the bucket to reside.
In the Bucket name text box, type a unique DNS-compliant name for your new bucket. (The example screenshot uses the bucket name prwatech.buckettest. You cannot use this name that I used in this example because S3 bucket names must be unique.) Create your own bucket name which should be unique using the following naming guidelines:
♦ The name of the bucket must be unique across all existing bucket names in Amazon S3.
♦ After you create the bucket you cannot change its name, so choose wisely.
♦ Select a bucket name that reflects the objects in the bucket because the bucket name is visible in the URL that points to the objects that you're going to put in your bucket.
For Region, choose Asia Pacific (Mumbai) as the region where you want the bucket to reside.
- Choose to Create.
 Steps to Add an Object to a Bucket
 Now that you've created a bucket and now you're ready to add an object to it. An object can be any kind of file: text file, a photo, a video, and so on.
How to upload an object to a bucket?
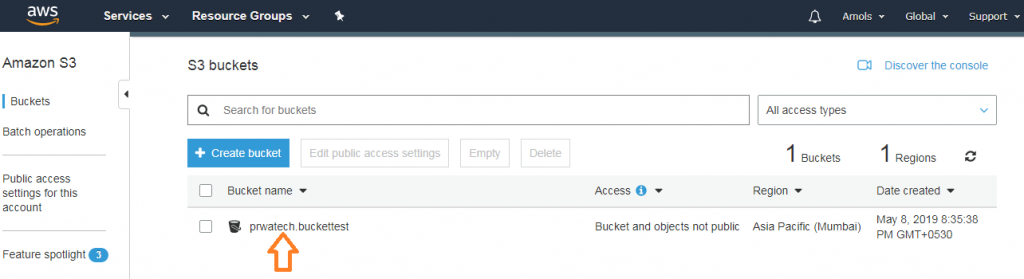
- In the Bucket names list, choose the name of the bucket that you want to upload your object (Data/Files) to.
 2. Choose Upload.
 3. Or you can choose to Get started.
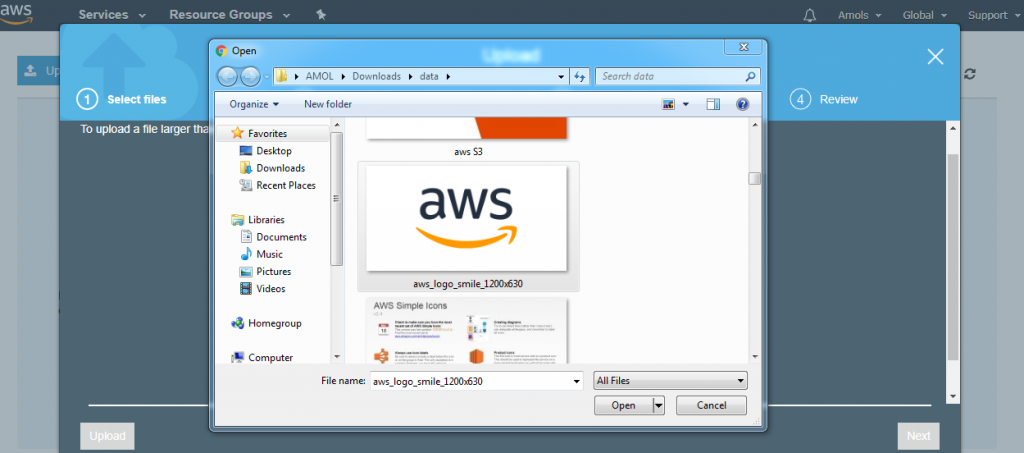
 4. In the Upload dialog box, choose Add files to choose the file (Object) to upload.
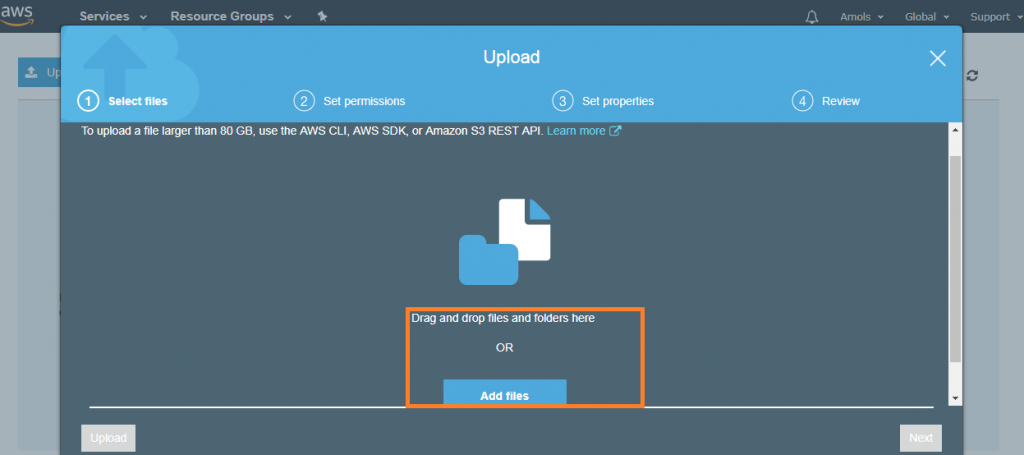 5. Choose a file to upload, and then choose Open
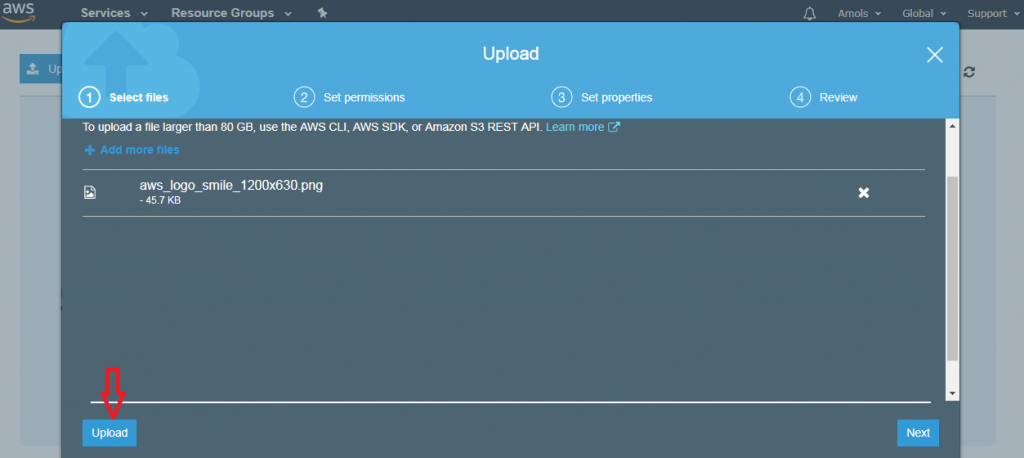
 6. Choose Upload.
Steps to View an Object
 Now that you've added an object to an S3 bucket, you can view information about your object (Data/Files) and download the object to your local computer.
Steps to download an object from a bucket:
Now that you've added an object to an S3 bucket, you can view information about your object (Data/Files) and download the object to your local computer.
Steps to download an object from a bucket:
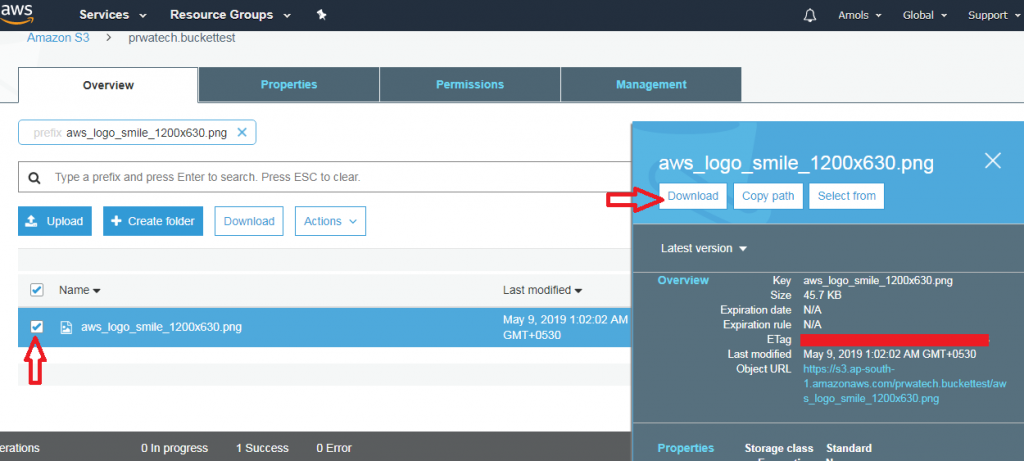
- In the Bucket name list, click on the name of the bucket that you created.
- In the Name list, select the check box next to the object that you uploaded, and then choose Download on the object overview panel.

Steps for Move an Object
 Up to this point, you’ve added an object to a bucket and downloaded the object. Now we will be creating a folder and move the object into the folder by copying and pasting the object.
Steps to copy an object:
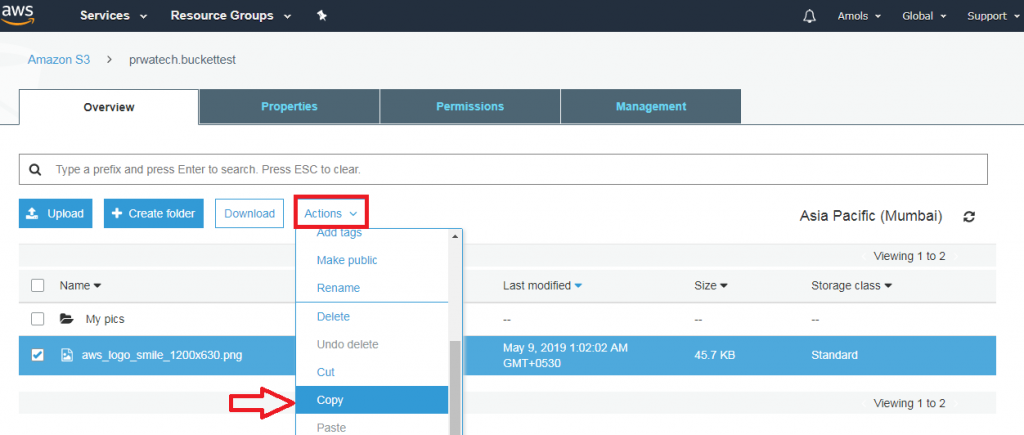
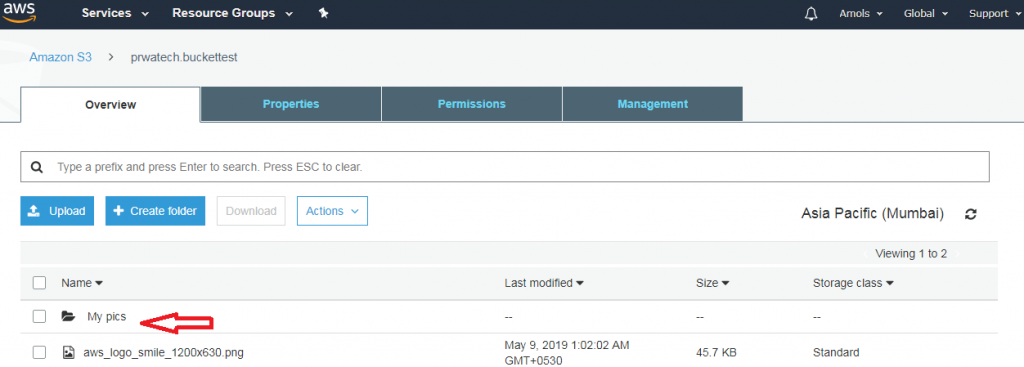
- In the Bucket name list, click on the name of the bucket that you created.
2. Choose Create Folder, type My pics for the folder name, choose None for the encryption setting for the folder object and then choose Save.

- In the Name list, select the checkbox next to the object that you want to copy, click on Actions and then choose Copy.
- In the Namelist, choose the name of the folder My pics.
- Choose Actions, and then choose Paste.
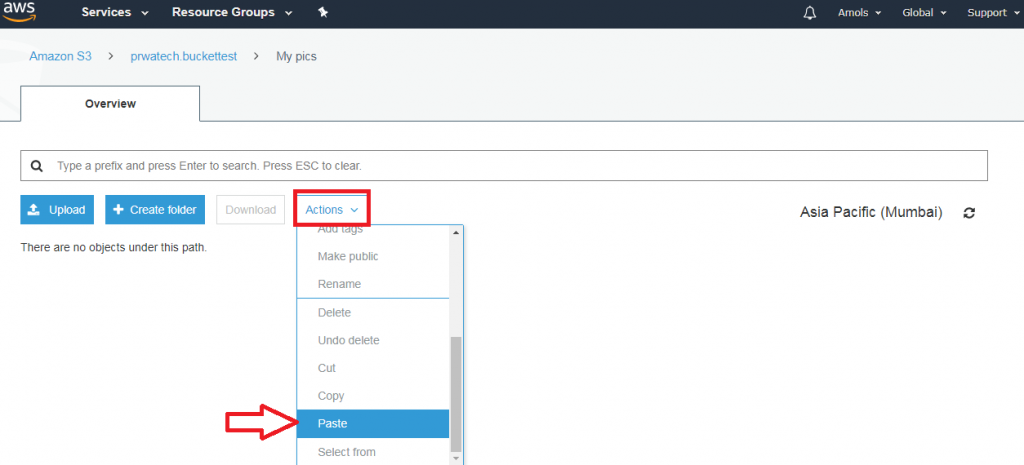
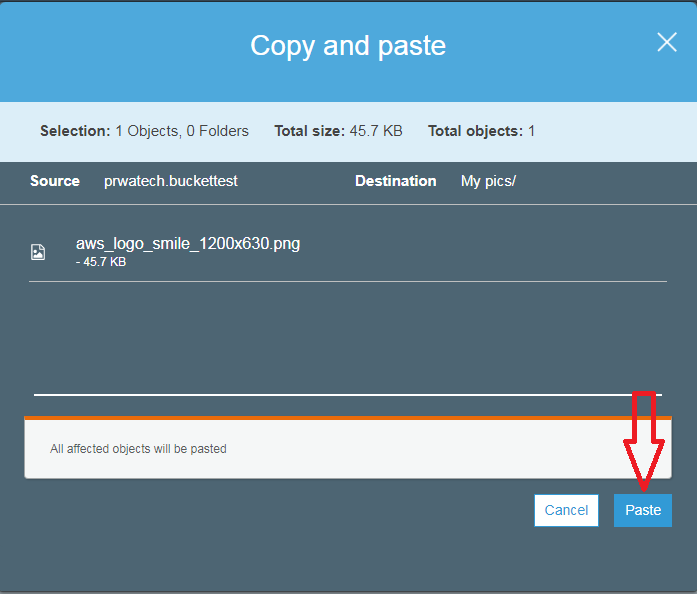
- Choose Paste.
 Steps to Delete an Object and Bucket
♦ If you no longer need to store the object that you uploaded and made a copy of while going through this tutorial, you should delete the objects to prevent further charges by AWS.
♦ You can also delete a bucket and all the objects contained in the bucket you uploaded. However, if you want to continue with the same bucket name, don't delete the bucket. We recommend that you empty the bucket and keep it for another object that you will upload in future use.
♦ After a bucket is deleted, the name becomes available to reuse, but the name might not be available for you to reuse for various reasons because it might be assigned to the new user by AWS when not in use.Steps to delete an object from a bucket:
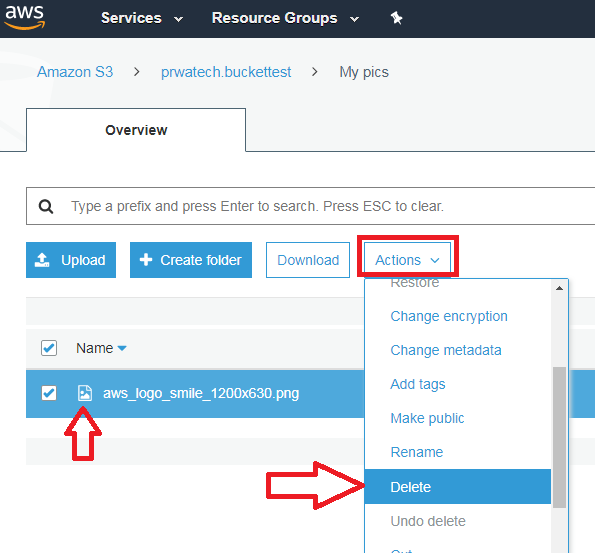
- In the Bucket namelist, click on the name of the bucket that you want to delete an object from.
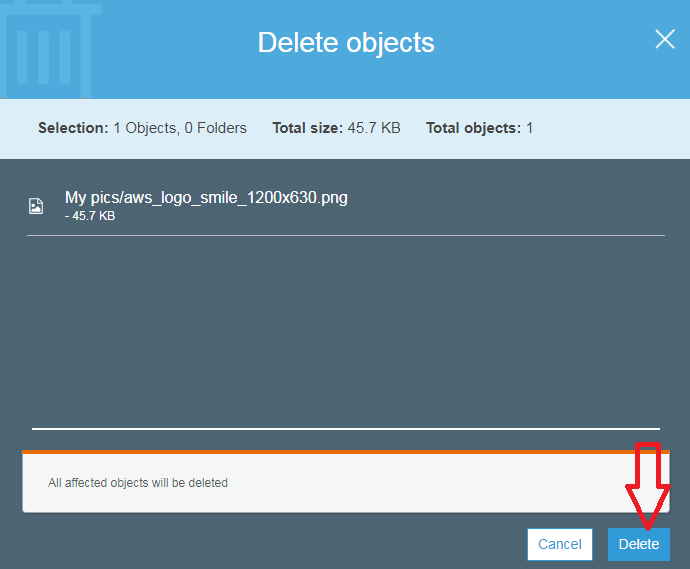
- In the Namelist, select the checkbox next to the object that you want to delete, choose Actions, and then choose Delete.
- In the Delete objects dialog box, be careful that the name of the object you selected for deletion is listed or not, and then choose Delete.
 You can empty a bucket, which deletes all the objects in the bucket without deleting the bucket by doing this you can reuse a bucket.
To empty a bucket follows the steps given below:
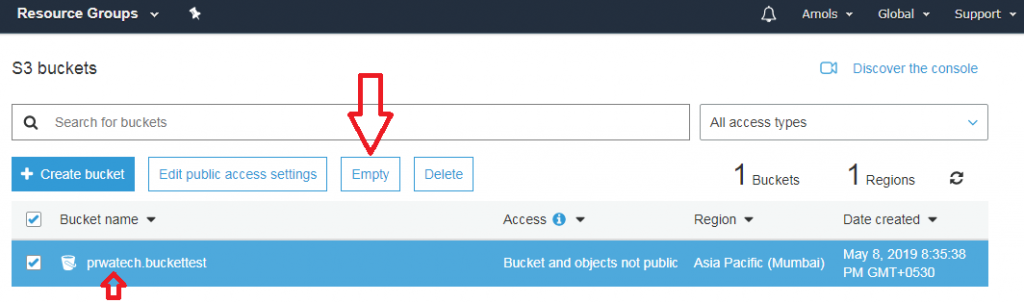
- In the Bucket name list, click on the checkbox next to the name of the bucket that you want to empty and then choose Empty bucket.
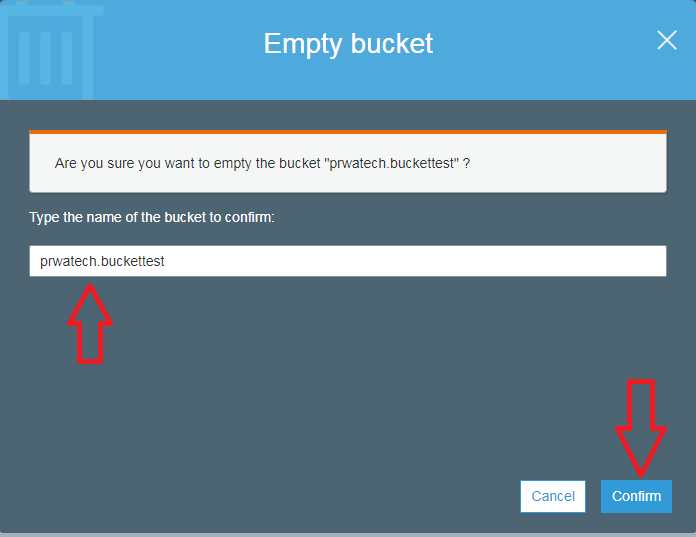
 2. In the Empty bucket dialog box, type the name of the bucket in the text box for confirmation and then choose Confirm.
 You can delete a bucket and all the objects stored in the bucket.
Note: Don’t delete a bucket because when you delete a bucket, the name becomes available to reuse, but the name might not be available for you to reuse for various reasons.
You can delete a bucket and all the objects stored in the bucket.
Note: Don’t delete a bucket because when you delete a bucket, the name becomes available to reuse, but the name might not be available for you to reuse for various reasons.
To delete a bucket:
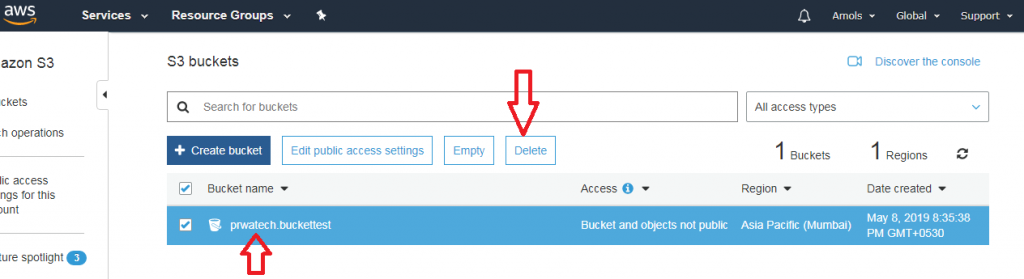
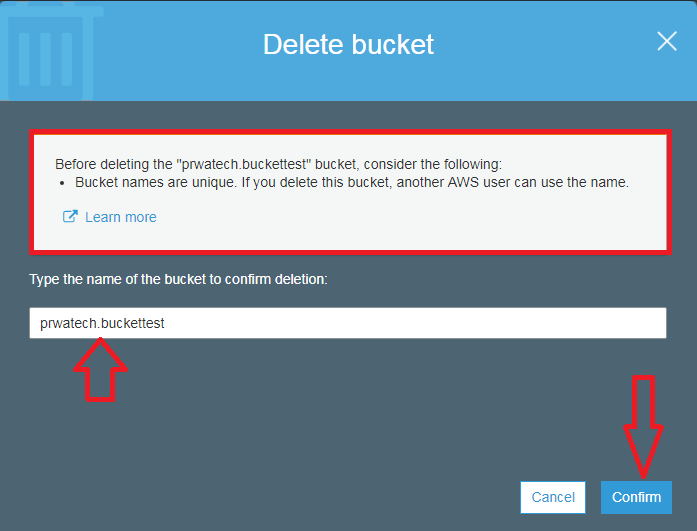
- In the Bucket name list, choose the bucket icon next to the name of the bucket that you want to delete and then choose Delete bucket.
 2. In the Delete bucket dialog box, type the name of the bucket for delete confirmation and then choose Confirm.
 In the preceding examples, you have learned how to perform some basic => Amazon Simple Storage Service (Amazon S3) tasks by using bucket and object.

