Storage account and container Hands on
How to create a Storage account and container, and upload the file into the container.
Step 1: login into the Azure portal and search Storage account.
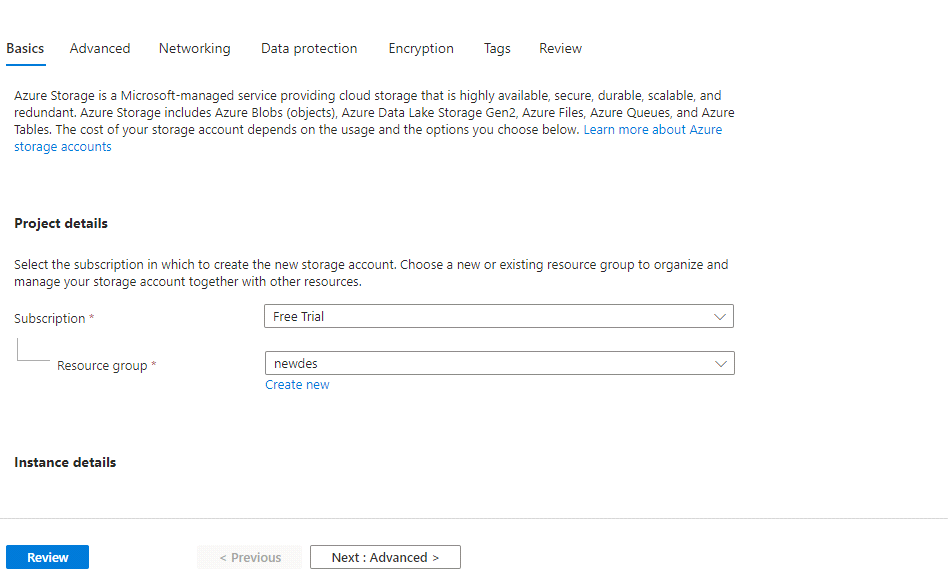
Step 2: Click on Create and fill in the details

Step 3: Enter the Storage account name and select the Standard in performance.
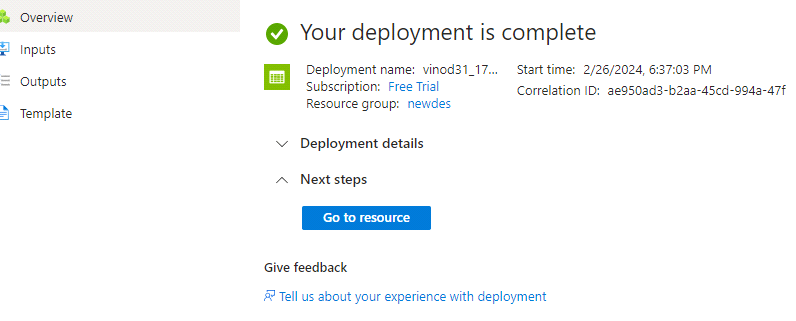
Step 4: Click Review and Create.
Step 5: Click on “Go to resources”

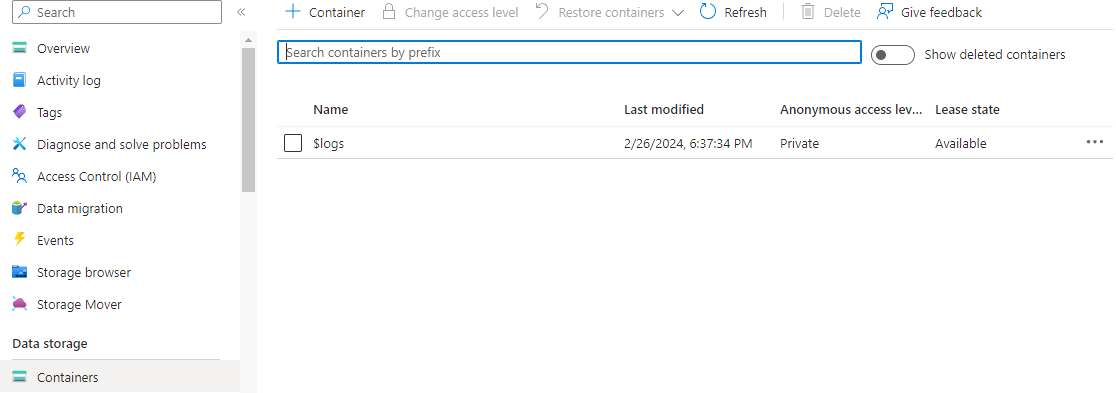
Step 6: On the left side select container and Click +container to create a container.

Step 7: Enter a name and create

Step 8: Select the container after created and open it.
Step 9: Click upload and upload any files, In the advance option we see the tiers(hot, cool, archive) and click upload.

Step 10: After the upload, if u want the change tier just select the container and click change access level in upside and you can change.
0
0


