Hadoop-Singlenode Using Hadoop 1.x
How to Install Hadoop Single node Cluster Using Hadoop 1.x
Install Hadoop-Single node Using Hadoop 1.x, in this Tutorial one can learn how to install Hadoop with Single Node Using Hadoop 1.X. Are you the one who is looking for the best platform which provides information about what is the installation process of Hadoop-Single Node clustering Using Hadoop 1.x? Or the one who is looking forward to taking the advanced Certification Course from India’s Leading Big Data Training institute? Then you’ve landed on the Right Path.
The Below mentioned Tutorial will help to Understand the detailed information about Install Hadoop-Single node Using Hadoop 1.x, so Just Follow All the Tutorials of India’s Leading Best Big Data Training institute and Be a Pro Hadoop Developer.
Prerequisites for Install Using Single Node Cluster Using Hadoop 1.x
- Hadoop 1.x
- Java V6
- Ubuntu 12.0 or above
Download ubuntu 12.04
Download the Latest Softwares from Prwatech, Go to the below link and download the image of ubuntu 12.04
Site: http://prwatech.in/online-softwares/
VMware Player
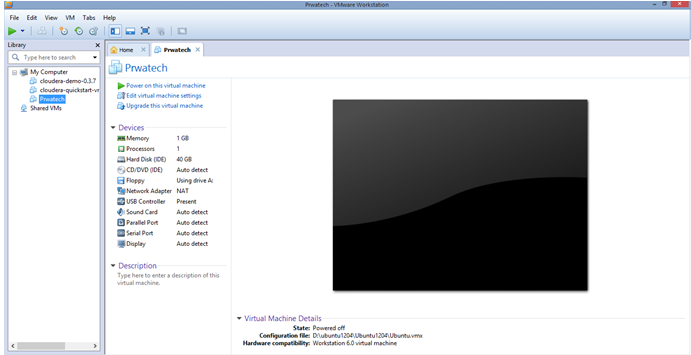
Open VMware Player and click the open virtual machine and select the path where you have extracted the image of ubuntu. After that select the .vmx file and click ok.

Now you can see the below screen in VMware Player

Double click on Ubuntu present in VMware Player. You will get a screen of the below image.

Step by Step Process of Install Hadoop Single node Cluster
Update the repository

Once the update is complete Use the Below Mentioned Command
Command: sudo apt-get install openjdk-6-jdk

After java as been installed. To check whether java is installed on your system or Not give the below command:
Command: java –version

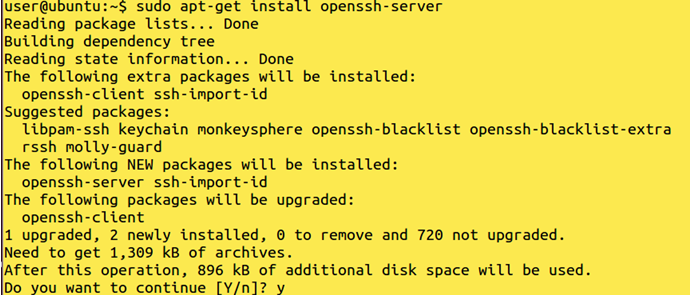
Install openssh-server:
Command: sudo apt-get install openssh-server

Download and extract hadoop
Link: http://prwatech.in/online-softwares/
Command: tar –xvf hadoop-1.2.0.tar.gz

Get into hadoop-1.2.0 directory


Edit core-site.xml
Command: sudo gedit core-site.xml

Write under configuration:
<property>
<name>fs.default.name</name>
<value>hdfs://localhost:8020</value>
</property>

Edit mapred-site.xml
Command: sudo gedit mapred-site.xml
![]()
Write under configuration:
<property>
<name>mapred.job.tracker</name>
<value>localhost:8021</value>
</property>

Edit hdfs-site.xml
Command: sudo gedit hdfs-site.xml
![]()
<property>
<name>dfs.replication</name>
<value>1</value>
</property>
<property>
<name>dfs.permissions</name>
<value>false</value>
</property>

Add java_home in Hadoop-env.sh file
Command: gedit Hadoop-1.2.0/conf/Hadoop-env.sh

Type:export JAVA_HOME=/usr/lib/JVM/java-6-OpenJDK-i386
Uncomment the below-shown export and add the below the path to your JAVA_HOME:

Create an ssh key:
Command: ssh-keygen -t rsa


Moving the key to authorized key:
Command: cat $HOME /.ssh /id_rsa.pub>>$HOME/ .ssh/ authorized_keys
Copy the key to other hosts:
Command: ssh-copy-id -i $HOME/.ssh/id_rsa.pub user@hostname
Get into your bin directory.

Format the name node :
Command: sh hadoop namenode -format

Start the nodes.
Command: sh start-all.sh

To check Hadoop started correctly :
Command: jps


