Amazon Simple Queue Service (SQS)
Getting Started with Amazon Simple Queue Service, in this Tutorial one, you can learn Amazon Simple Queue Service. Are you the one who is looking for the
best platform which provides information about Getting Started with Amazon Simple Queue Service? Or the one who is looking forward to taking the advanced Certification Course from India’s Leading
AWS Training institute? Then you’ve landed on the Right Path.
The Below mentioned Tutorial will help to Understand the detailed information about Getting Started with Amazon Simple Queue Service, so Just Follow All the Tutorials of India’s Leading
Best AWS Training institute and Be a Pro AWS Developer.
To become more familiar with Amazon SQS by sending and receiving messages and how to manage queues using the AWS Management Console.
Prerequisites
♦ To use Amazon SQS actions, by using API or through the AWS Command Line Interface. For this, you need an access key ID and a secret access key.
♦ AWS Identity and Access Management (IAM) is one of the web services of Amazon that helps you securely control access to AWS resources, by using access key ID and a secret access key. It gives you more security to your Amazon account.
♦ To avoid using your AWS account root user for Amazon resources,
it is a best practice to create an IAM user for each person who needs administrative access to Amazon resources g. Amazon SQS.
♦ Before you start with Amazon SQS or setting up Amazon SQS, to do this first you have to complete the steps to create IAM user:
Go to this link =>
https://prwatech.in/blog/aws/aws-identity-and-access-management-iam/
Note: If you already have created IAM user then start with Amazon SQS, the steps are given below:
Step 1: Create a Queue
The first and most common task in Amazon SQS is creating queues. In this step, you'll learn how to create and configure a queue for sending and receiving messages.
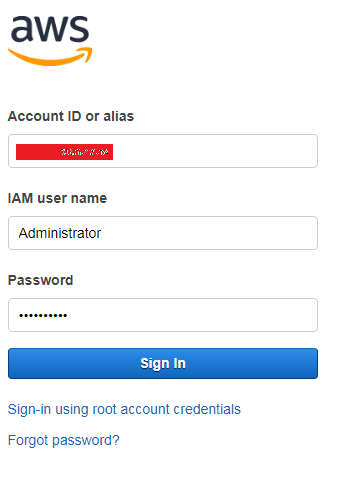
- Sign in to the Amazon SQS console.
Here I sign using my IAM Credentials, if you have not created IAM user then create IAM User else sign in as root user credentials of AWS Account.
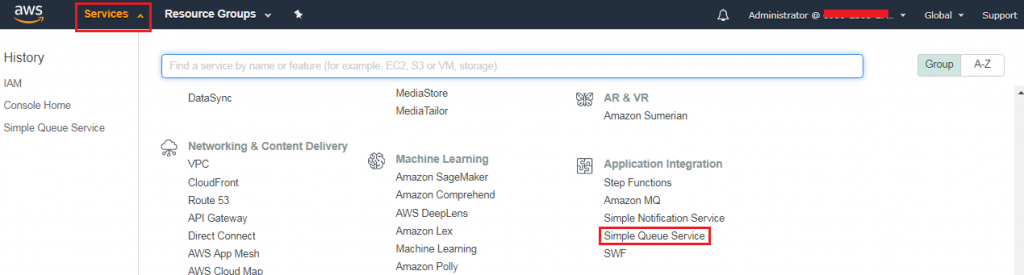
2. Click on services then choose under Application Integration ->Amazon Simple Queue Service click on it.
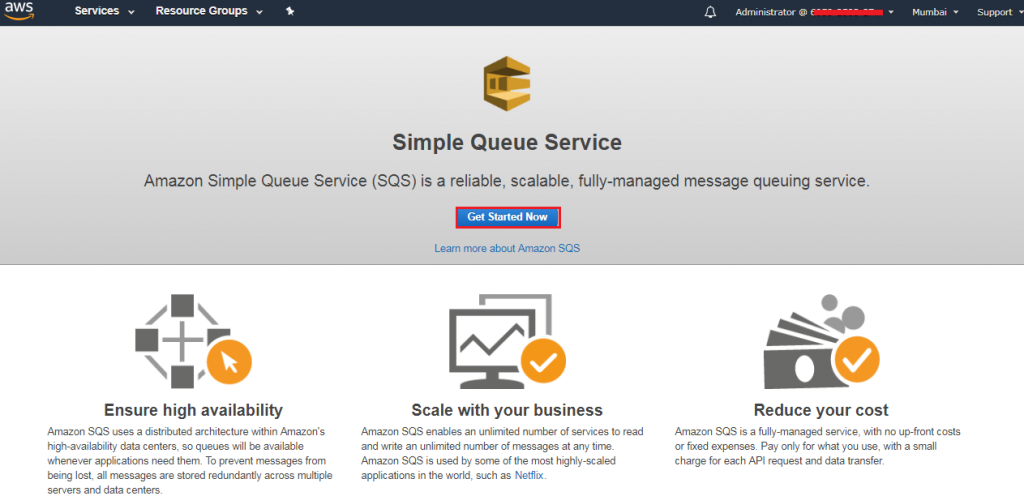
Now, you can start with Amazon SQS by clicking on Getting Started Now button.
3. Choose to
Create New Queue.
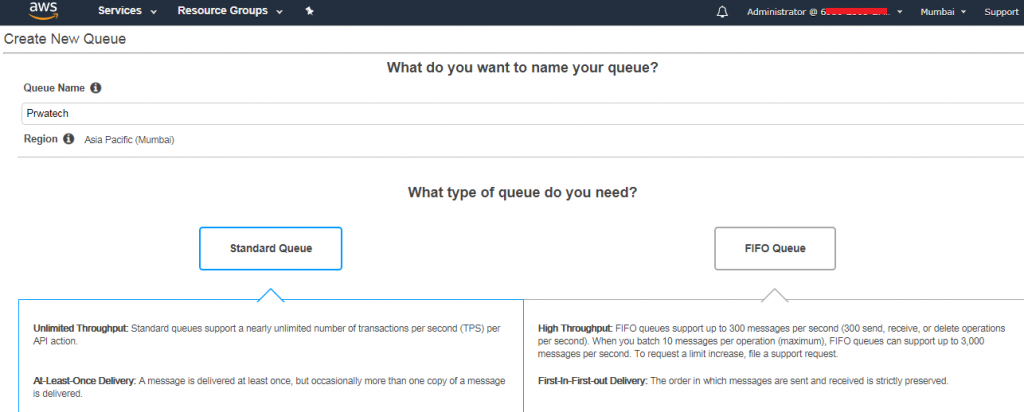
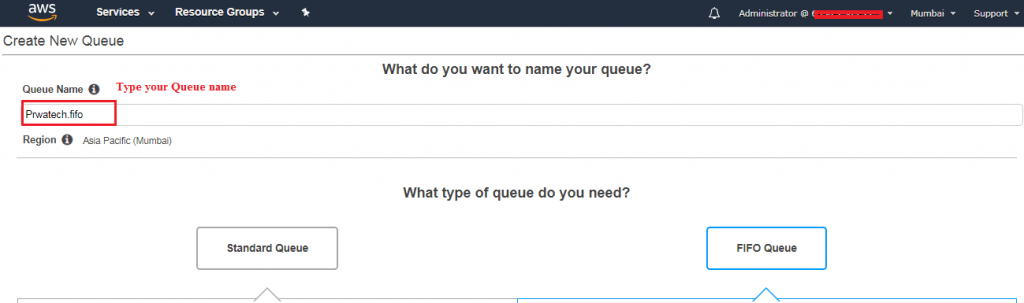
4. On the
Create New Queue page, ensure that you're in the correct region
(Asia Pacific Mumbai Region) and then type the
Queue Name.
Note: The name of a FIFO queue you create must end with the. FIFO suffix.
5. The standard is selected by default. Choose
FIFO.
6. To create your queue with the default parameters, Click on the
Quick-Create Queue button given at the bottom of the page.
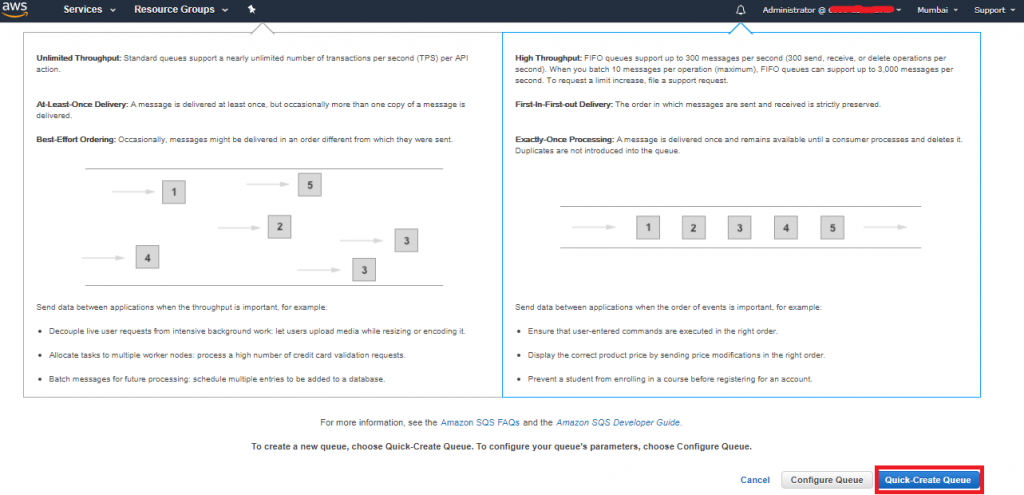
Now, your new queue is created and selected in the queue list.
Note:
When you create a queue, it can take a short time for the queue to propagate throughout Amazon SQS after it you can send a message.
In a FIFO Queue, the Content-Based Deduplication column displays whether you have enabled exactly-once processing. FIFO Queue helps you to avoid sending duplicates to a queue.

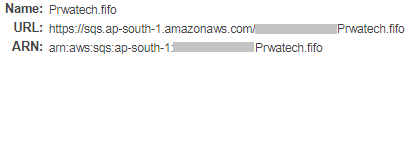
Your queue's information such as
name,
URL, and
ARN are displayed on the
Details tab.
 Step 2: Send a Message
To send a message after you create a queue, you can send a message to it. The following example shows sending a message to an existing queue (here is. fifo queue)
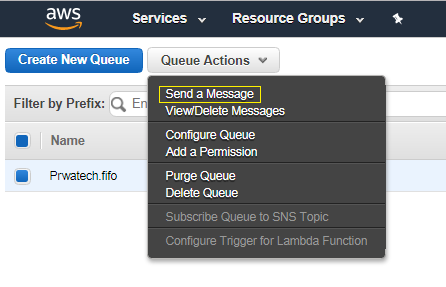
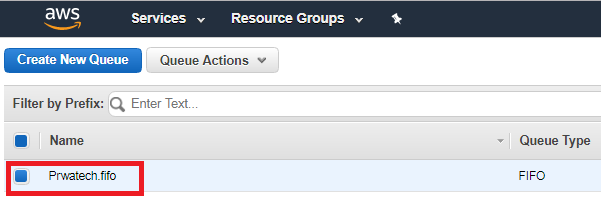
- From the list of the queue, select the queue that you've created.
- From Queue Actions, select Send a Message.
 Note:
Note:
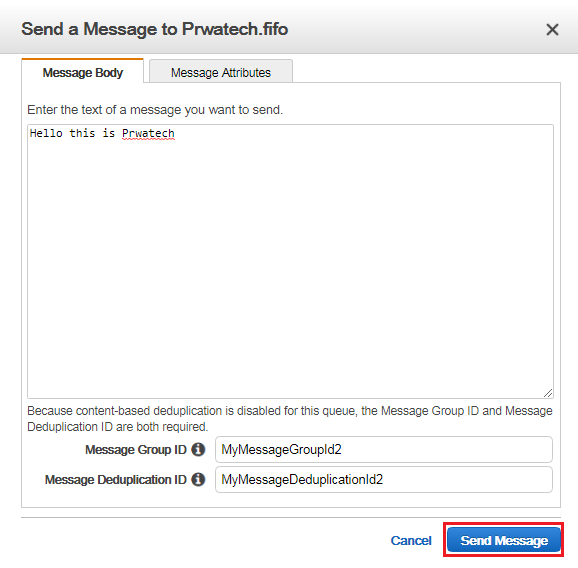
The Send a Message to QueueName (here Prwatech.fifo) dialog box is displayed.
The following example shows you the Message Group ID and Message Deduplication ID parameters specific to FIFO queues (content-based deduplication is disabled).
To send a message to a FIFO queue, type the Message Body what you have to type, the Message Group ID MyMessageGroupId2 and the Message DeduplicationID MyMessageDeduplicationId2 and then choose Send
Message.
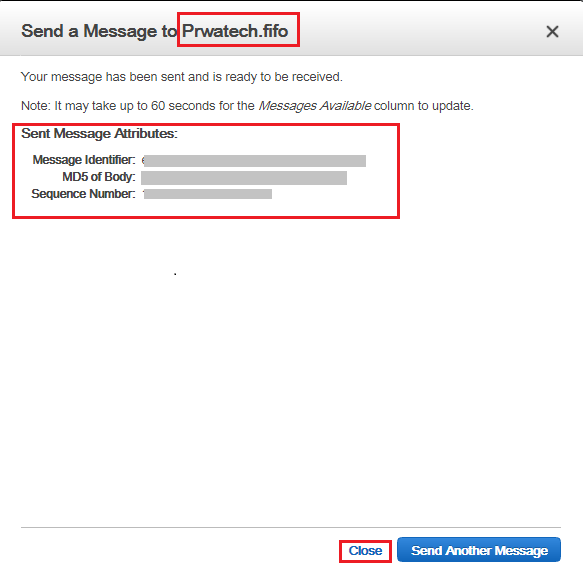
- Choose Close button
Step 3: To Receive and Delete Your Message
After you send a message into a queue, you can consume it (retrieve it from the queue) if you want. When you request a message from a queue, you can't specify which message to get from a queue. Instead, you specify the maximum number of messages limit (up to 10) that you want to get.
In this step, you'll learn how to receive and delete a message.
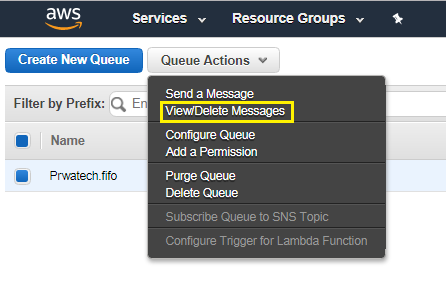
- From the list of the queue, select the queue that you have created.
- From Queue Actions, select View/Delete Messages.
The
View/Delete Messages in QueueName (here is Prwatech.fifo) dialog box is displayed.
Note:
When you take this action the first time, an information screen is displayed. To hide the screen, check the Don't show this again checkbox by doing this, it will not show again.
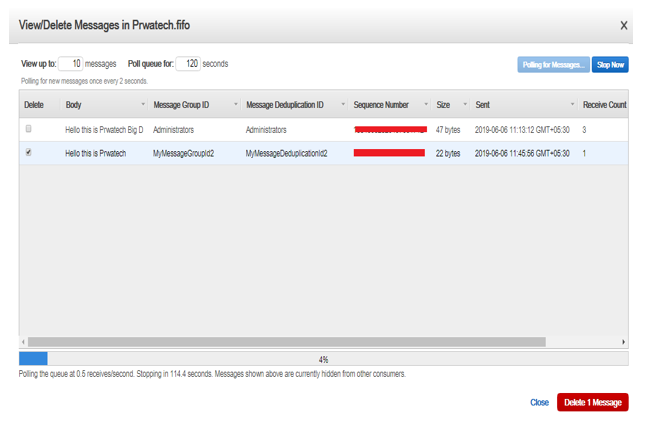
- Choose Start Polling for messages.
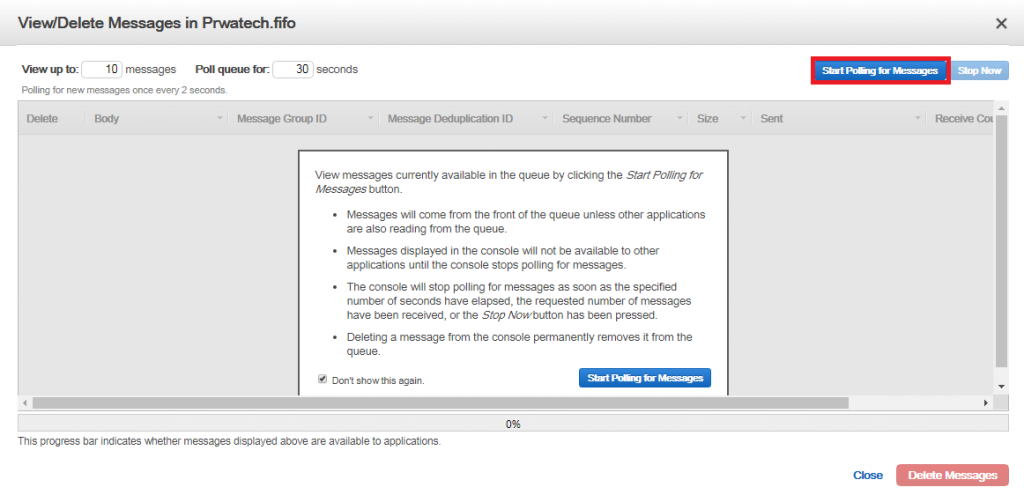
Amazon SQS begins to poll the messages in the queue. The dialog box displays a message from the queue. A progress bar at the bottom of the dialog box displays the status of the message's visibility timeout (by default is 30 seconds).
The following example shows the
Message Group ID,
Message Deduplication ID, and
Sequence Number columns specific to FIFO queues.
Note:
♦ To prevent other consumers from processing the message again, Amazon
SQSsets a
visibility timeout, a period of time during which Amazon
SQS prevents other consumers from receiving and processing the message.
♦ The default
visibility timeout expires for a message is 30 seconds, the minimum is 0 seconds and the
maximum is 12 hours.
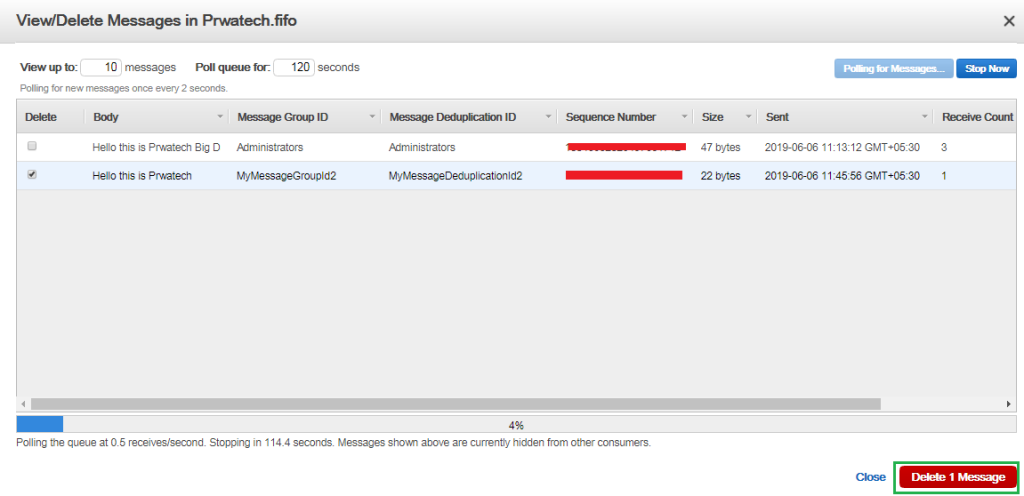
- Before the visibility timeout expires, select the message that you want to delete and then choose Delete 1 Message after timeout message will be visible to consumers.
5. In the
Delete Messages dialog box, confirm that the message you want to delete is checked and click on
Yes, Delete Checked Messages.
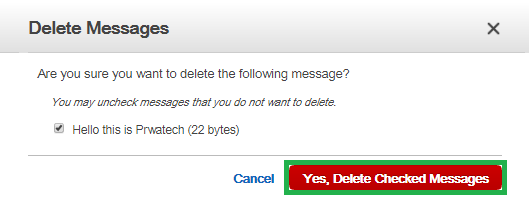
The selected message is deleted.
- Select Close.
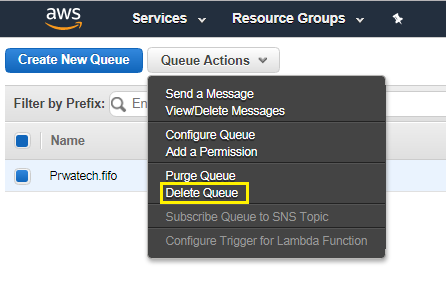
Step 4: Delete Your Queue
If you don't use an Amazon SQS queue in the near future, it is a best practice to delete it from Amazon SQS. In this step, you'll learn how to delete a queue.
- From the list of the queue, select the queue that you have created.
2. From
Queue Actions, select
Delete Queue.
The
Delete Queues dialog box is display.

- Choose Yes, Delete Queue.
The queue is delete.
After you delete a queue, messages contain by it will be also delete.
Then you will redirect to Get Start Now homepage if you want to create Amazon SQS Queue again else you can sign out from your account.

I hope you have learned how to manage queues and messages using the
AWS Management Console.
# Last but not least, always asks for help!

