Hadoop – 3.X(3.2.1) Installation
Install Hadoop 3.2.1 on Windows 10 Step by Step Guide
Prerequisites:
Hardware requirements:-
RAM: 8 GB or above
Software requirements:-
vmware workstation – https://www.vmware.com/in/products/workstation-pro/workstation-pro-evaluation.html
ubuntu 10.x or above – https://ubuntu.com/download/desktop
Programming languages: Linux
Learn Linux : https://prwatech.in/blog/linux/linux-architecture/
1.Install ubuntu in virtual machine
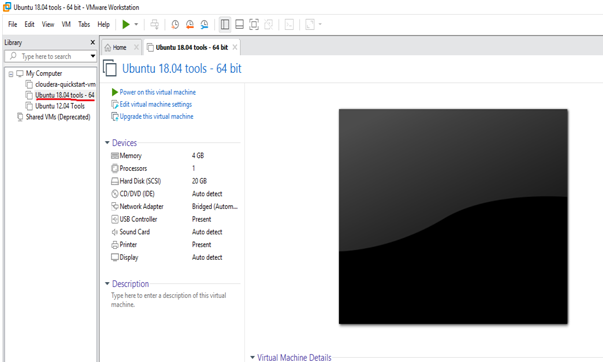
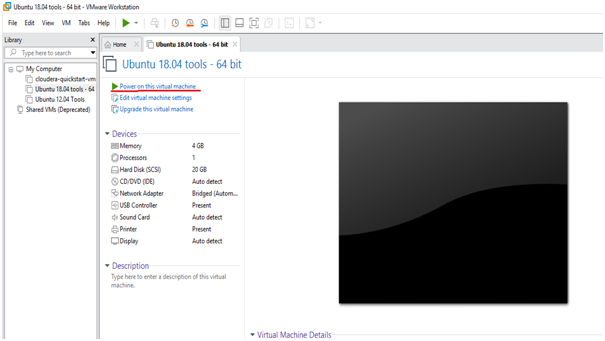
2. Power on this virtual machine
3. Open the Terminal
Select As marked in the diagram or follow the arrow
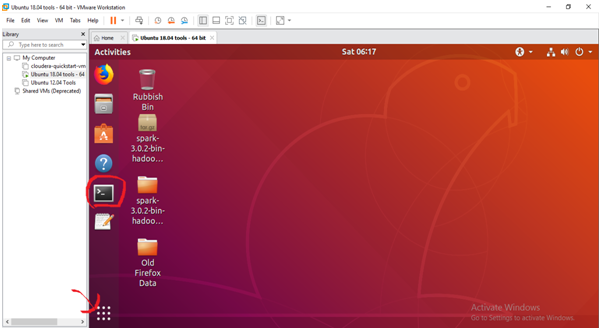
You will see this

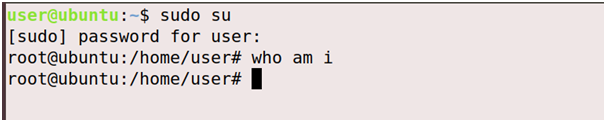
4. Check your hostname is ubuntu

5. Set up a single node hadoop cluster
6. Create a group called hadoop

7. Create an user called hduser
root@ubuntu:/home/user# sudo adduser hduser
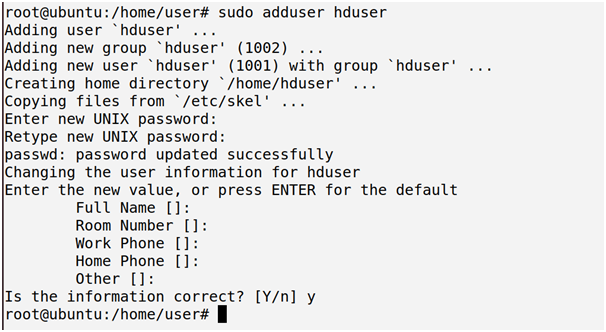
It will ask password two times followed by some details, press enter and yes.
Give password which you can remember or else enter default password as “password”
8. Add hduser to hadoop group
# sudo adduser hduser hadoop

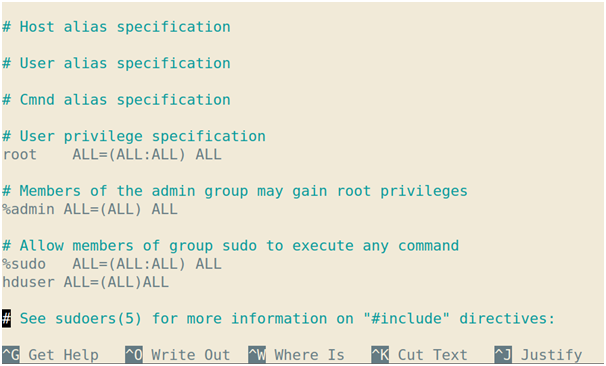
9. Add the ‘hduser’ to ‘sudoers’ so that hduser can do some admin task
#sudo visudo

It will open another file where you have to enter the below command:
Save -> Ctrl+s and then Exit -> ctrl+x
10. Logout of your system and login as a hduser Add hduser to hadoop group
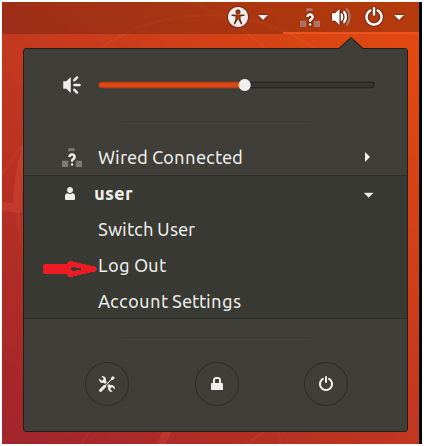


Password: password you have set earlier
11. Open the Terminal

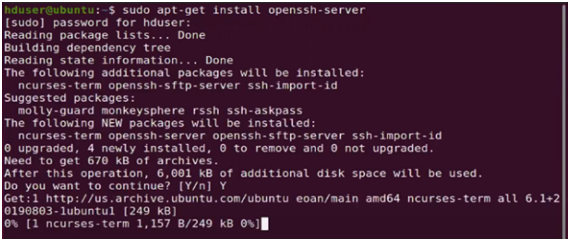
12. Configure ssh
#sudo apt-get install openssh-server
“Enter password and Y to continue”
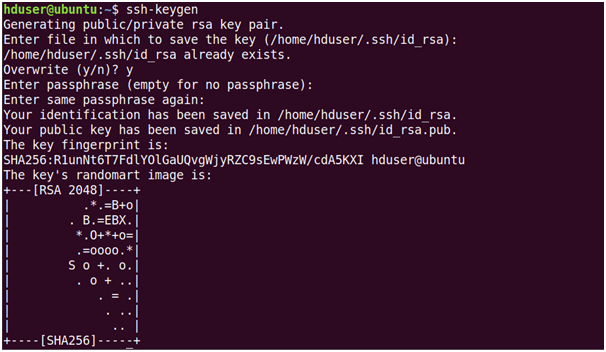
13. Generate ‘SSH’ for communication
#ssh-keygen
Press ‘enter’ whenever it asks.
14. Copy public key to Authorized key file & edit the permission

15. Give permission of the Authorized key

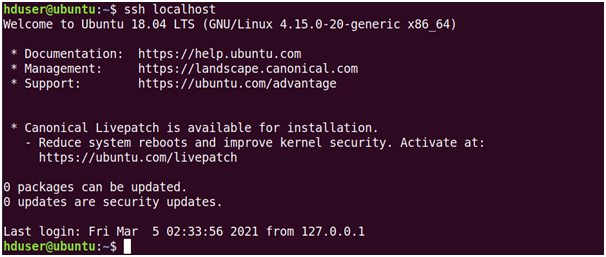
16. Start ‘SSH’

17. Test your ‘SSH’ connectivity
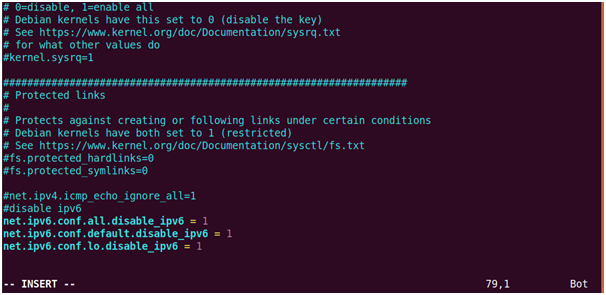
18. Disable IPV6

Enter “i” for –INSERT—mode and pres “enter” at the end of last line.
And write the following lines at bottom after # disable ipv6:
“net.ipv6.conf.all.disable_ipv6 = 1
net.ipv6.conf.default.disable_ipv6 = 1
net.ipv6.conf.lo.disable_ipv6 = 1“
To exit press “esc” then “wq” then “enter”
19. Check if ipv6 is disabled
If it gives ‘1’ as output then its disabled

20. Now install hadoop 3.2.1 from the following website:
https://archive.apache.org/dist/hadoop/common/hadoop-3.2.1/
Download hadoop 3.2.1.tar.gz and save it to hduser/desktop
21. Move the above file to /usr/local/

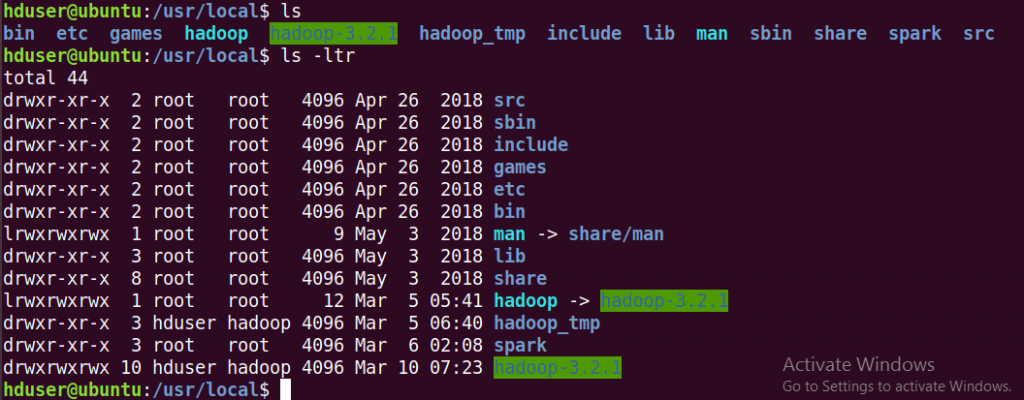
22. Then go to local directory
#cd /usr/local
and then ls

23. Now untar(unzip) the file using the command: $ sudo tar –xvf hadoop-3.2.1.tar.gz

24. Remove the tar file now

25. Now lets create a shortcut name of hadoop-3.2.1 to hadoop

26. Check the file hadoop by entering ‘ls’ and follow below commands
27. Change the ownership of hadoop-3.2.1 to hduser group

28. Now give all the permissions to hadoop-3.2.1 folder

29. Edit hadoop-env.sh file

Go to bottom of the file press ‘i’ And add those lines at end which are under red circle
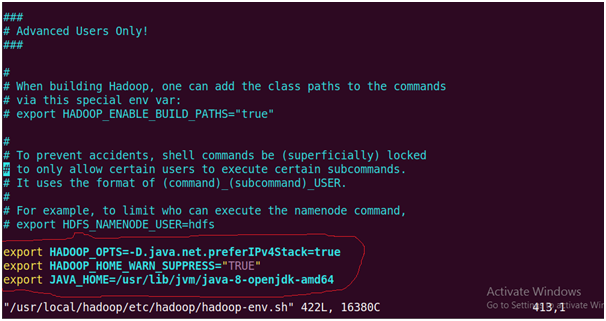
#export JAVA_HOME={JAVA_HOME}
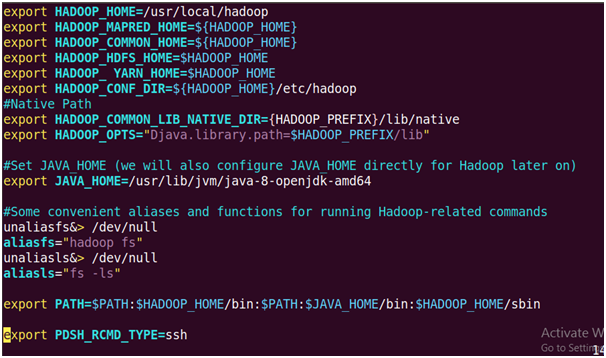
30. Update HOME ~/.bashrc

Now go to the bottom of the file press ‘i’ and then enter the lines

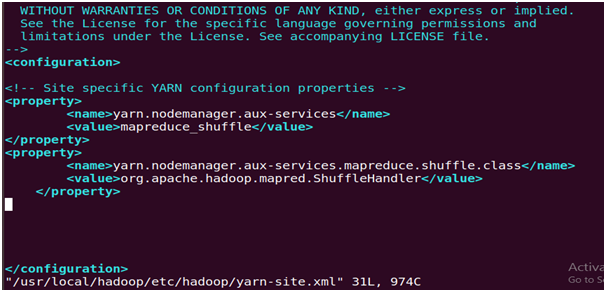
31. Update yarn-site.xml

# Enter the lines under <configuration>
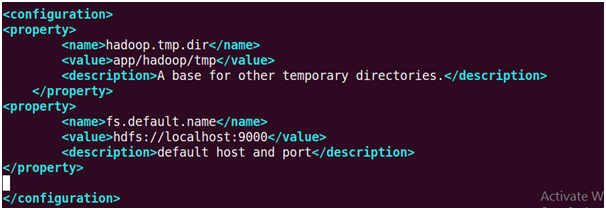
32. Update core-site.xml

Enter the following lines under <configuration> files
33.Create the above temp folder and give appropriate permission using following commands

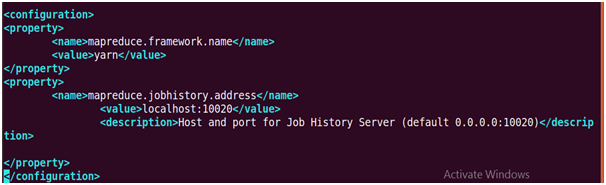
34. update mapred-site.xml

Enter the following lines under <configuration> files
35. Create a temporary directory which will be used as base location for DFSAlso create the directory and set the required ownership and permissions by adding following three lines

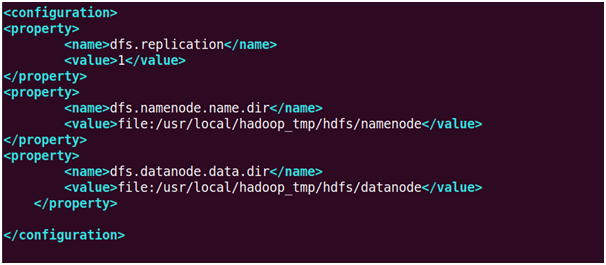
36. Update hdfs-site.xml

Enter the following lines under <configuration> files
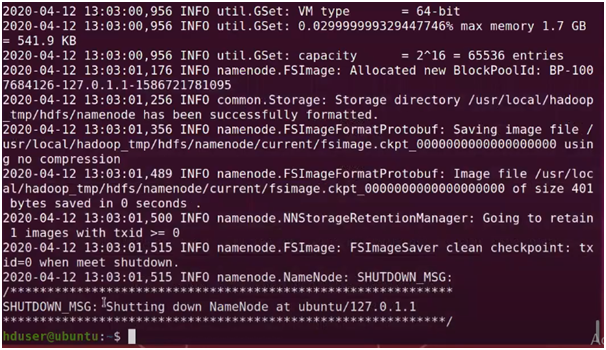
37. Format Namenode
Close the terminal and run the command in the new terminal

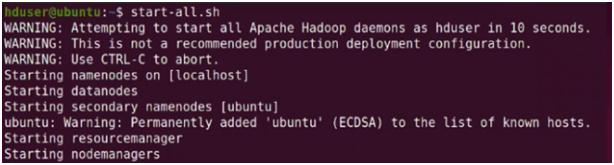
38. Start your single-node cluster
39. Type “jps”

If you get the above nodes after writing ‘jps’ it means you have successfully installed hadoop-3.2.1 on single node cluster.