MYSQL INSTALLATION
STEP 1: Go to the link – https://dev.mysql.com/downloads/windows/installer/8.0.html
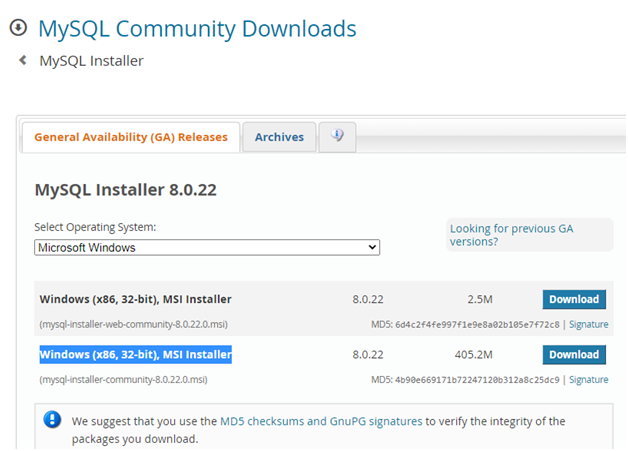
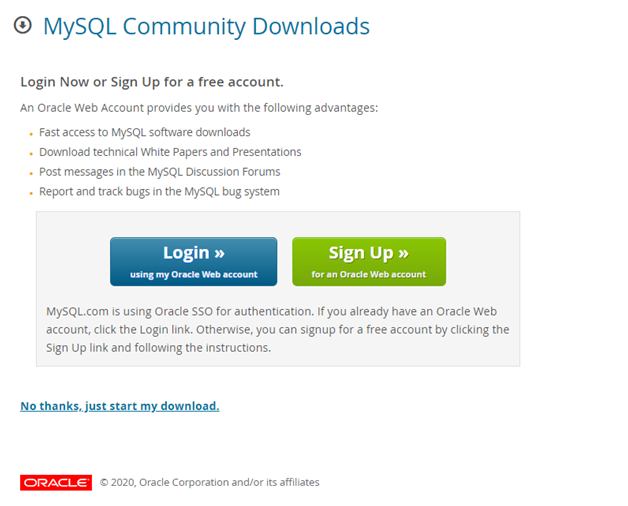
STEP 2: Just start the download
STEP 3: Begin the Installation
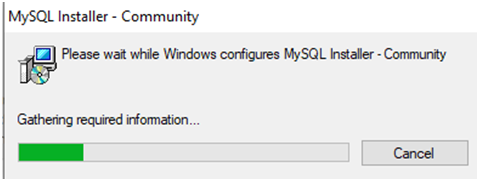
After the Installation this screen will show up:
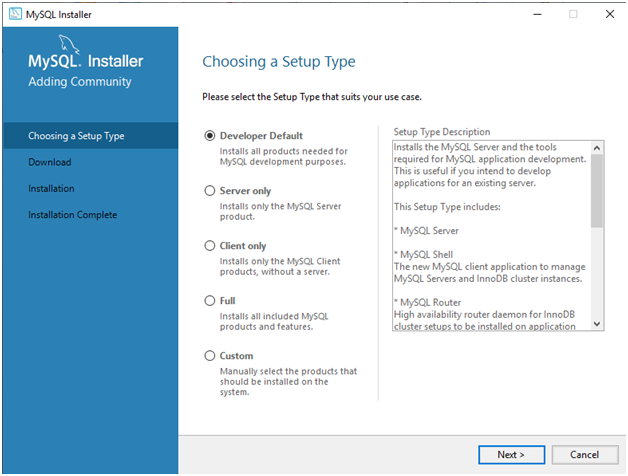
STEP 4: Choosing a Setup Type, Developer Default then click Next:
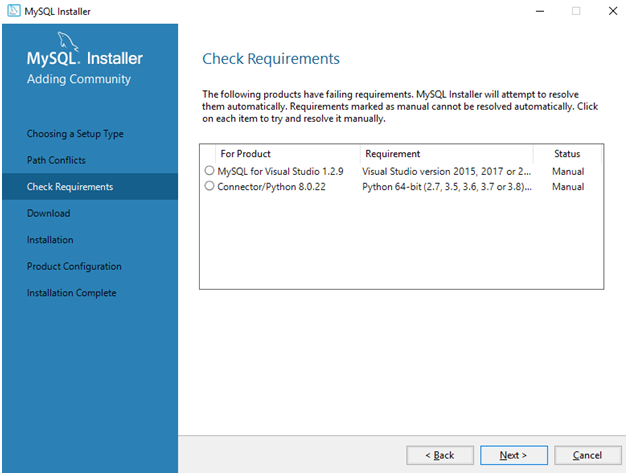
STEP 5: Check Requirements and click Next:
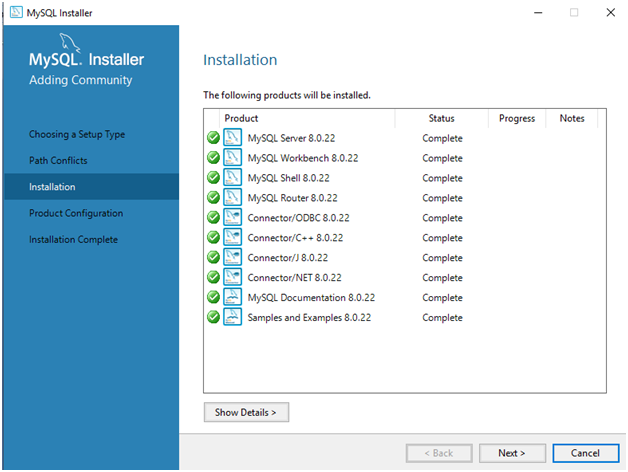
STEP 6: Click Execute to install, kindly wait for all the packages to get completed.
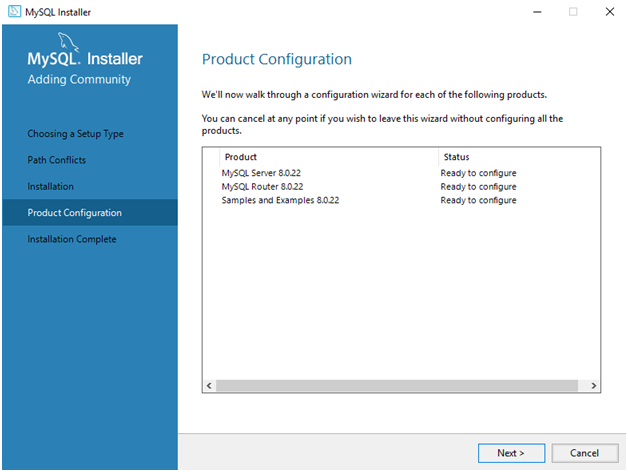
STEP 7: Click Next under Product Configuration
STEP 8: Click Next under Type and Networking

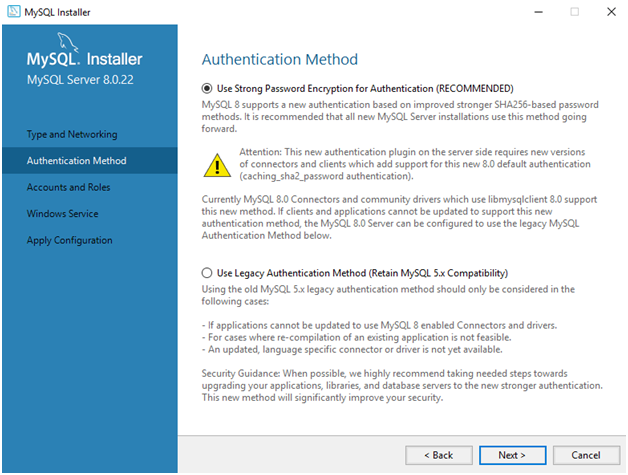
STEP 9: Click Next under Authentication Method
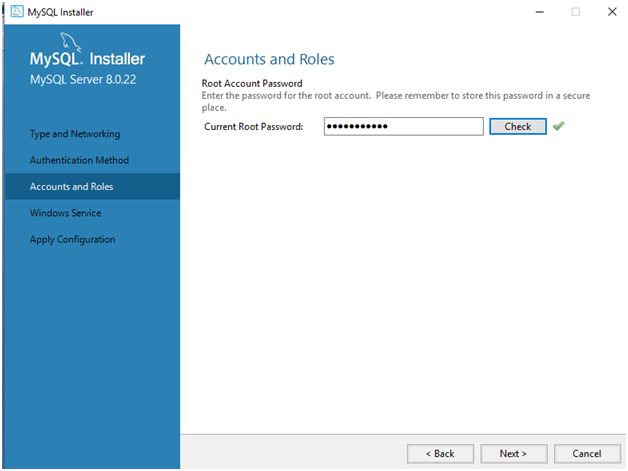
STEP 10: Put your current root password or create one and Click Next
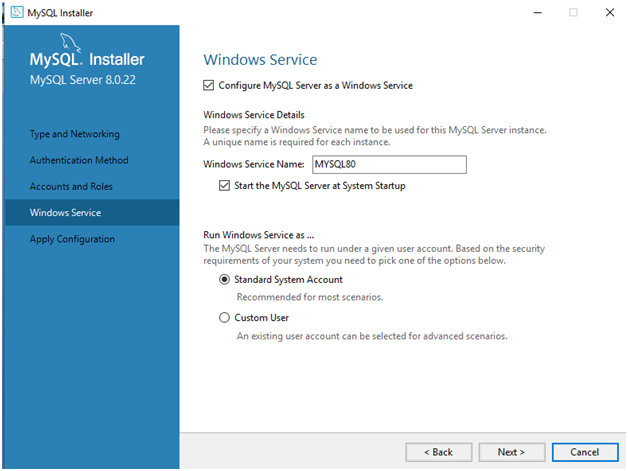
STEP 11: Select standard system account under windows service and click Next:
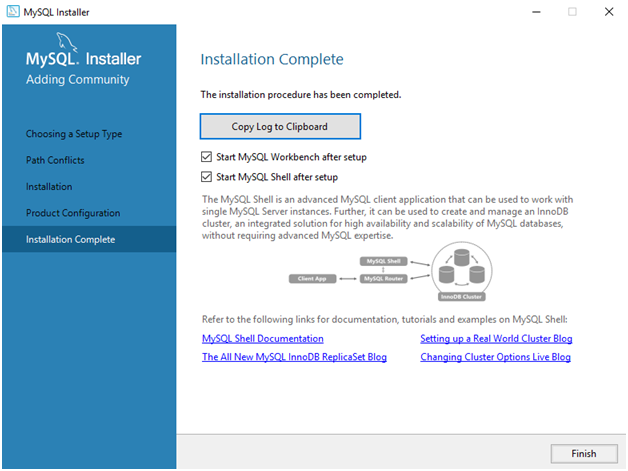
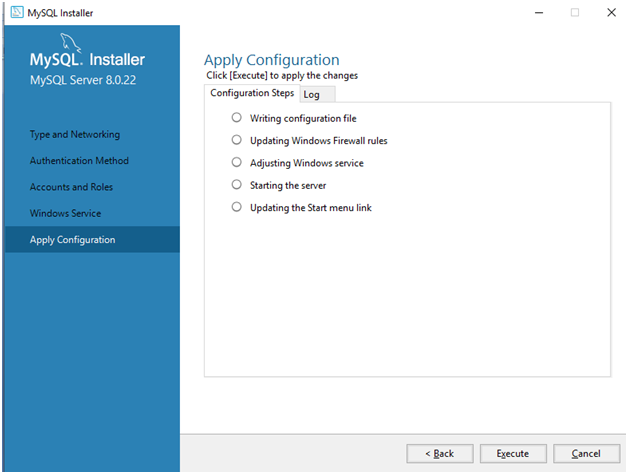
STEP 12: Click Execute under Apply configuration.
STEP 13: You have successfully completed the installation