Creating Your First GitHub Project
Creating your first GitHub project is an exciting step towards sharing your code, collaborating with others, and contributing to the vibrant community of developers on GitHub. Whether you're a seasoned developer or just starting out, GitHub provides a user-friendly platform for hosting and managing your projects, making it easy to showcase your work and collaborate with others.
To create your first GitHub project, you'll need to sign in to your GitHub account and navigate to the "Repositories" tab. From there, you can click on the green "New" button to create a new repository. You'll need to provide a name for your project, a description, and choose whether it will be public or private.
Once your repository is created, you can start adding files, writing code, and documenting your project. GitHub provides various features to help you manage your project, including version control with Git, issue tracking, pull requests, and collaboration tools like wikis and project boards.
Creating your first GitHub project is not just about sharing your code—it's about joining a global community of developers, learners, and collaborators who are passionate about building and sharing great software. So go ahead, create your first GitHub project, and let your creativity and passion for coding shine!
Prerequisties
Hardware : Local Machine
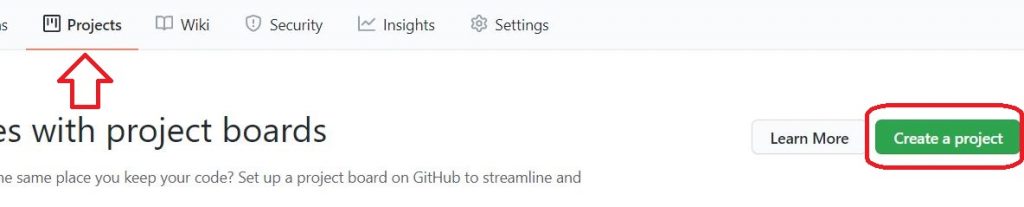
Open the GitHub profile.
Click on Projects > Create a project button
Give the Project name. Select the template. Click on Create Project button.
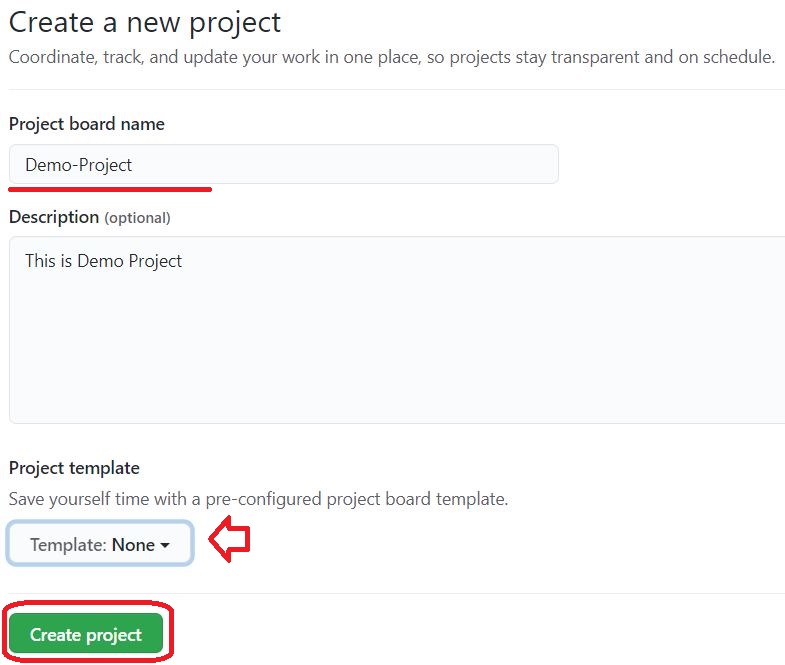
The Project will be Create.

