When to use load balancing
Prerequisites
GCP account
Open Console.
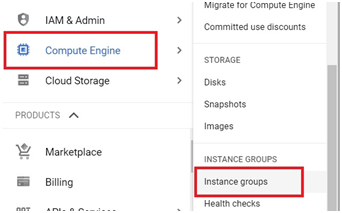
Menu > Compute Engine > Instance Groups
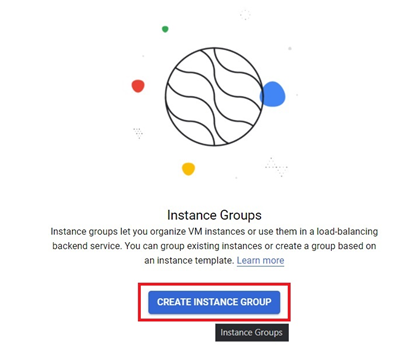
Click on Create Instance Group
Give a name for instance group.
Select the Region and Zone

In Instance template, Click on Create a new Instance Template

Give a new Instance Template.
Choose the Specification for instance template.

In firewall, Tick Allow.
Click Management, security, disks, networking, sole tenancy

In management, Copy and paste the below code in Startup script.
#! /bin/bash
apt-get update
apt-get install apache2 -y

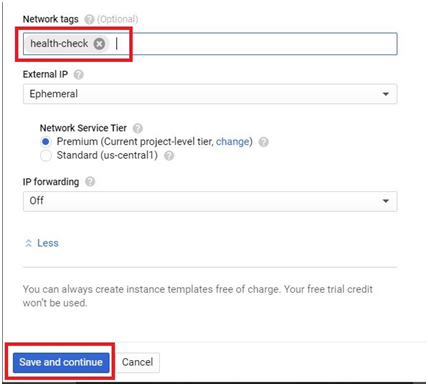
In networking, Give the network tag.

Then Click Save and Continue
In Autoscaling, Select Don’t AutoScale

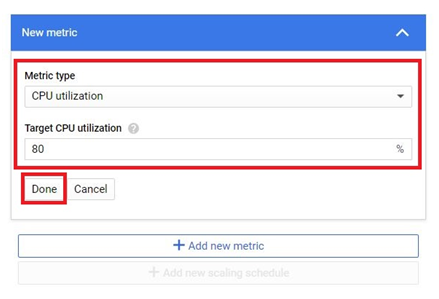
Give the metric type as CPU Utilization and give the target percentage.
Click Done.
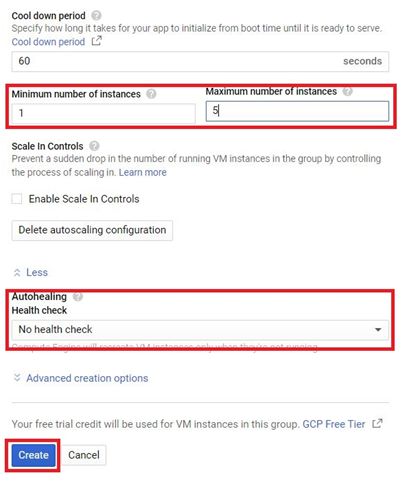
Give the minimum and maximum number of instances. In autohealiing, Give No health Check.
Then Click Create.
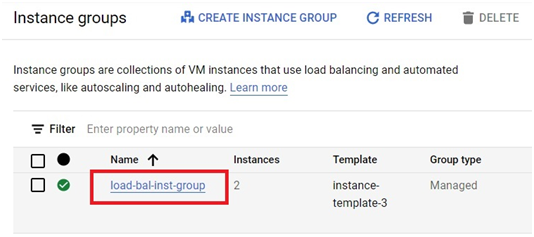
The Instance Group will be created. Click the instance group which is created.
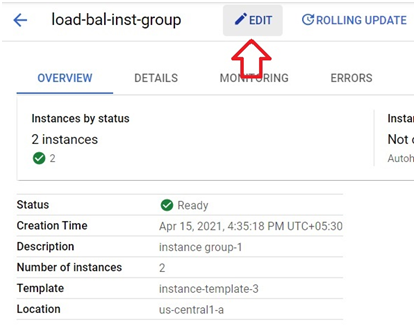
Edit.
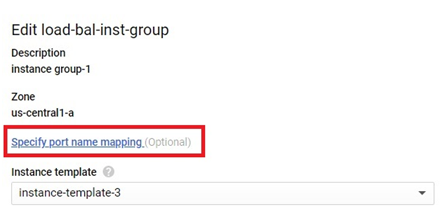
Click on Specify port name mapping.
Click on Add item.

Give the port name as http and port number as 80.

Save.

Click on VPC network > Firewall

on create Firewall.

Give the name for firewall

the target tags.
Give the Source IP ranges
Select the tcp and give port number as 80

Select VPC network > External IP address

In the Type, Click on Ephemeral.

Change it into static.

Give the name for static and Click reserve.

Click on network services > Load balancing

Click on Create load balancer

In HTTP load balancing, Click on Start configuration

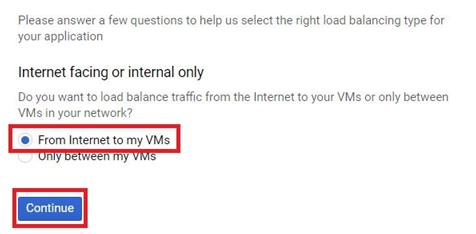
Select From internet to my VM’s and Click Continue.
In the Backend Configuration. Select Backend Services > Create a backend service.

Give the name for backend. Select Instance Group in backend type.

Select the created Instance Group. Give the port number as 80.
Click Done.

Click the dropdown in Health Check
Give the name for health check.
Select the protocol as HTTP and give port number as 80.
Click Save and Continue.

Then Click Create

In frontend Configuration, Give the name.
Select the protocol as HTTP. Click Done.

Give Load name for load balancing. Click Create.

The Load balancer will be created


