Azure Virtual Network Hands-on
Azure Virtual Network Hands-on
Now we will try to create a Virtual Network
Here you can see the UI of the Virtual Network
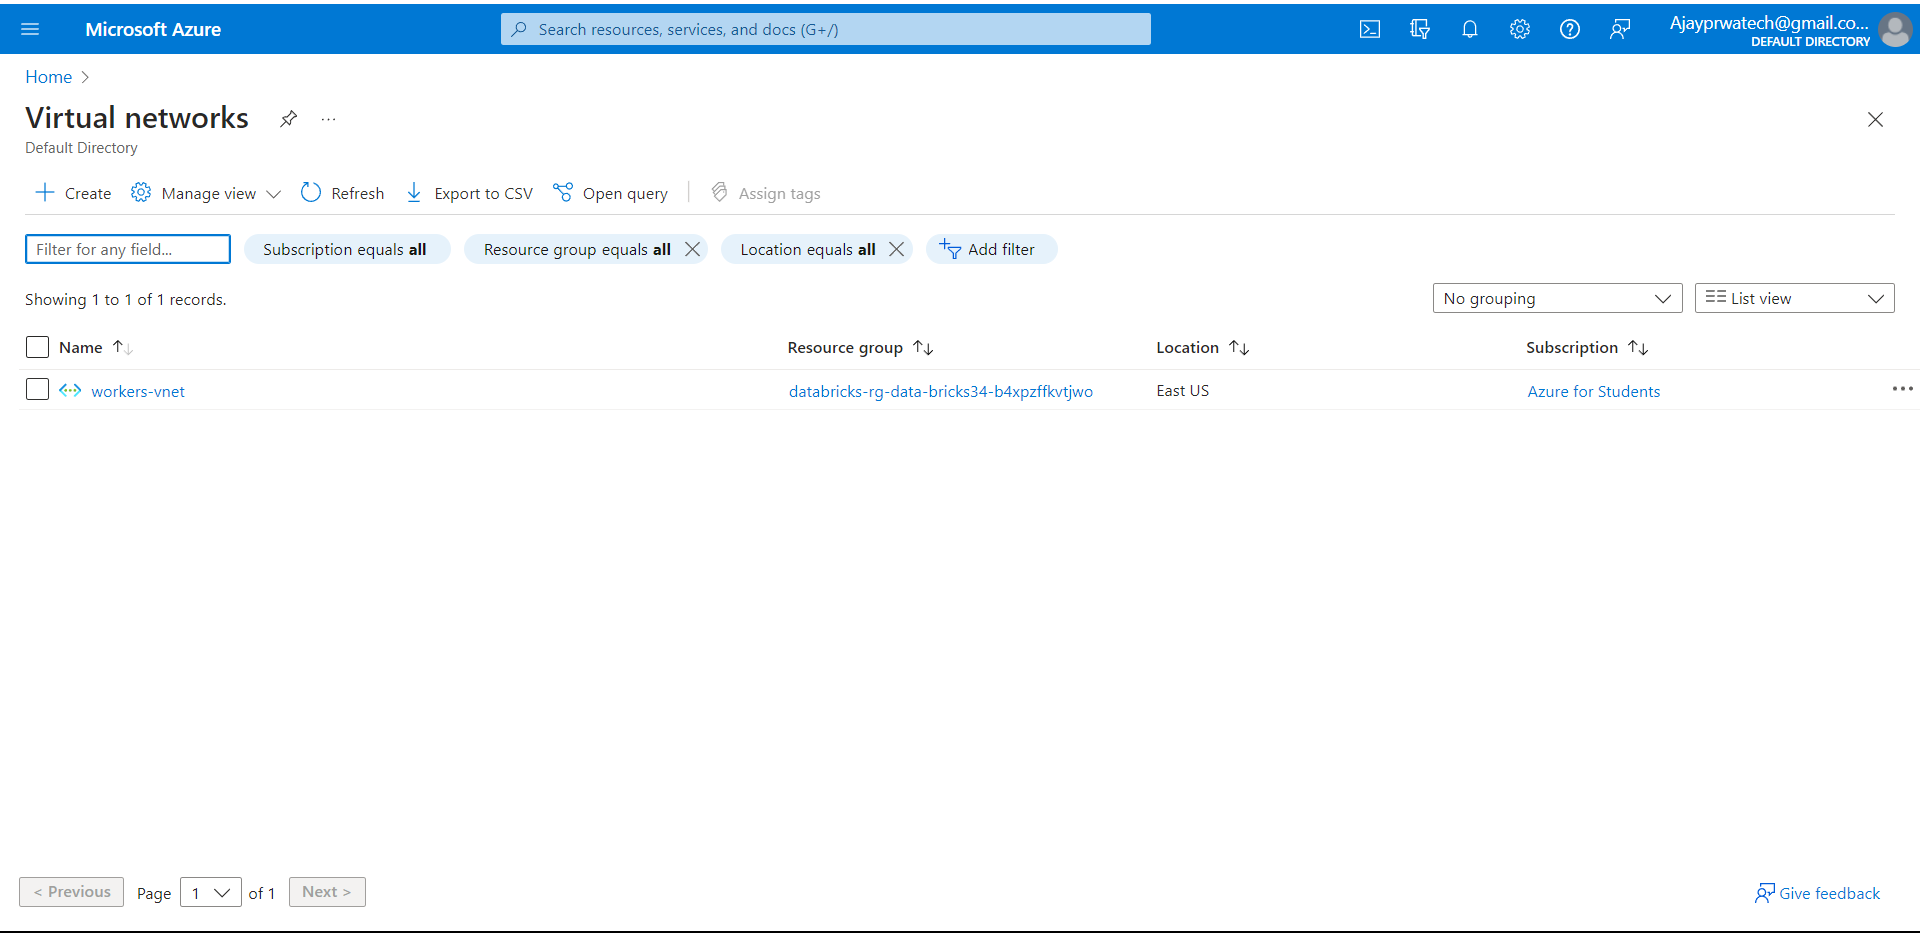
Now we will try to create a virtual network.
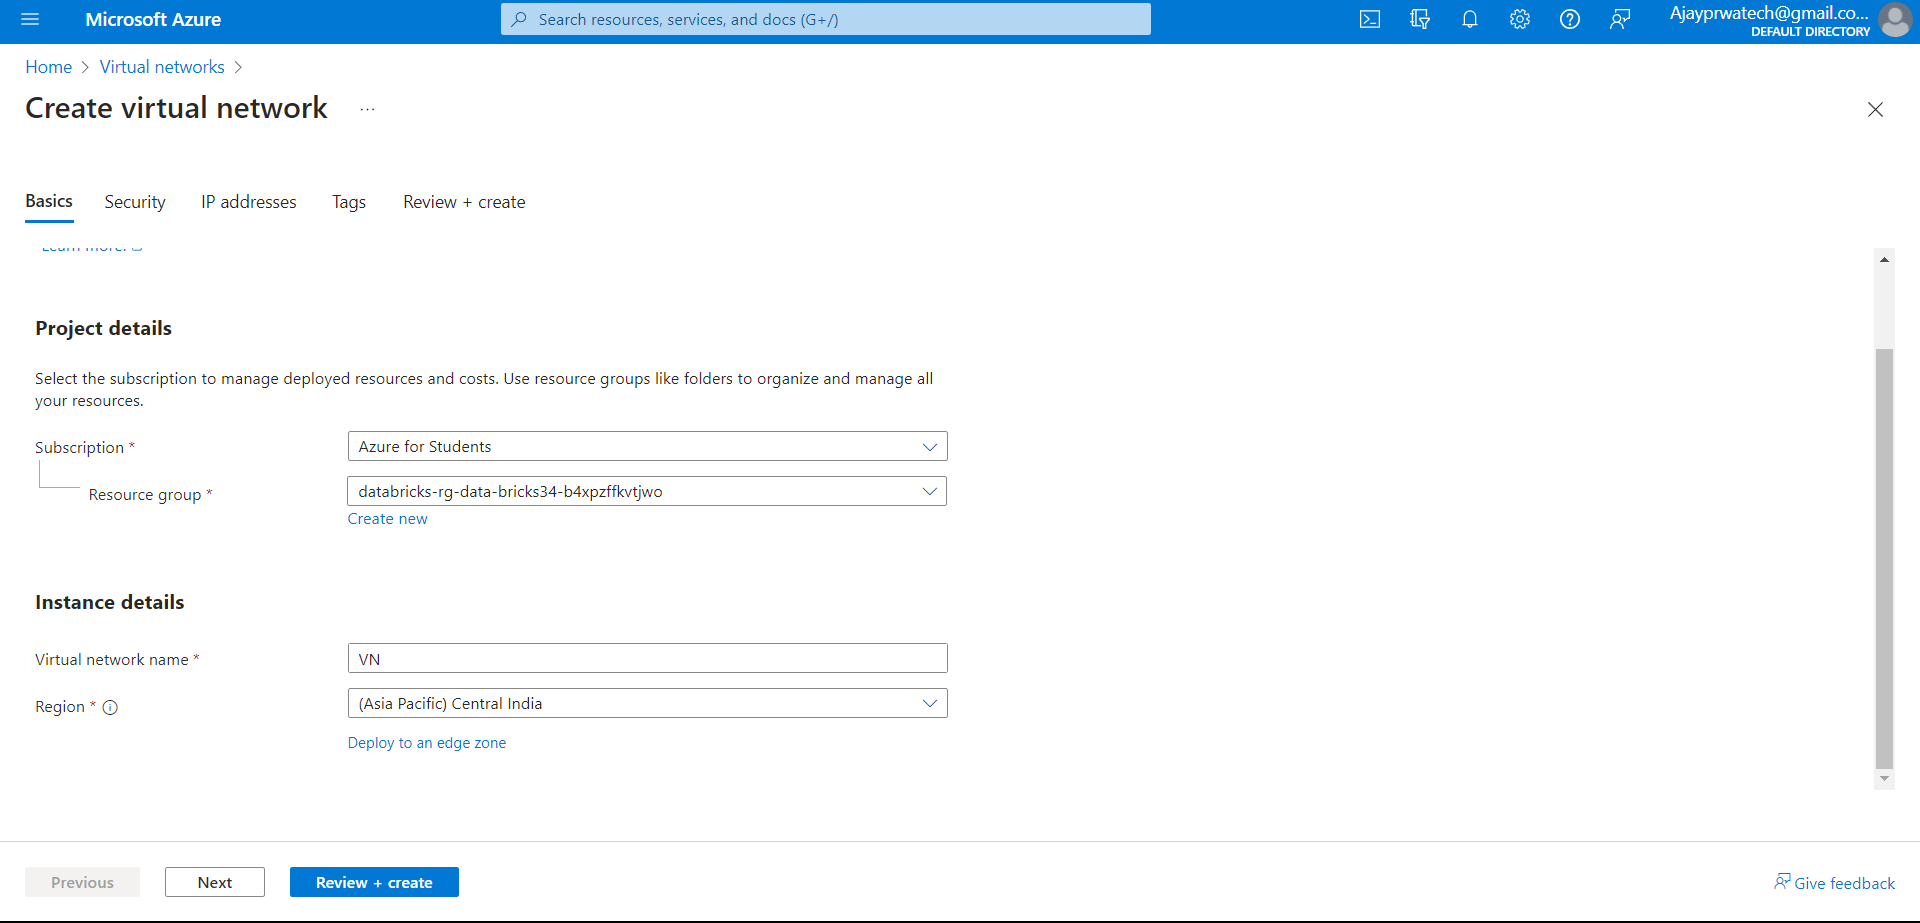
So, for that click on Create and enter the details as shown below, In this, we need to select the subscription and we need to enter the virtual network name.
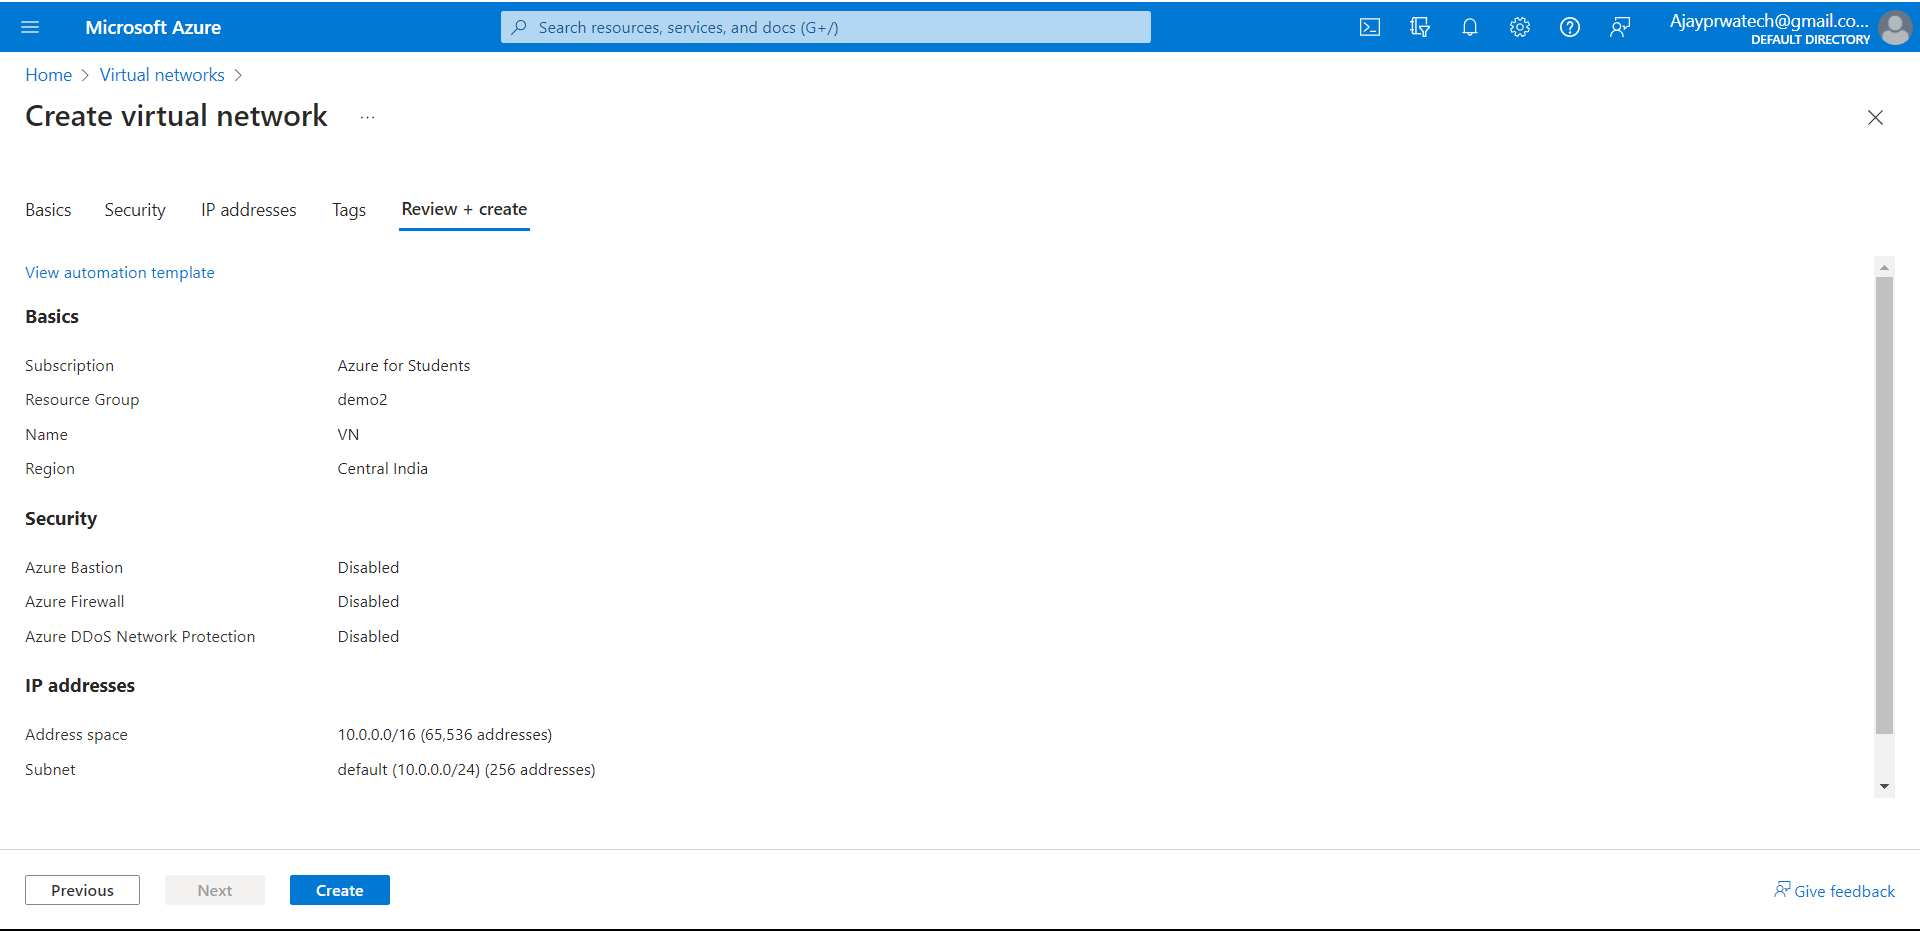
Here you can review the details that we have entered.
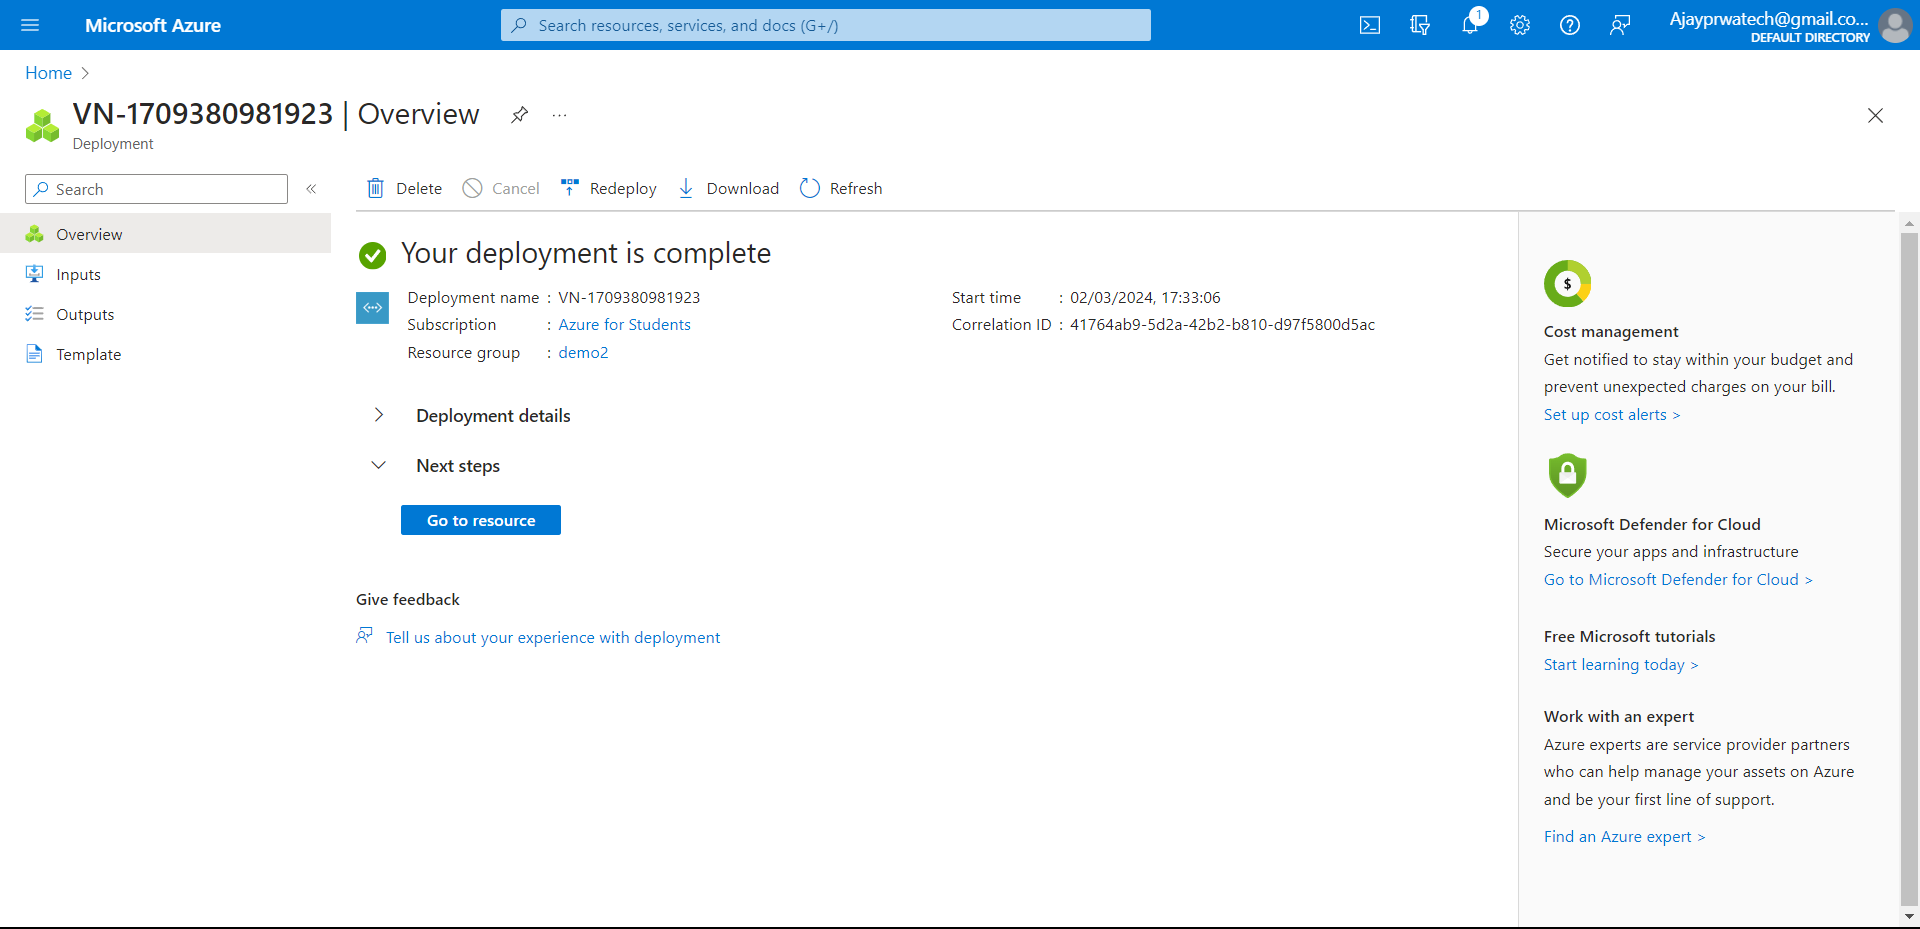
Here you can see the virtual network that we have created now!
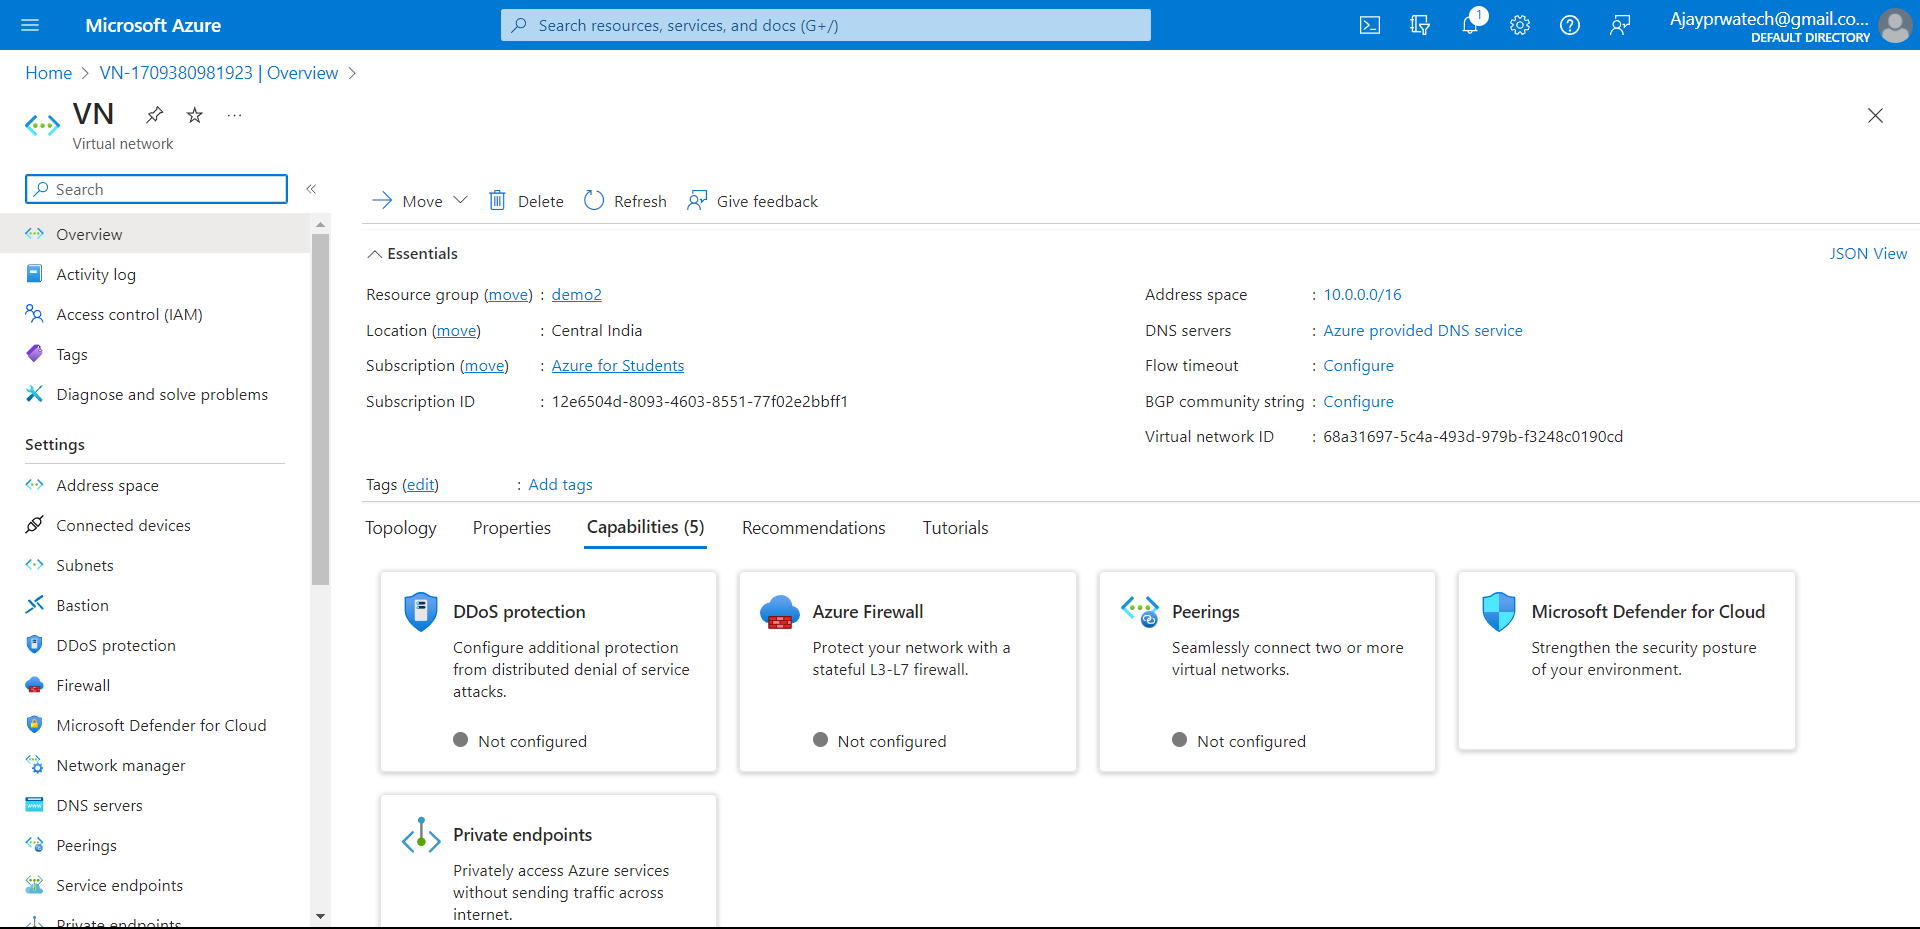
In this, we can create additional subnets if we want and also we can add address space.
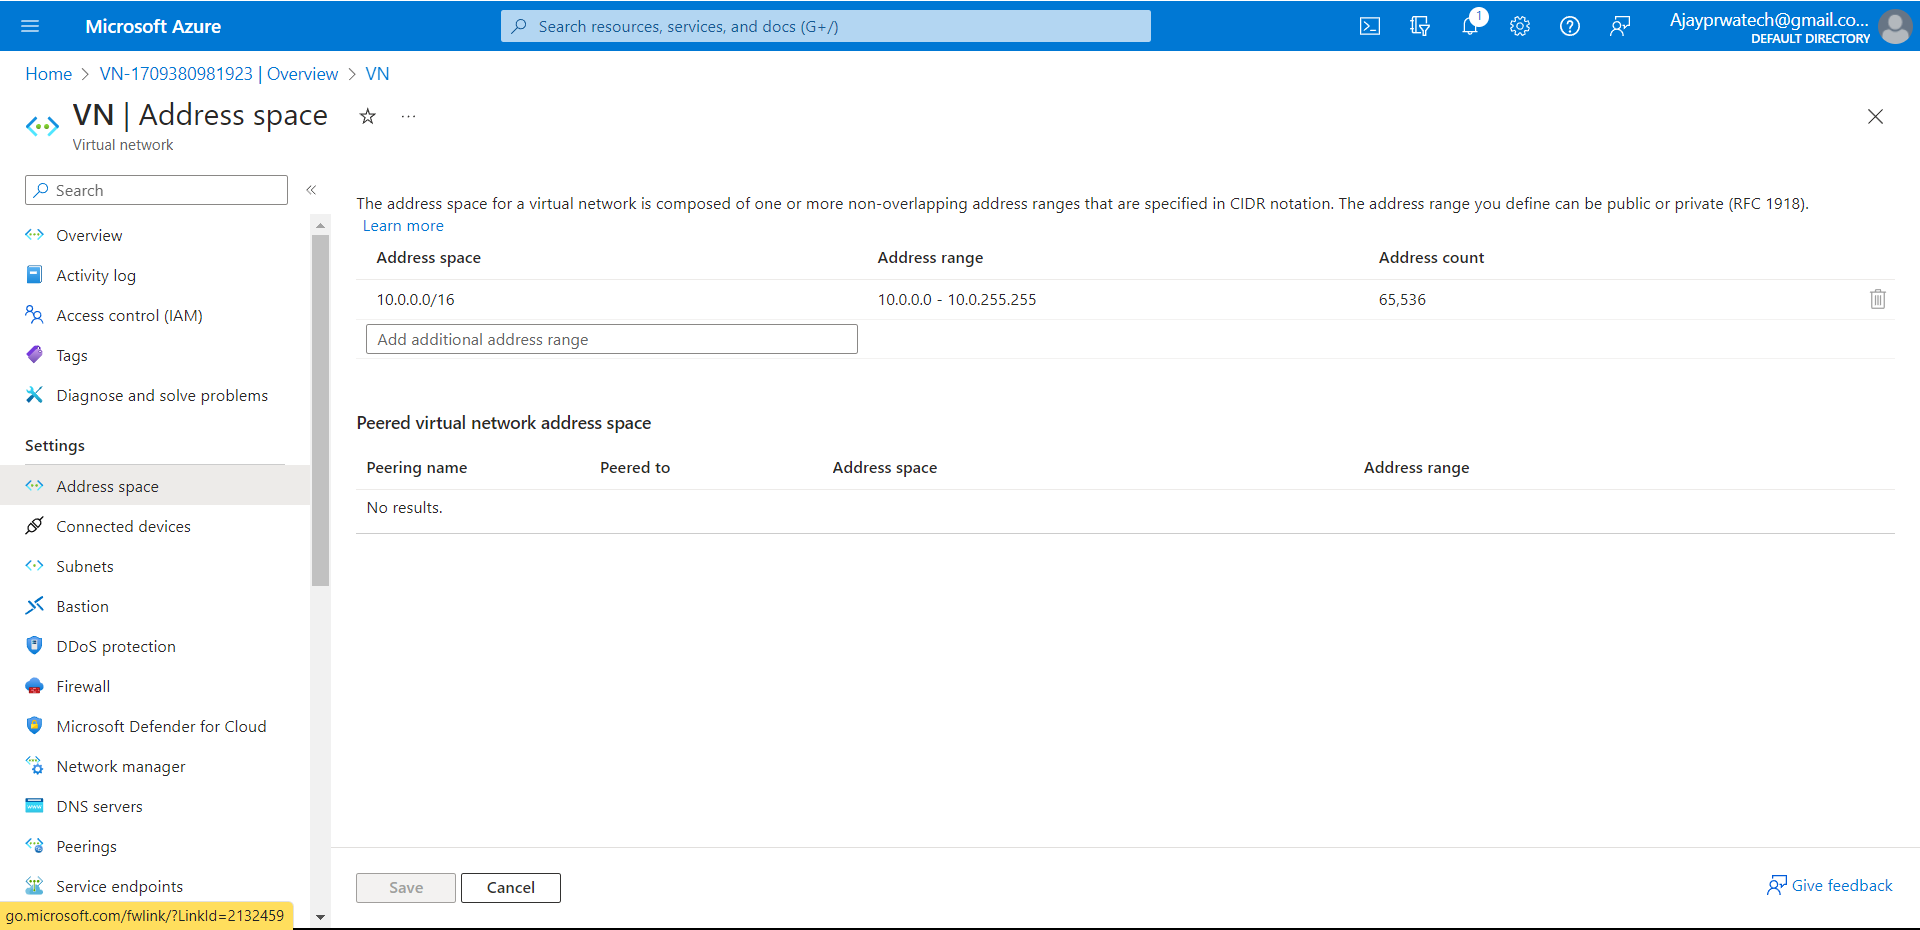
Address space adding
Here we can add the additional address range
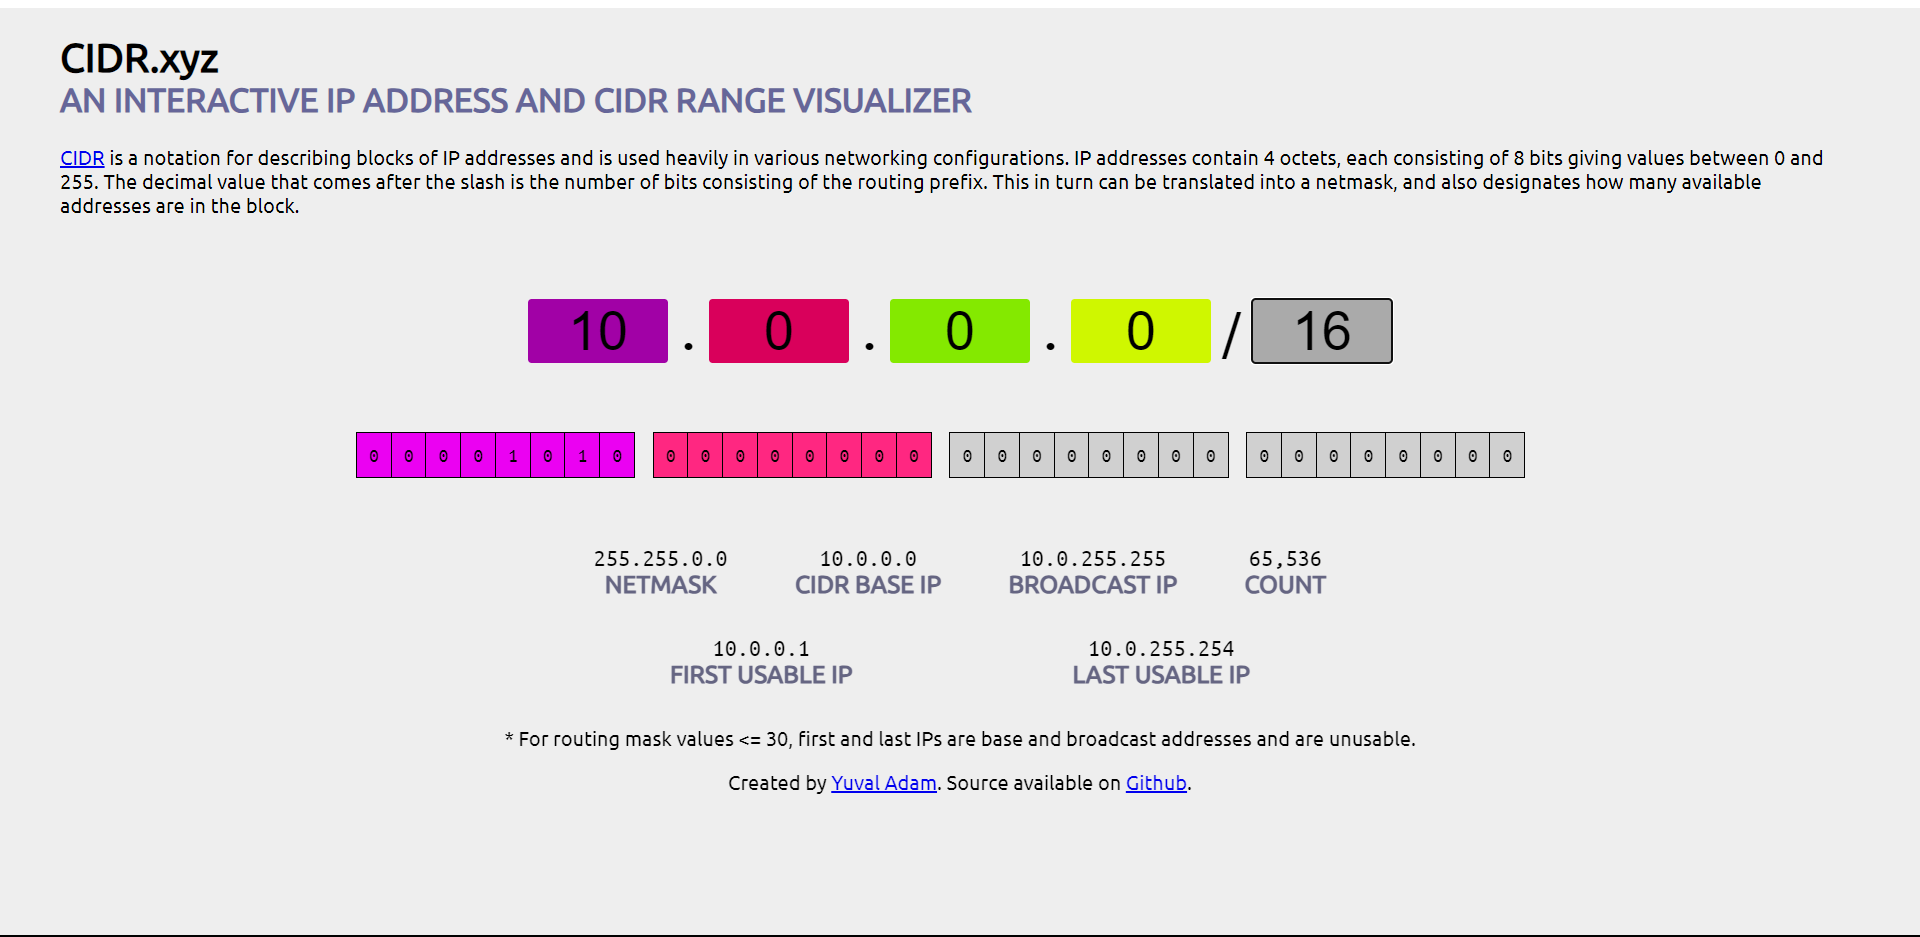
On this website, we can check the range and we can add
Website – CIDR
Here you can add the subnets if you want.
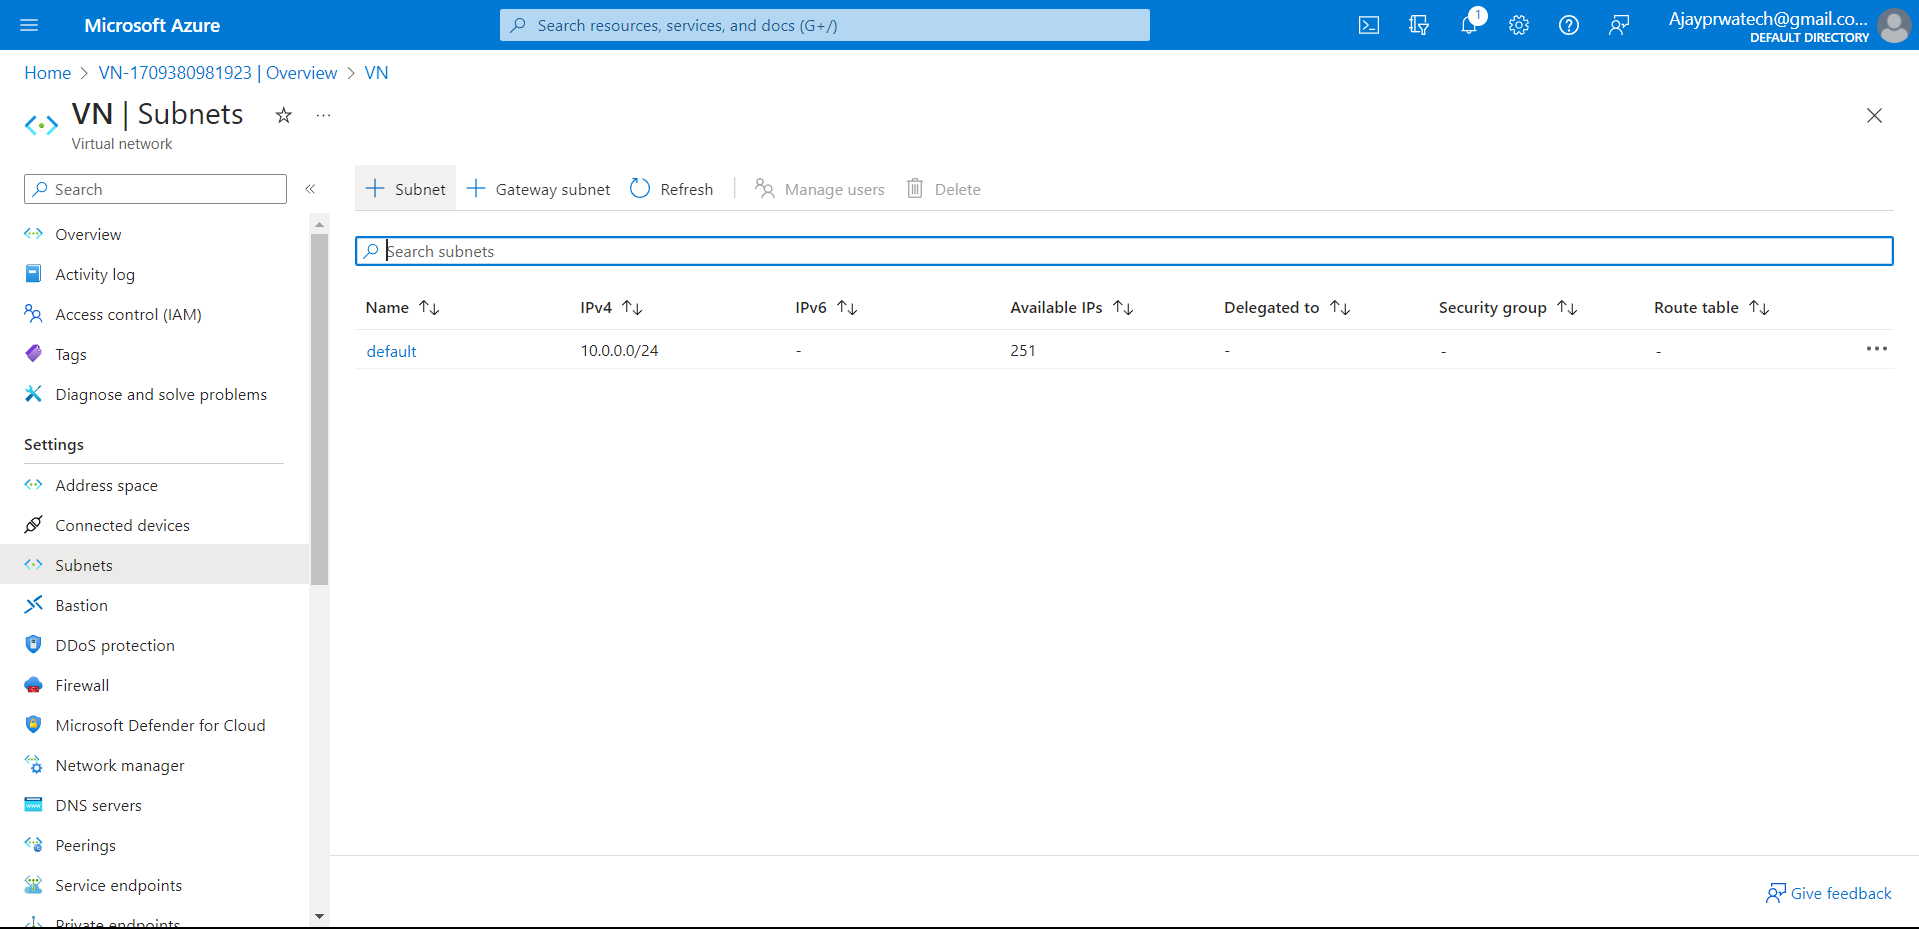
Enter the name of the subnet and click save.
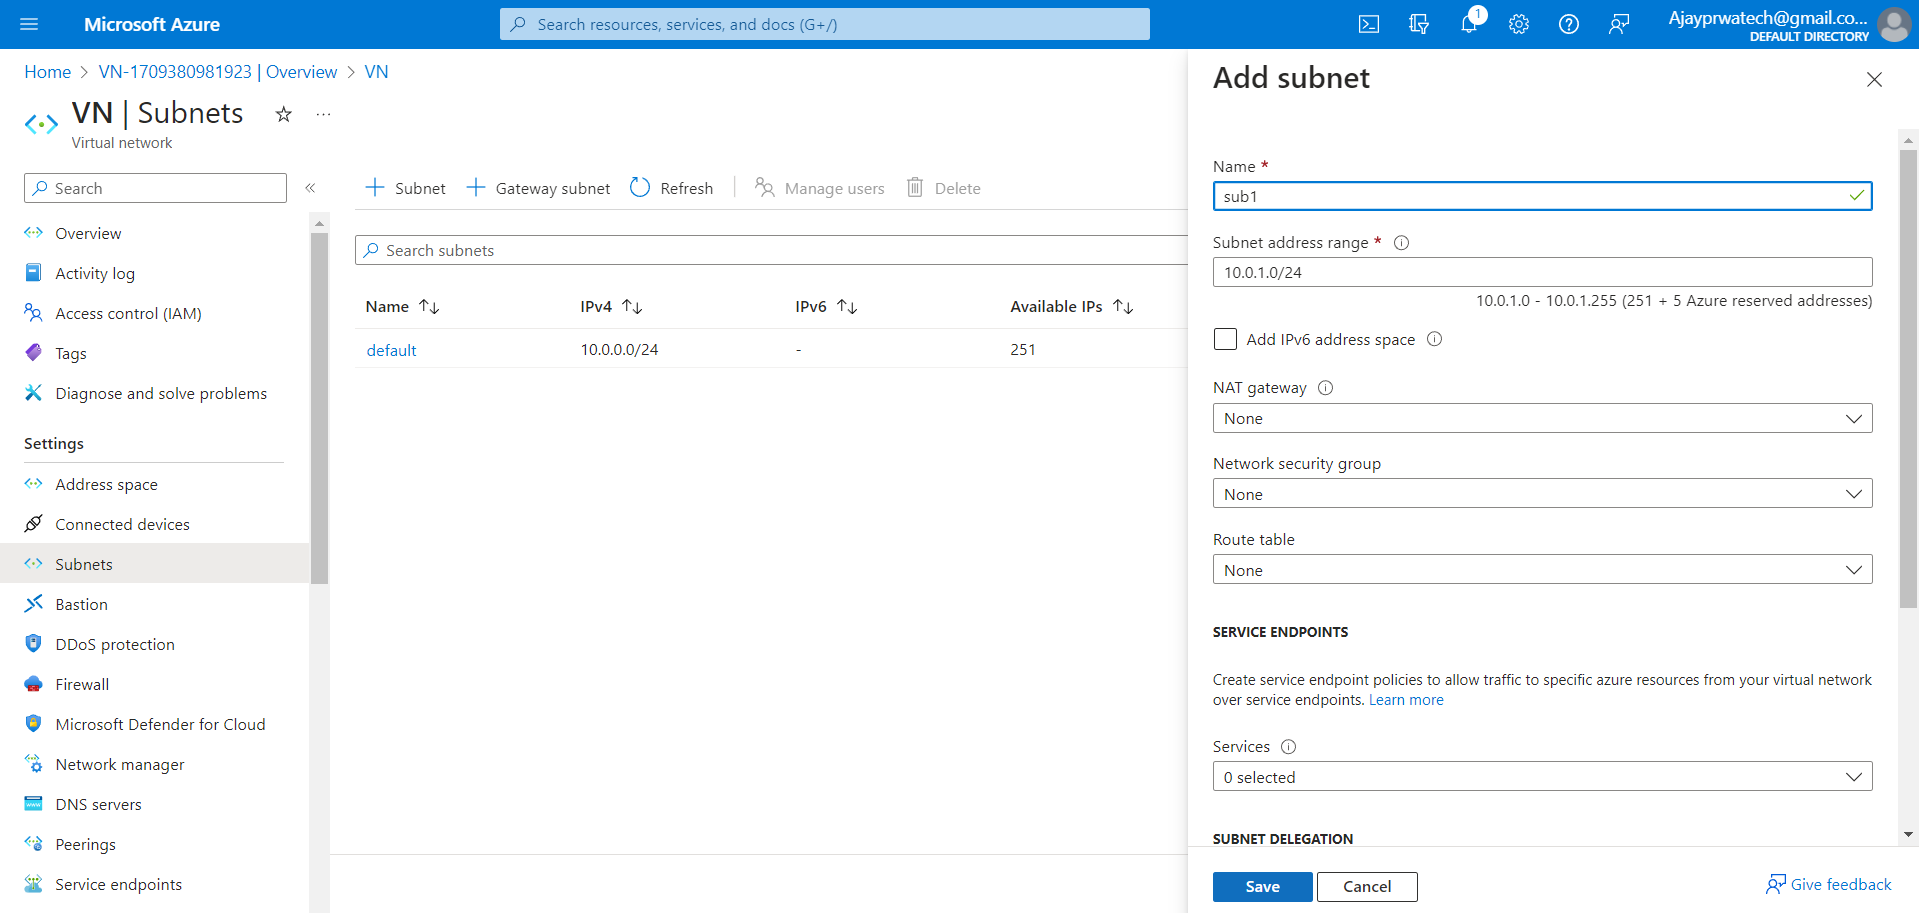
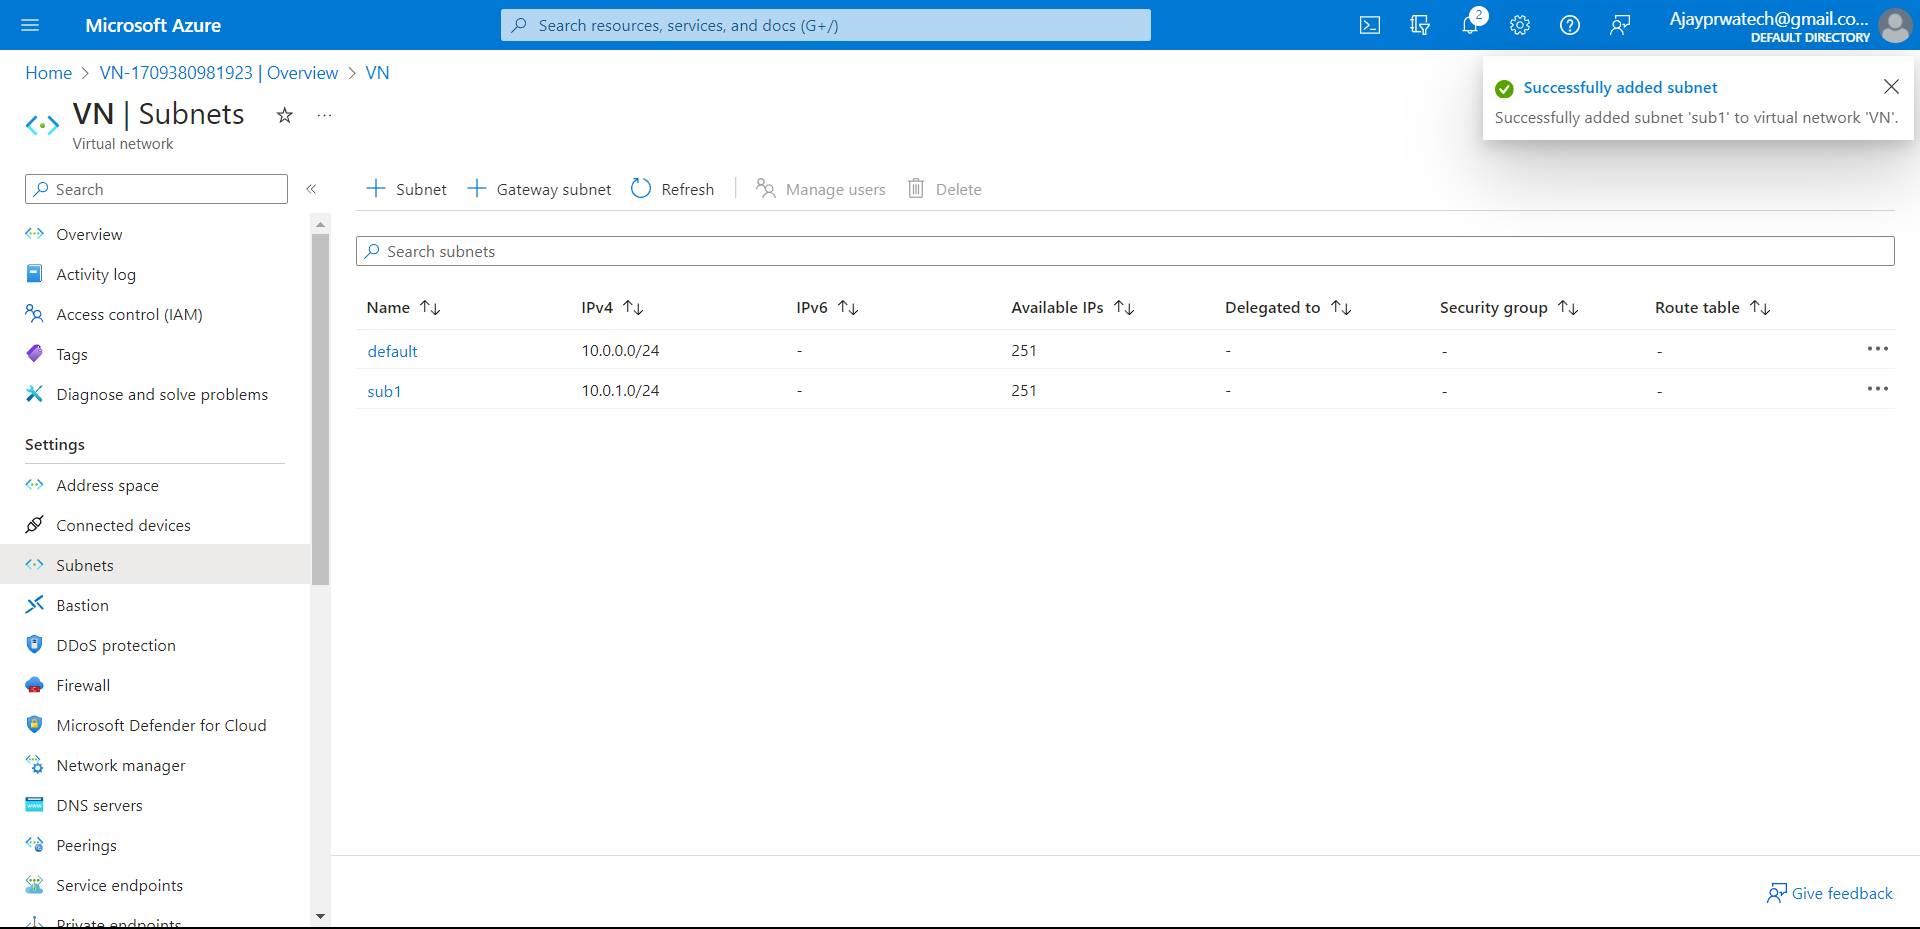
Here you can see the subnet that we have created now
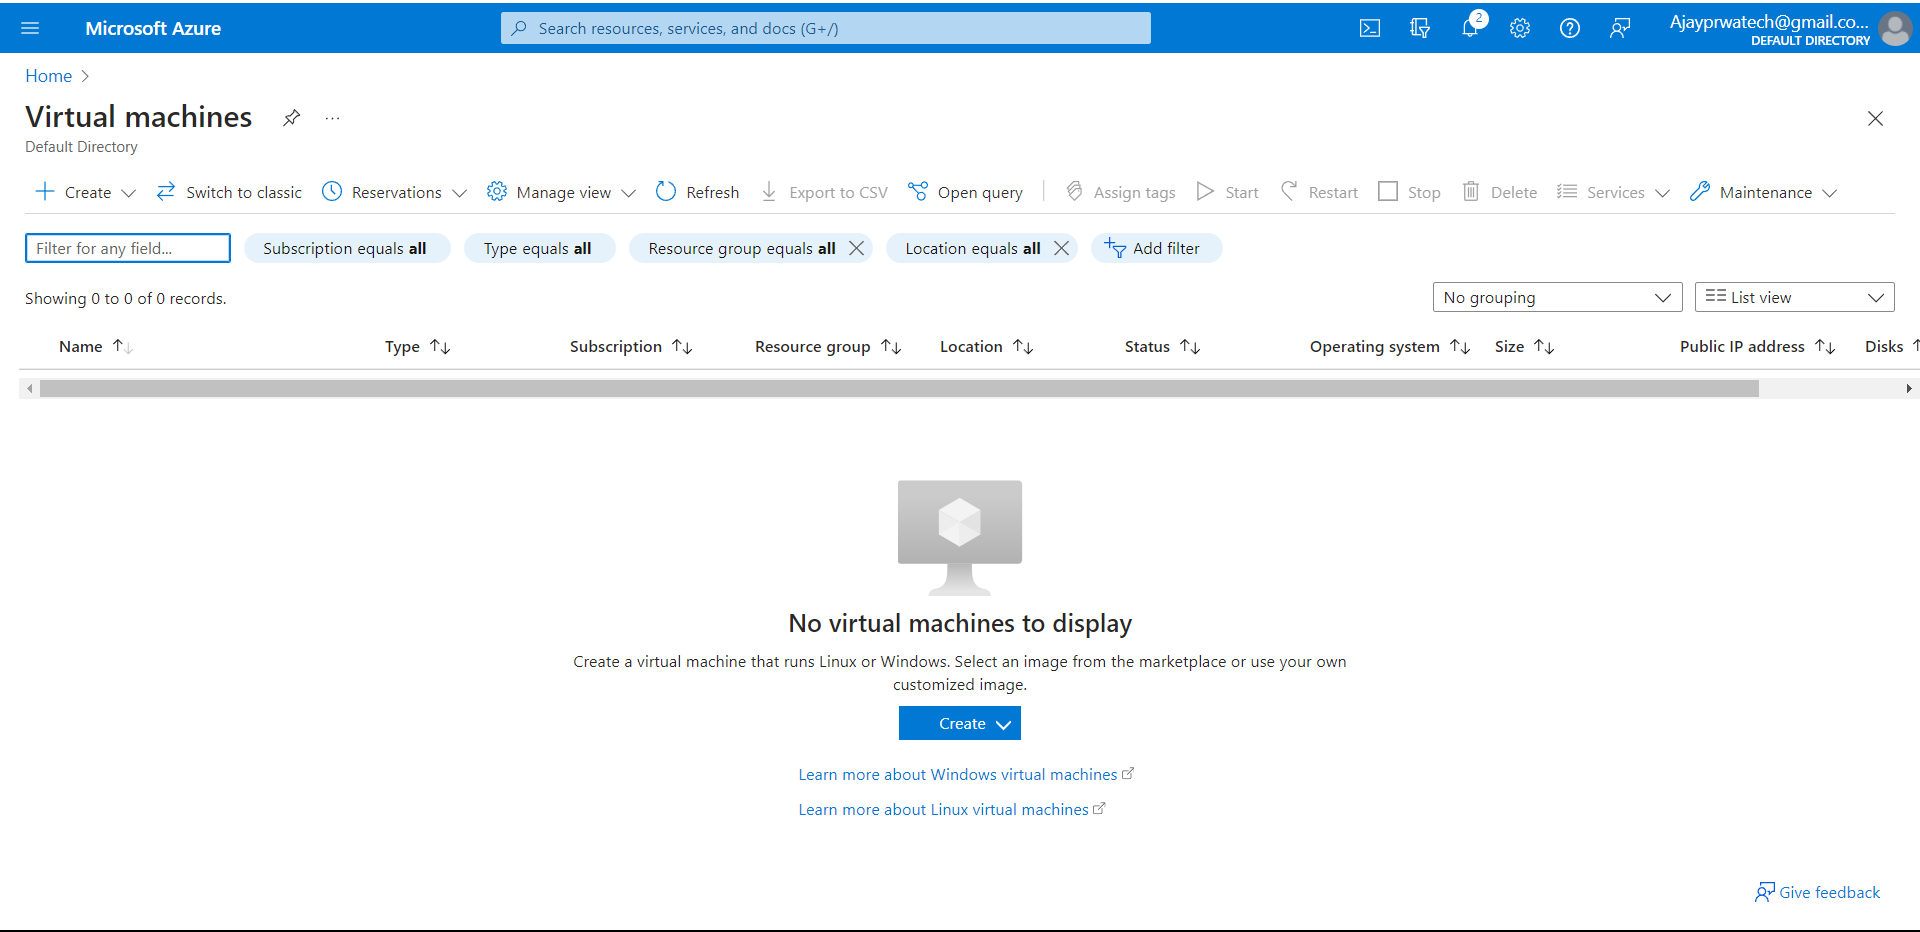
Now we will try to create the virtual machine and link this virtual network to it.
It’s the UI of the Virtual machine, just click on create to create a new VM
Here we need to Select the subscription and add the resource GRP name.
And mention the VM name.
Here we need to select the same region that we have selected for the virtual networks.
As I have selected central India in virtual networks, I have selected the same here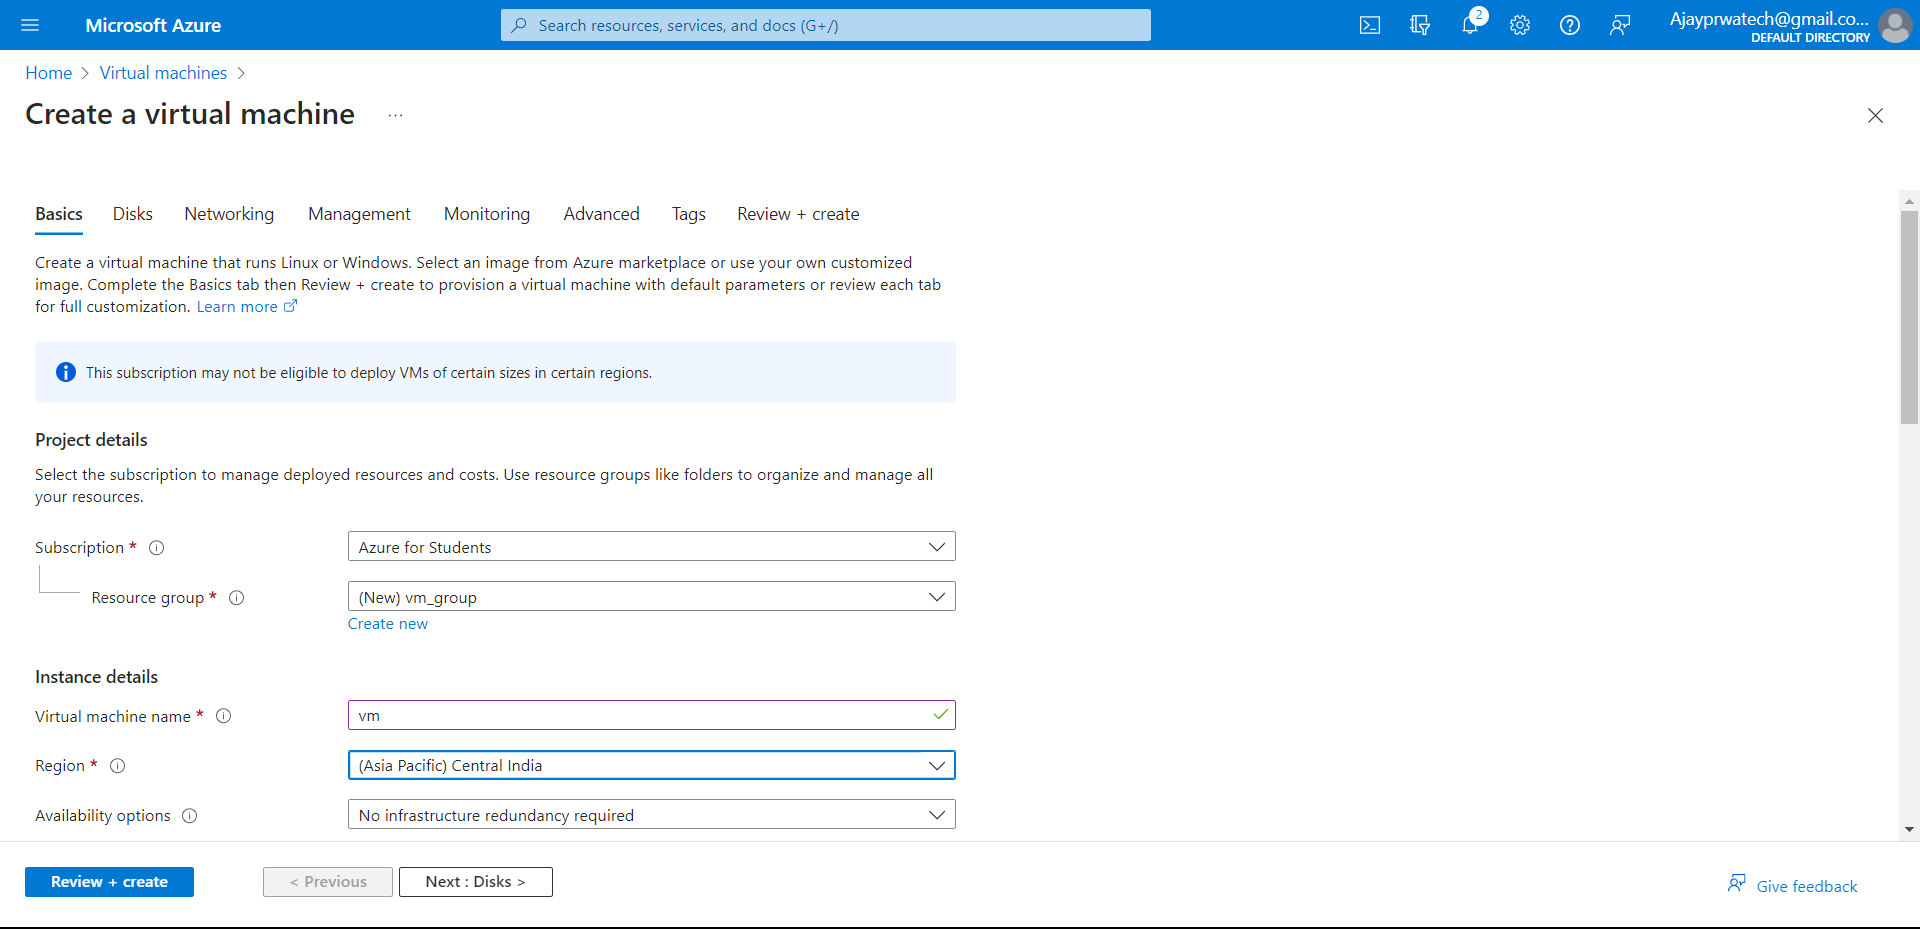
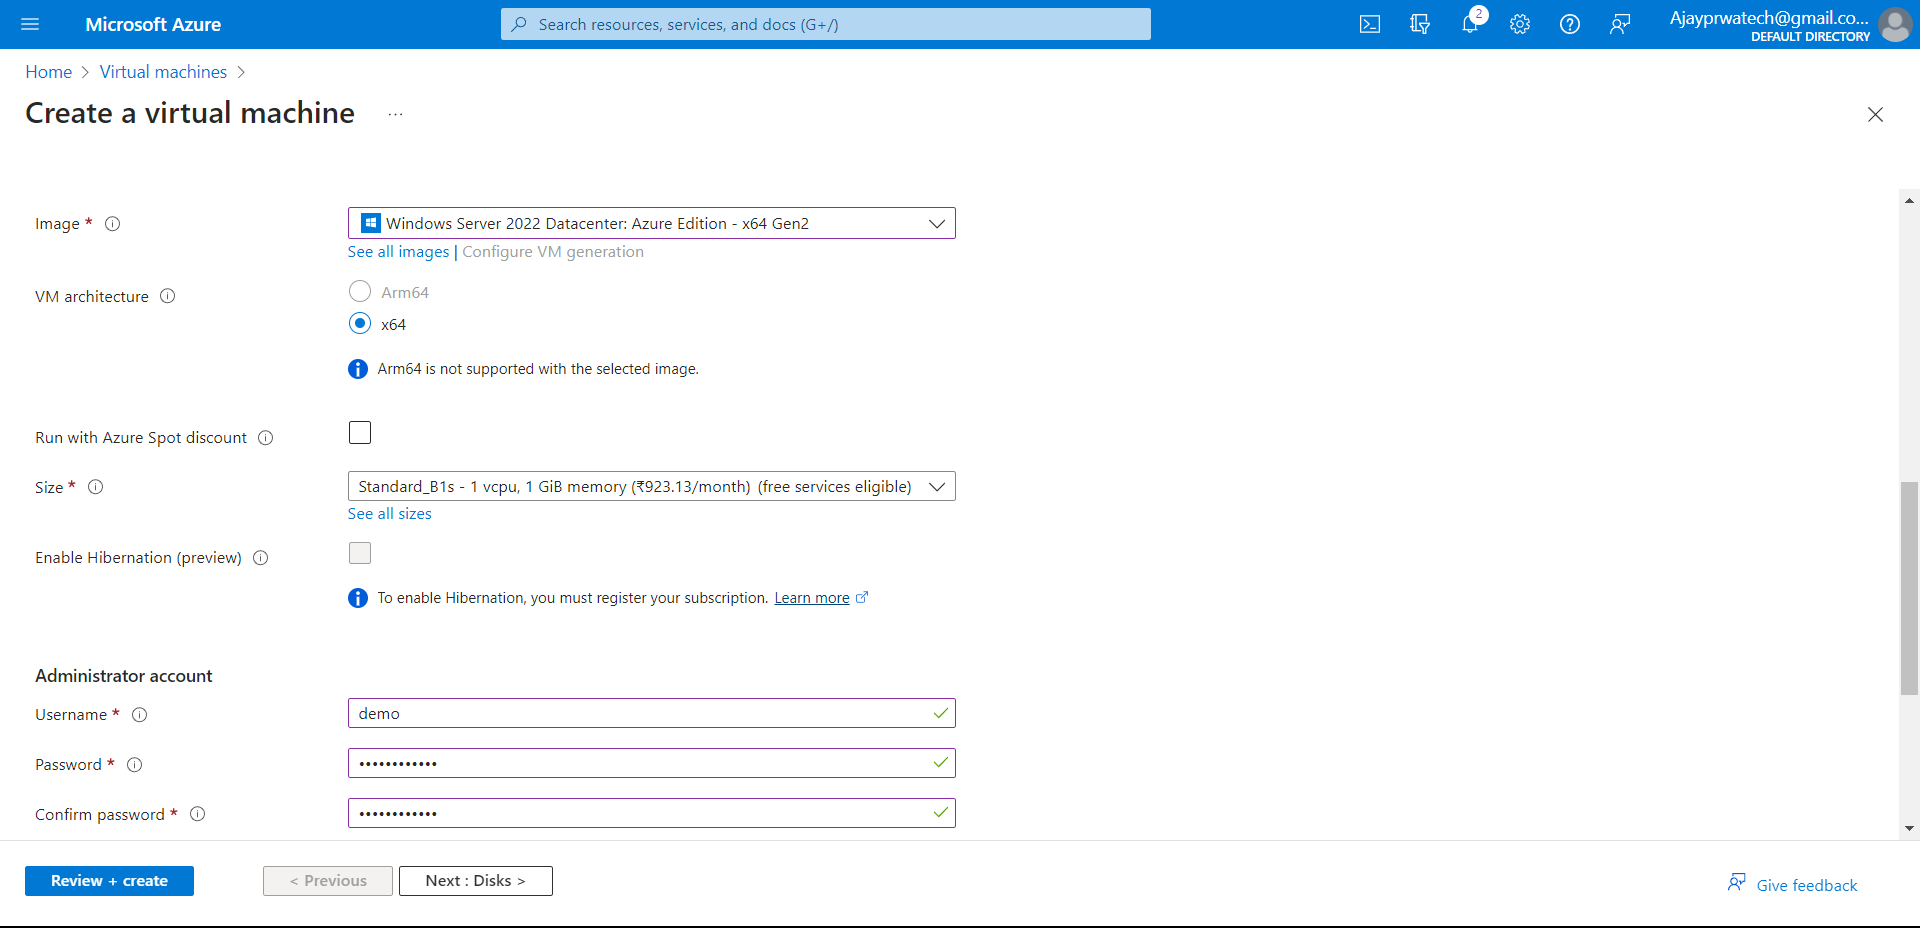
Select the Windows image and add the username & password in the administrator account.
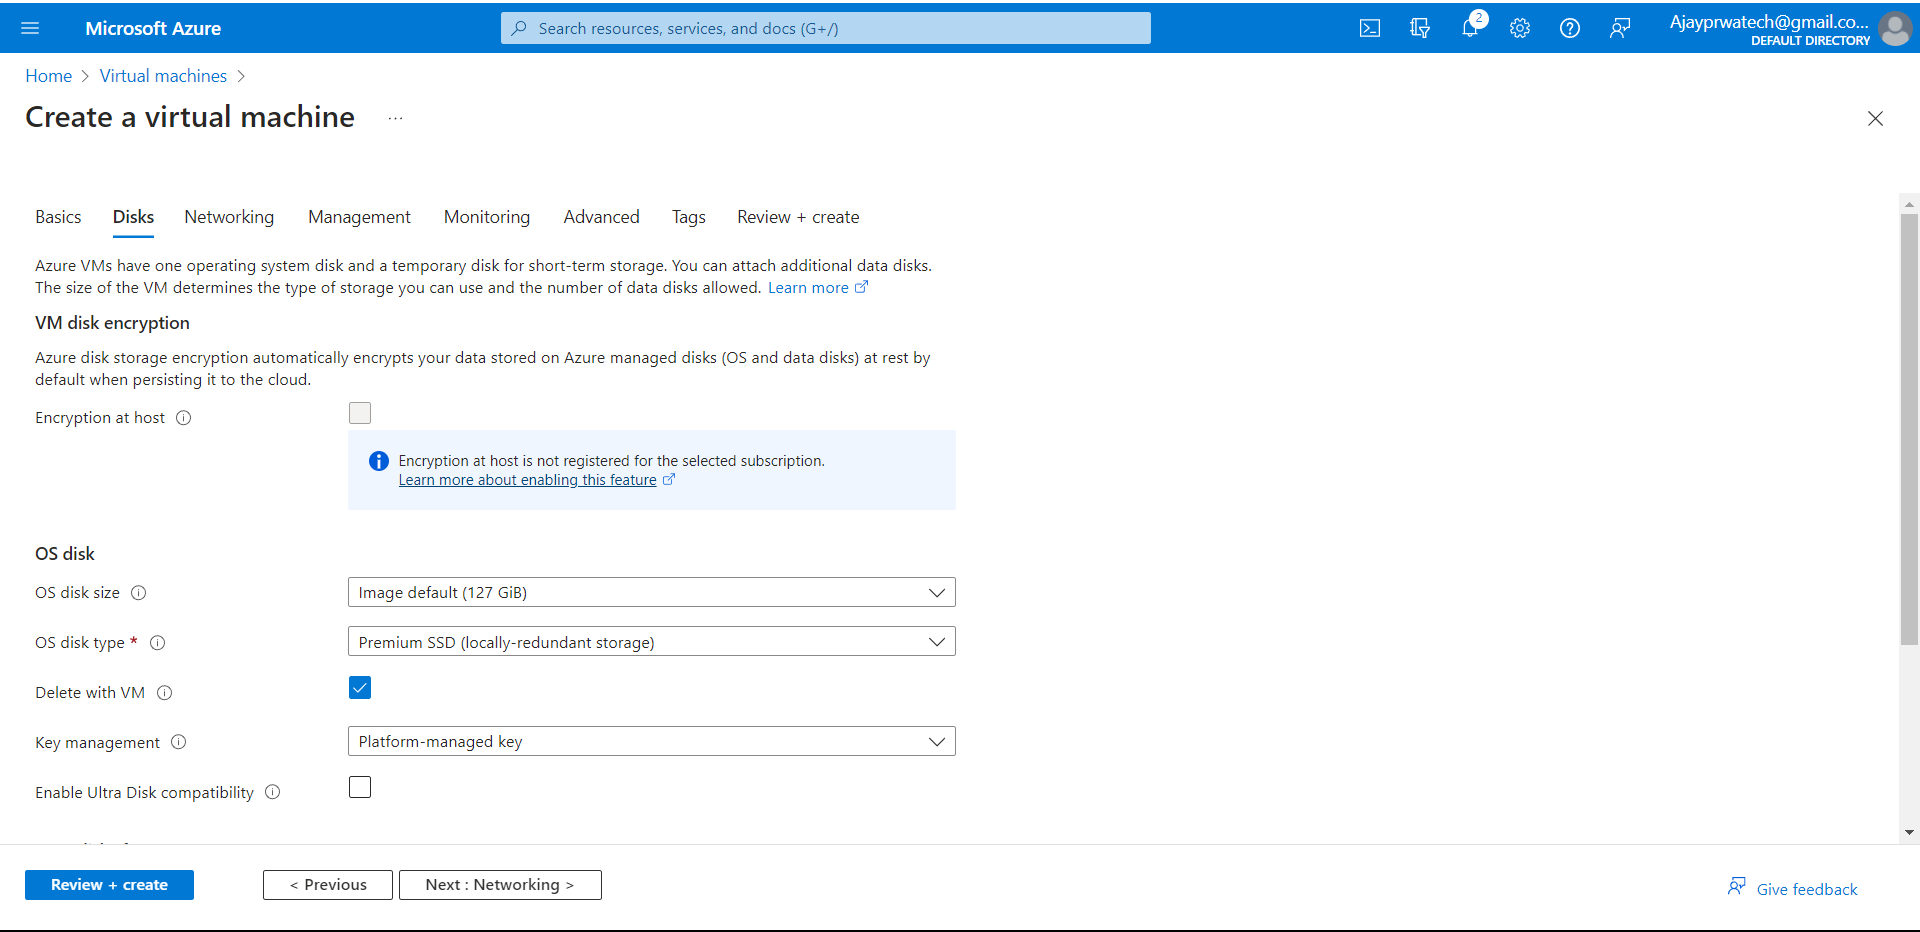
Let the disk session by default
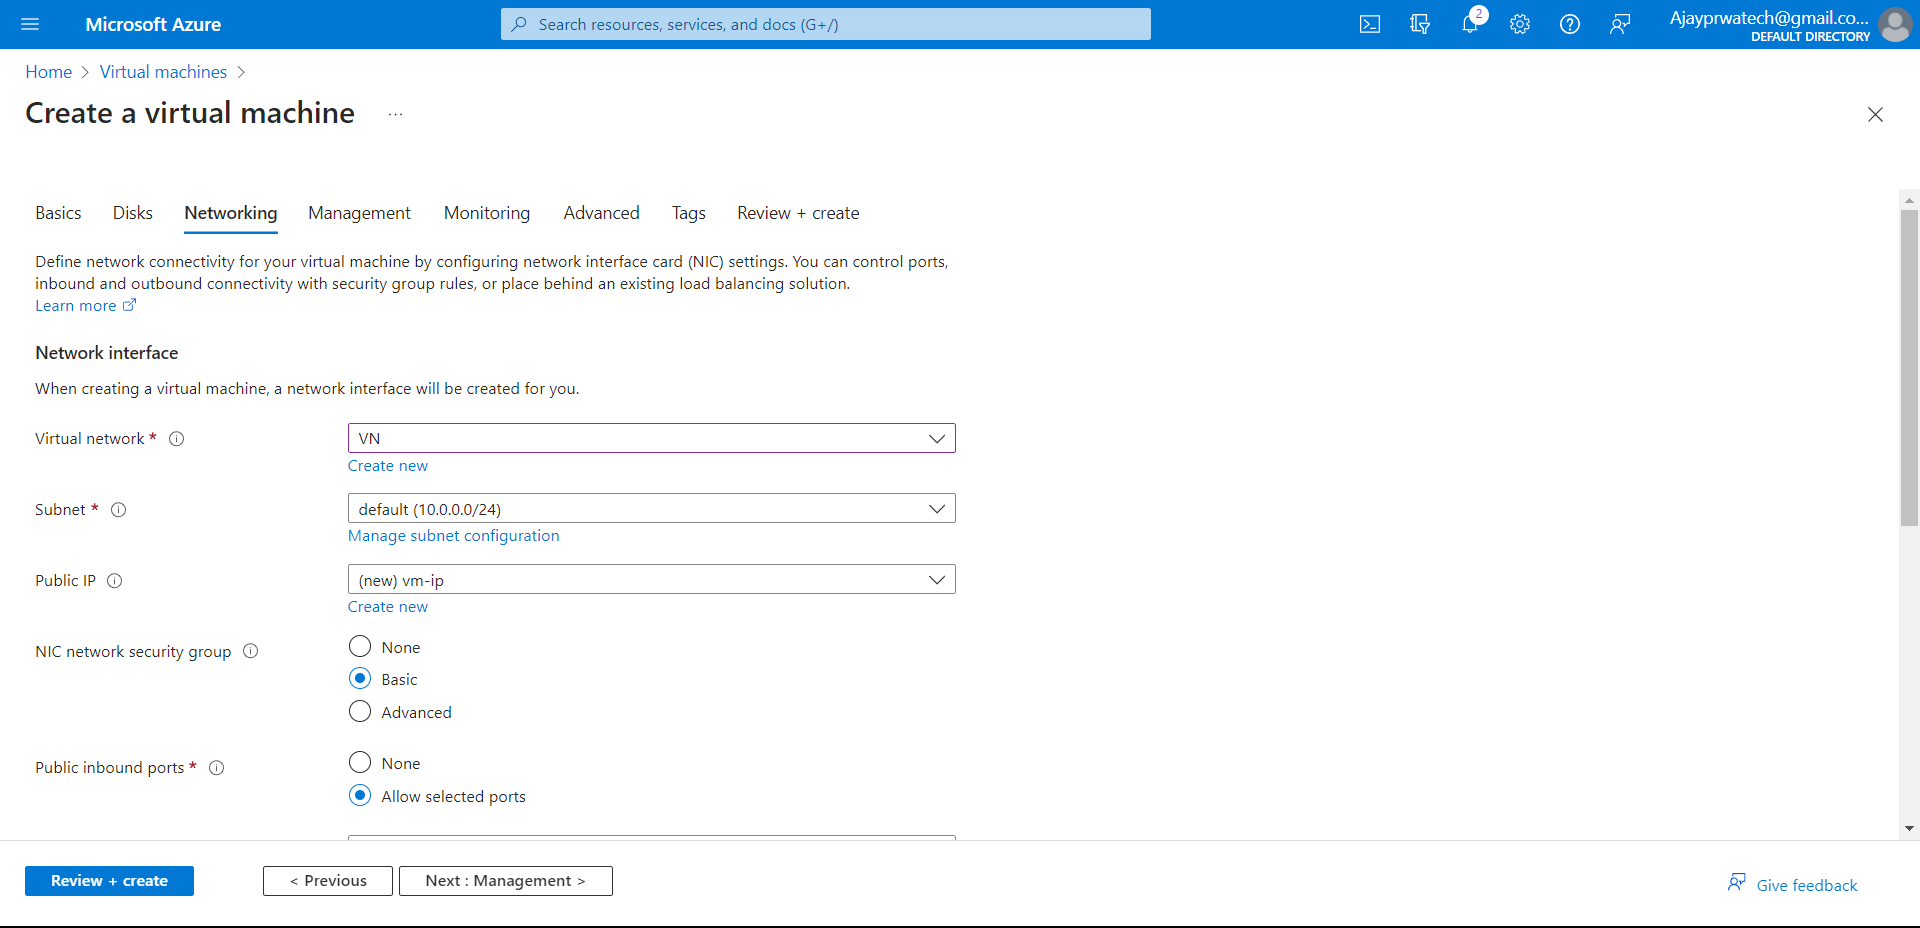
In this network session, we need to select the virtual network which we have created.
As I have created VN I have selected that.
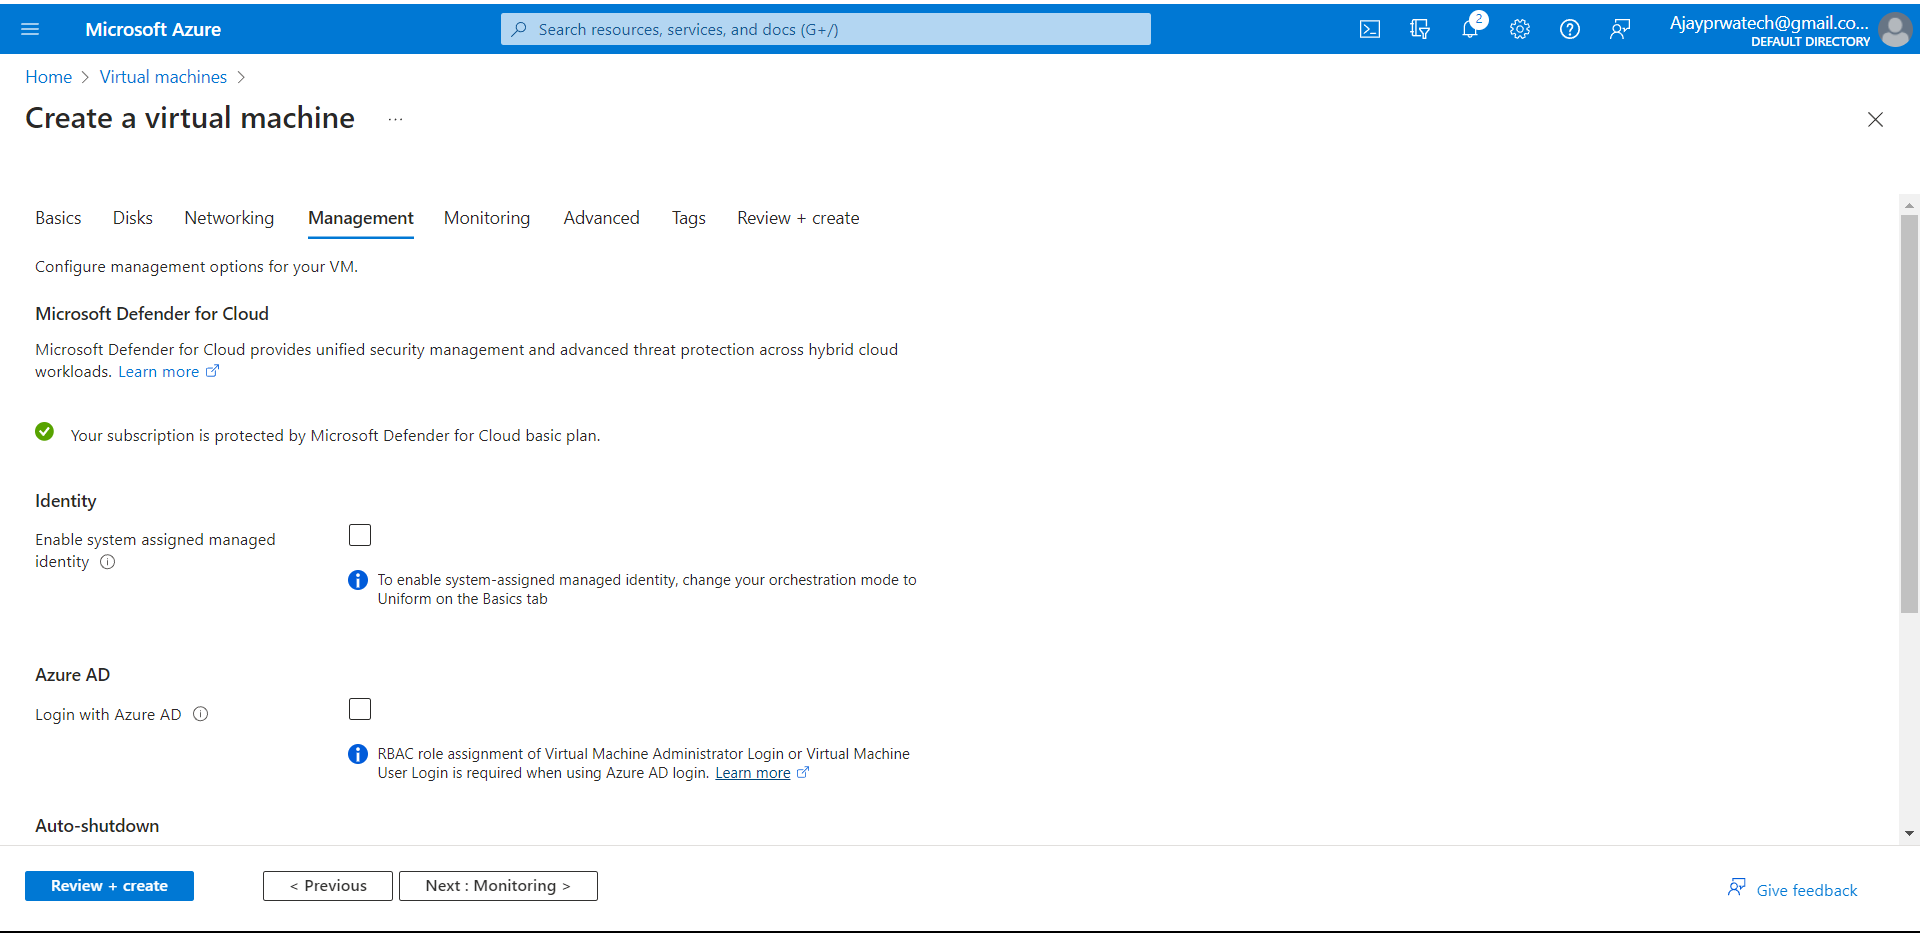
Now in the management session also it should be the default
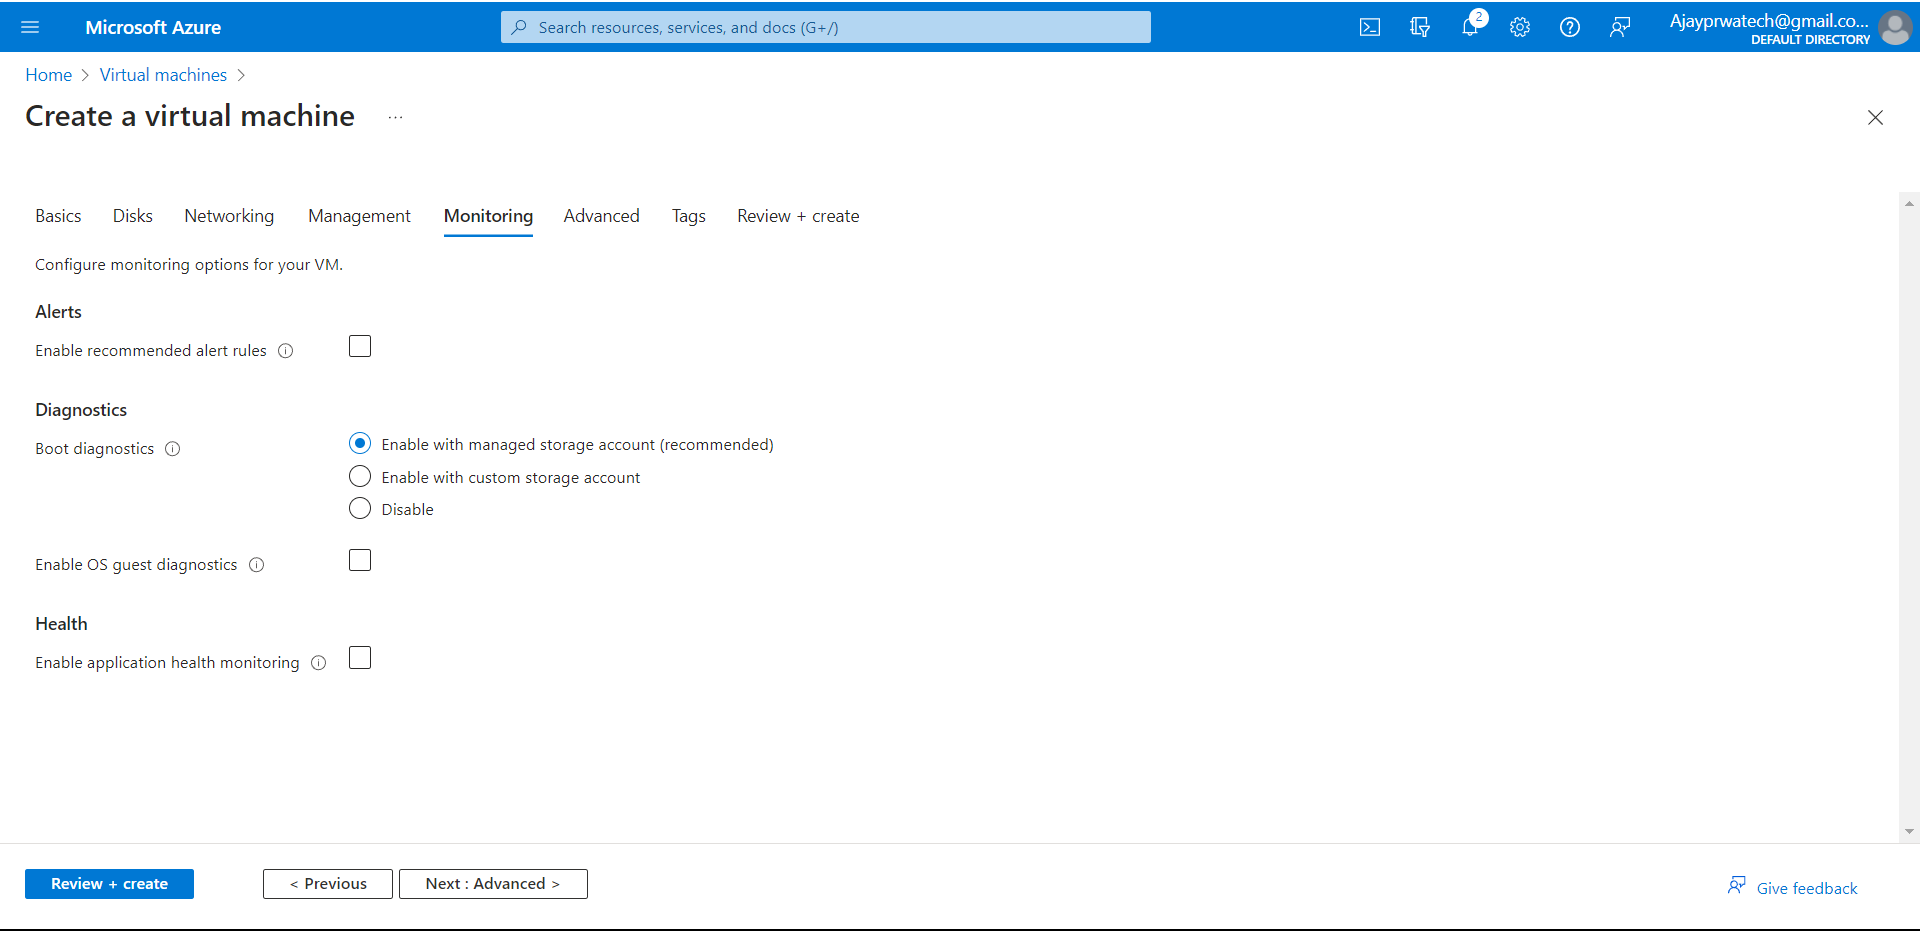
In monitoring also it should be the default
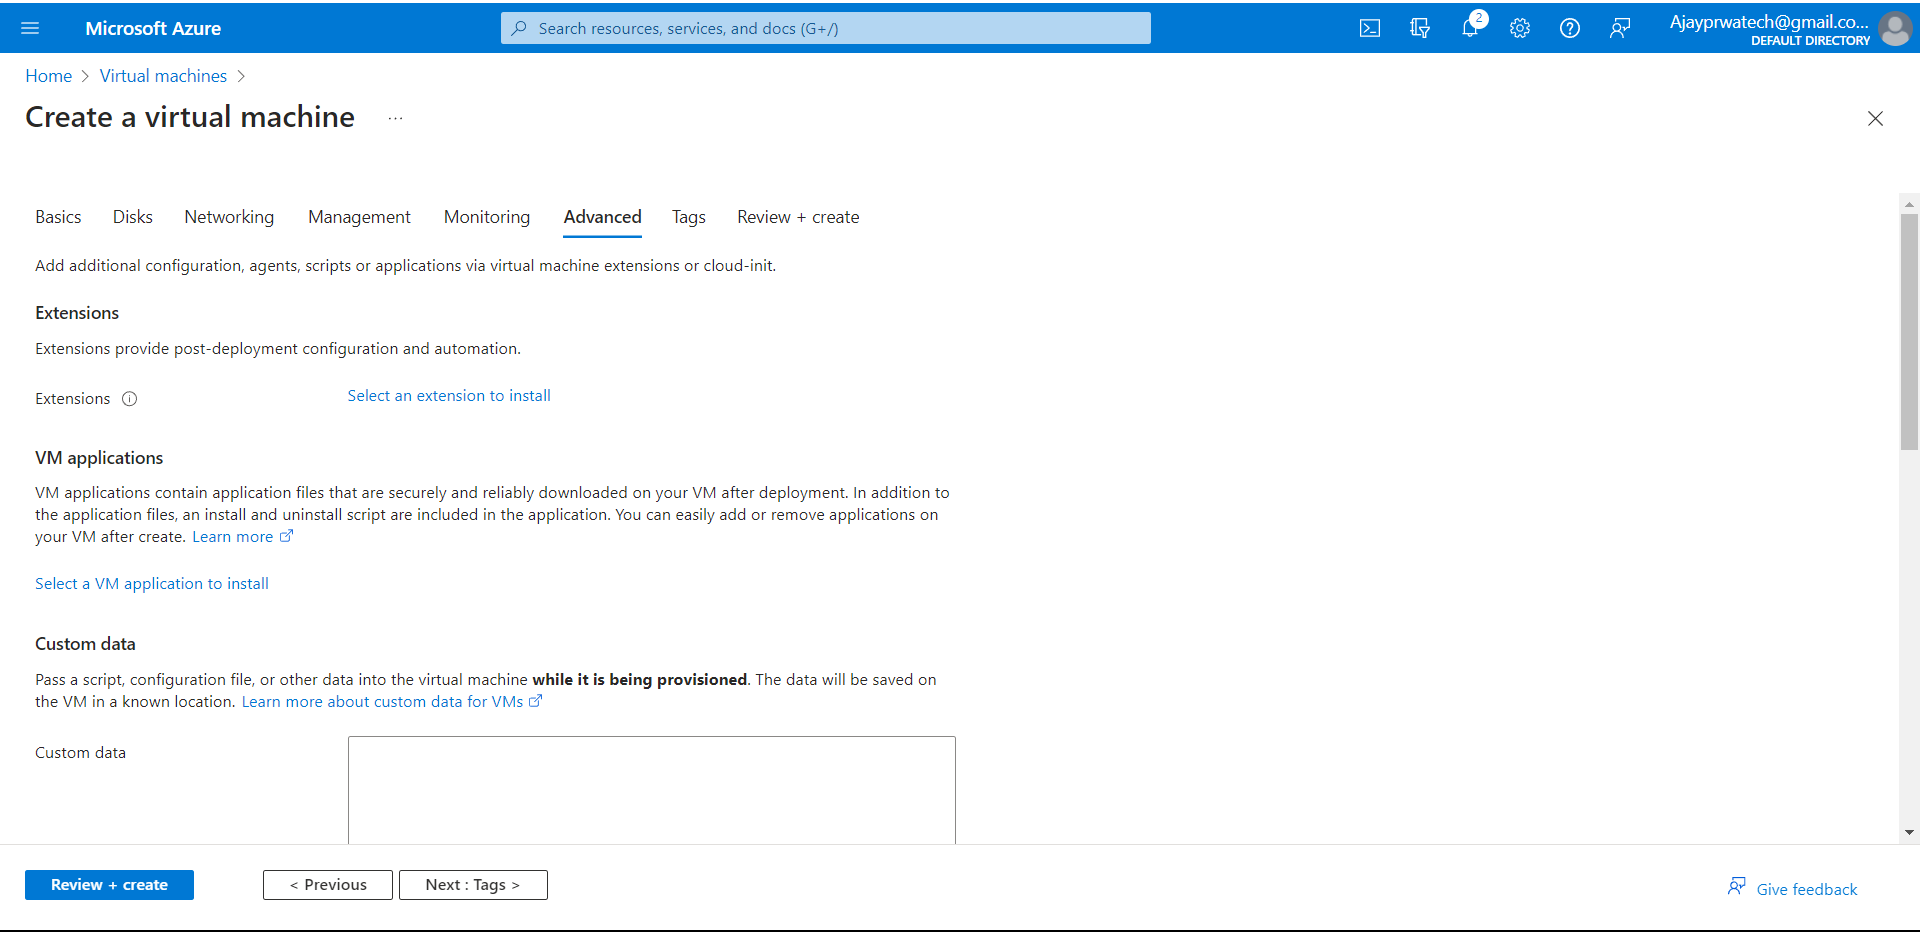
In advance also it should be the default
Now, we can review the details and click on create
Here you can see we have created the virtual machine
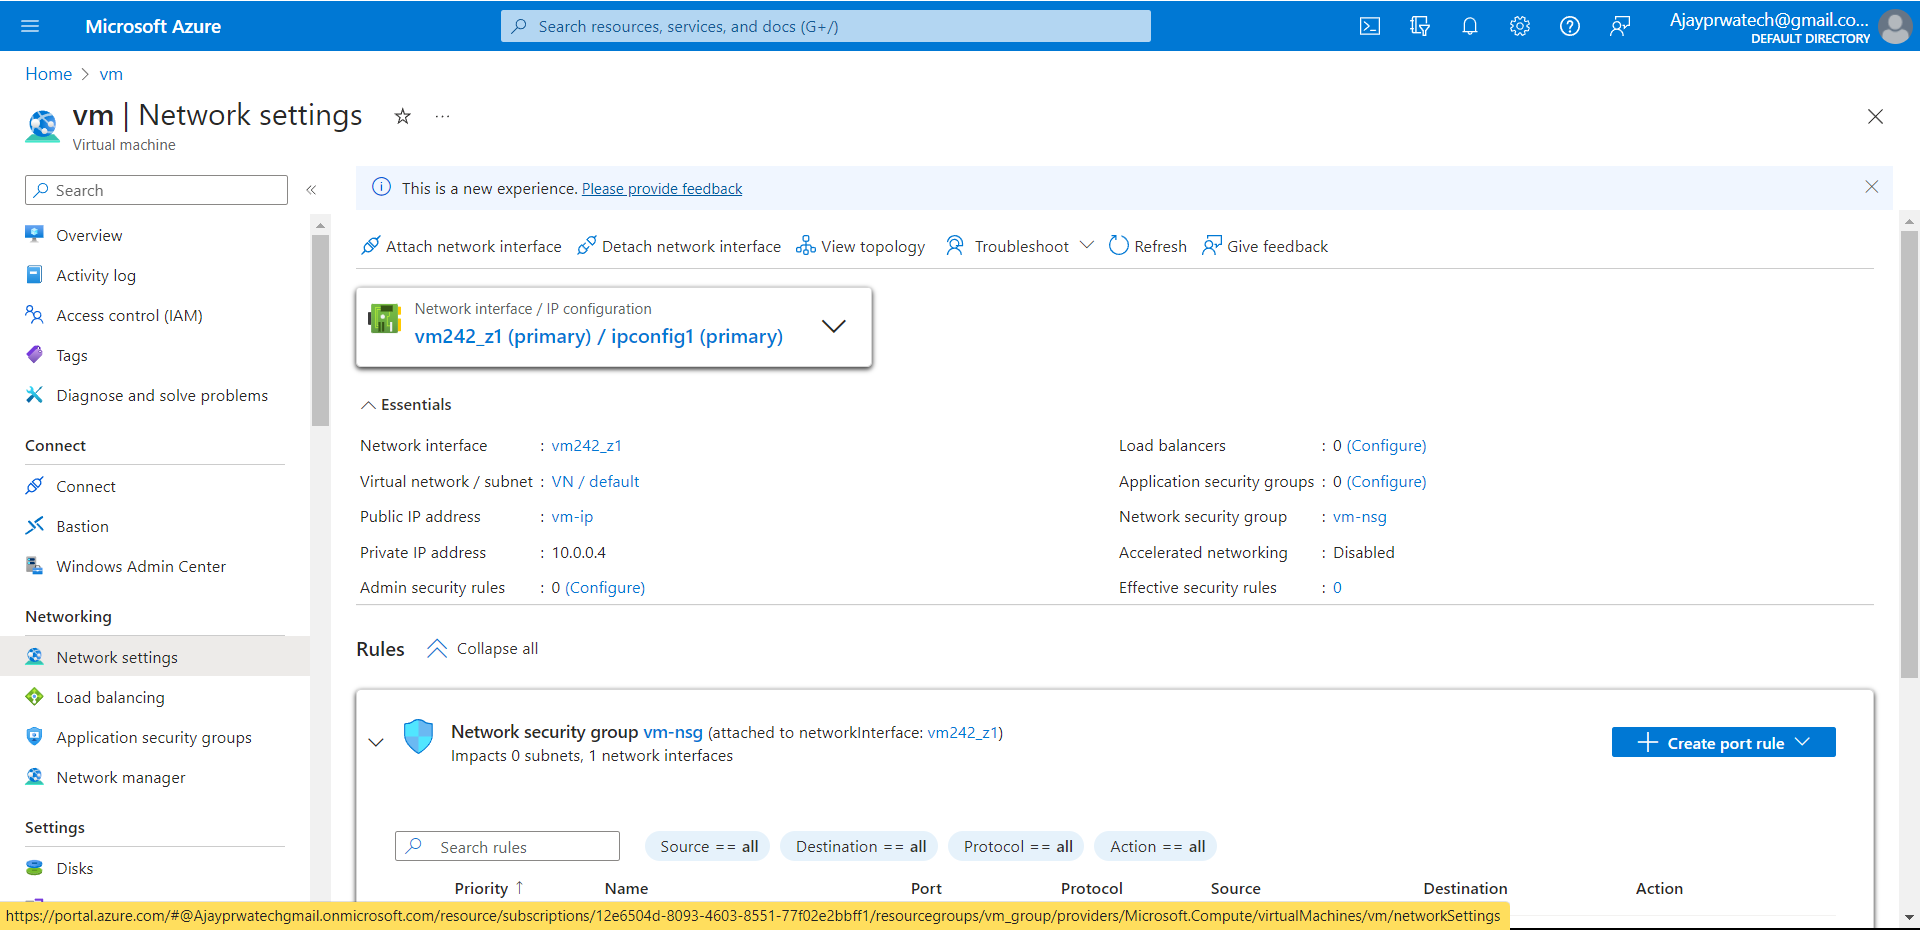
In networks
