Creating Cloud SQL instance
Create Cloud SQL instance in Google Cloud Console
Creating a Cloud SQL instance in Google Cloud Platform (GCP) is a straightforward process that allows you to set up and manage fully-managed relational databases. Follow these steps to create a Cloud SQL instance:
-
Navigate to the Google Cloud Console: Open the Google Cloud Console in your web browser.
-
Select or create a project: If you haven’t already selected a project, use the project selector dropdown in the upper left corner of the console to either select an existing project or create a new one.
-
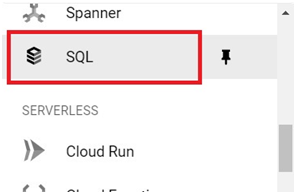
Open the Cloud SQL page: In the left-hand navigation menu, scroll down and click on “SQL” under the “Storage” section.
-
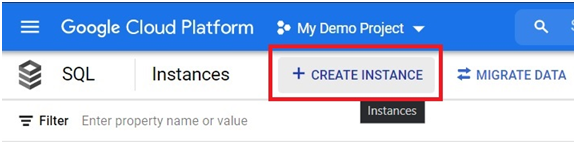
Click on “Create Instance”: On the Cloud SQL page, click on the “Create Instance” button.
-
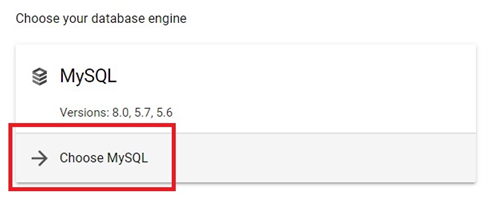
Choose the database engine: Select the type of database you want to create (e.g., MySQL, PostgreSQL, SQL Server).
Prerequisites
GCP account
Cloud SQL is a fully-managed database service which helps you to set up, manage, and administer your databases on Google Cloud Platform.
You can use Cloud SQL with MySQL, PostgreSQL, or SQL Server.
Open Console
Menu > SQL
Click on Create Instance.
Choose which one you need. I’m choosing MySQL.
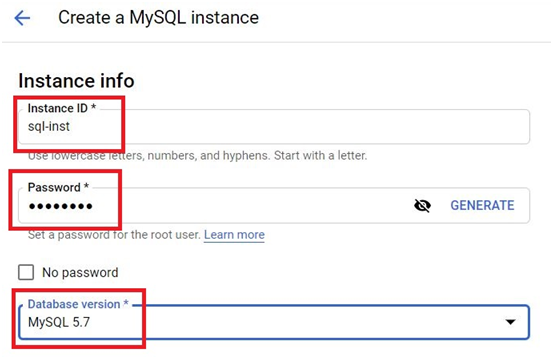
Give the instance ID and password.
Choose which Database version you need.
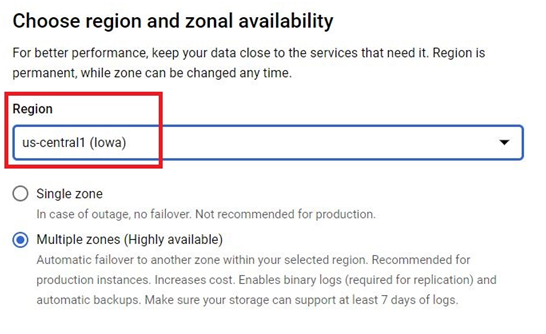
Choose the region and zones.
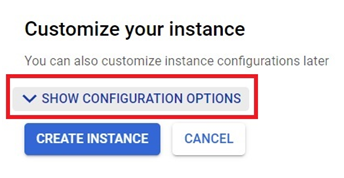
Click on show configuration options.
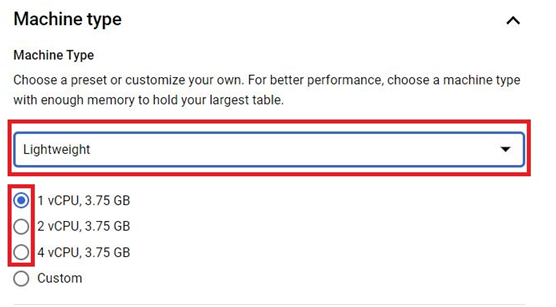
Machine Type.
specification for instance.
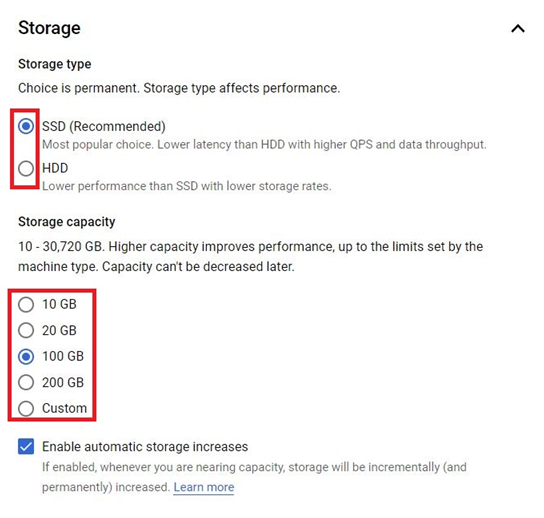
Choose the storage type and storage capacity.
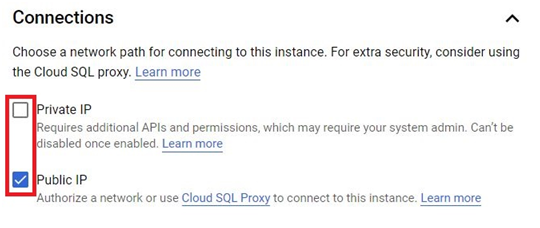
Choose the connection which you want for your instance.
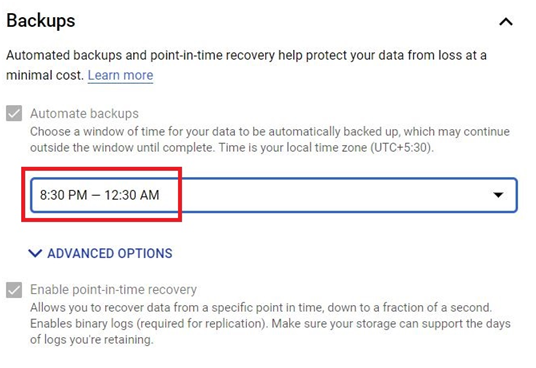
If you want to backup choose the backup timing.
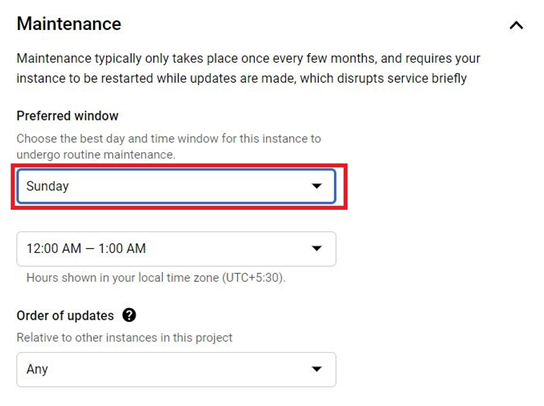
In maintenance choose a day which the resource usage will be less.
Click on Create Instance.

The instance will be created.
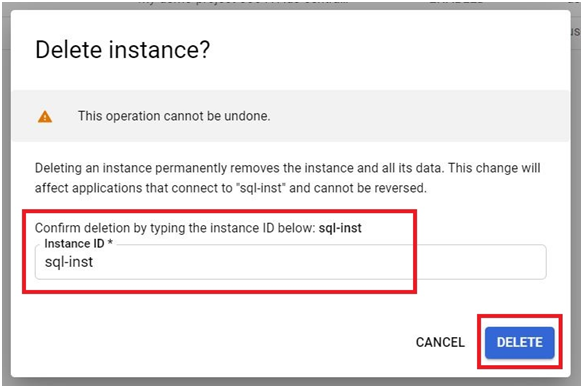
To delete the Cloud SQL Instance.
In the SQL instances, Click on 3 dots on right side. Click Delete.
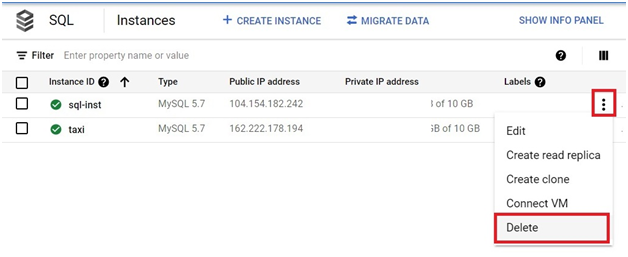
Give the Instance ID. Press Delete.
Create Cloud SQL instance in Google Cloud Console