Working with Dataflow
Prerequisites
GCP account
Open Console.
Click on activate cloud shell
$ git clone https://github.com/GoogleCloudPlatform/training-data-analyst

$ ls

Create bucket in console. Give bucket name as same as the project ID
In shell, execute the below command
$ BUCKET=”<bucket-name>”
$ echo $BUCKET

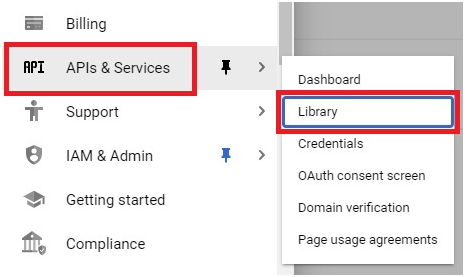
Open Menu > API services > Library
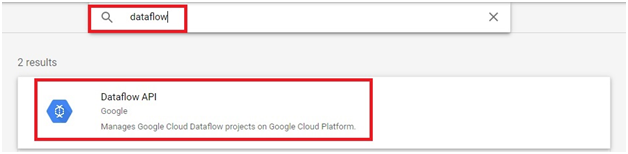
Search Dataflow. Click Dataflow API
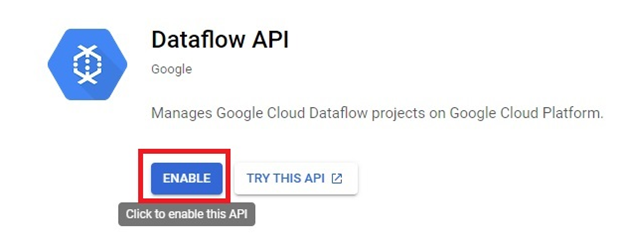
Click Enable
$ cd training-data-analyst/courses/data_analysis/lab2/python
$ ls
The files will be displayed

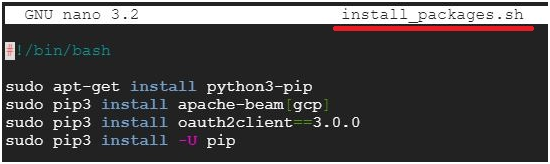
$ nano install_packages.sh #open the file install_packages.sh

The file contents can be shown. This file is to install the components.
$ sudo ./install_packages.sh

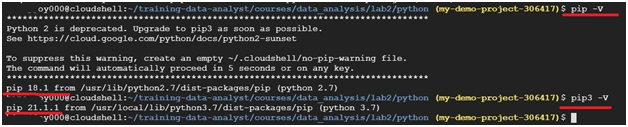
To check python version
$ pip-V
$ pip3 -V
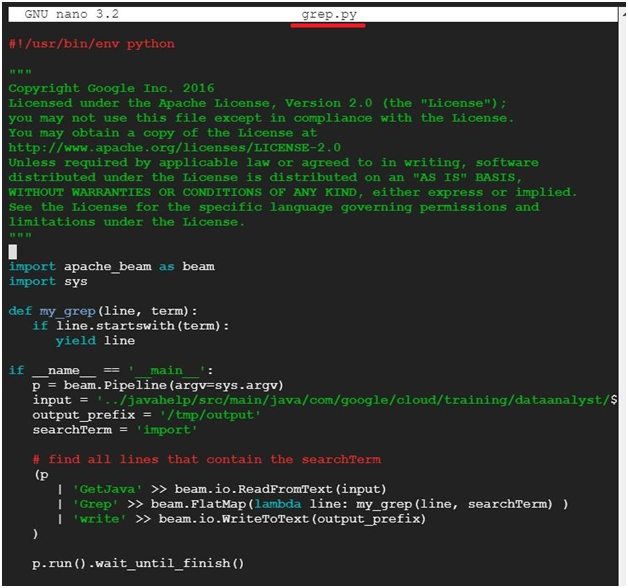
$ nano grep.py Open the file grep.py and check the content

$ python3 grep.py

$ ls /tmp #It will display whether the file is executed or not.

$ cat /tmp/output-* #It will display detailed output.

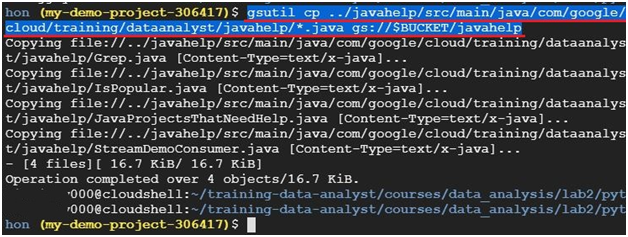
$ gsutil cp ../javahelp/src/main/java/com/google/cloud/training/dataanalyst/javahelp/*.java gs://$BUCKET/javahelp
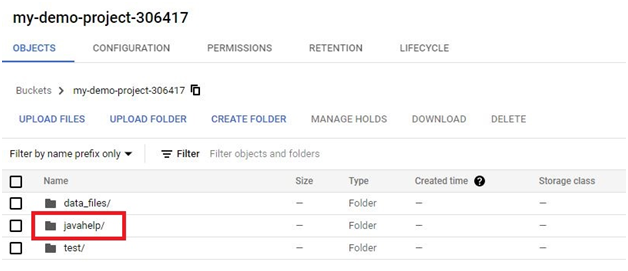
Check the file is saved or not.
Open Menu > Cloud Storage.
Open Bucket.

The file will be copied or not.
$ echo $DEVSHELL_PROJECT_ID $
echo $BUCKET

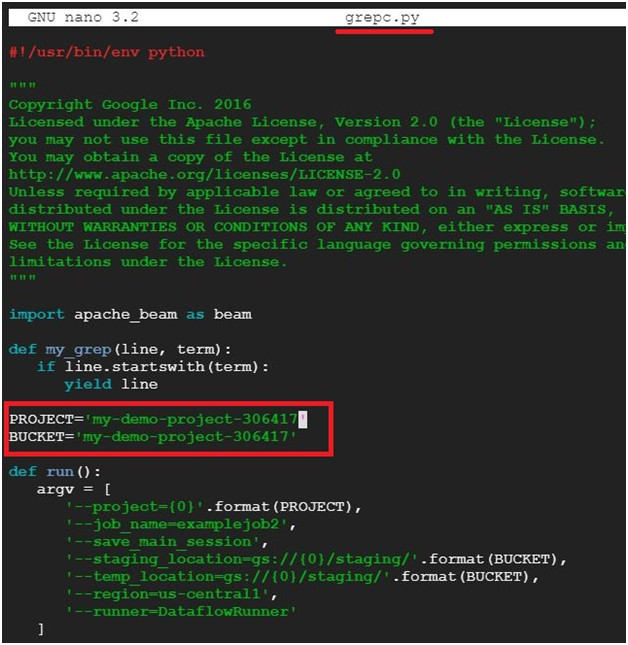
$ nano grepc.py

Edit the file.
PROJECT='<project_ID>’
BUCKET='<bucket_name>’
NB : If the Project ID and Bucket is same, we can give the same ID
To Save and exit. Press ‘Ctrl + X’. Press ‘Y’ and ‘Enter’
$ python3 grepc.py #Execute file grepc.py

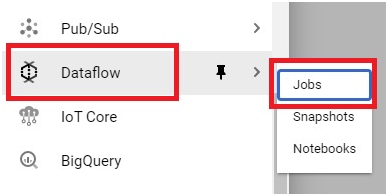
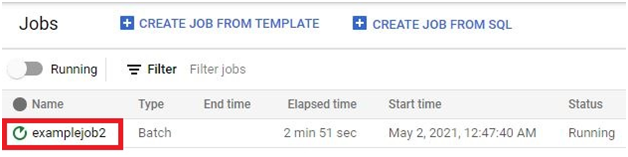
Open Console >Dataflow > Jobs
Open the Job which is executed.
Click the Job Graph.
The Graph is displayed.
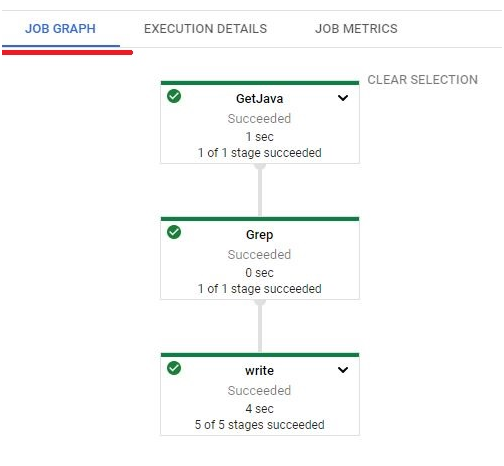
In Job Graph on right side you can see the Job info and resource metrics.

Open Shell.
$ ls
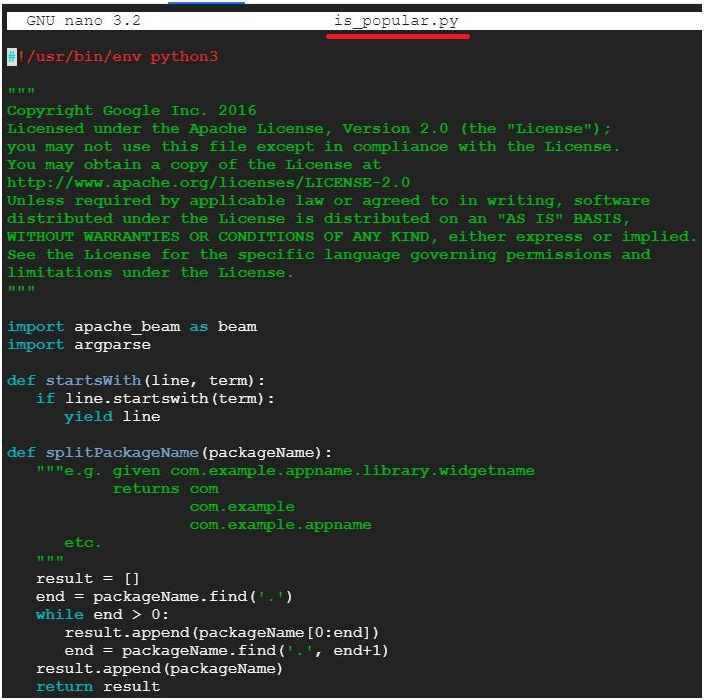
$ nano is_popular.py

It will open the file is_popular.py
$ python3 ./is_popular.py #To execute theis_popular.py file
$ cat /tmp/output-* #Display the output

$ python3 ./is_popular.py –output_prefix=/tmp/myoutput

$ nano /tmp/myoutput-00000-of-00001

It will open the file with output.

Open Menu > Cloud Storage.
Open Bucket.

Open javahelp/ folder
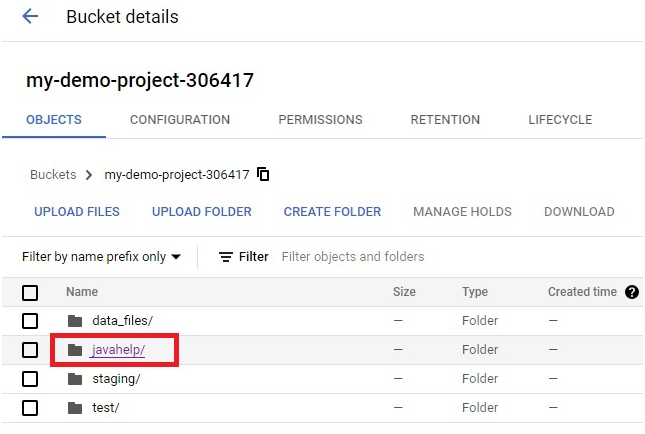
The outputs will be stored in it.