Creating Standard GKE Cluster
Standard GKE cluster configuration guide
Configuring a standard Google Kubernetes Engine (GKE) cluster involves defining the foundational settings and parameters necessary to create and manage a Kubernetes cluster in Google Cloud Platform (GCP). Standard GKE cluster configuration guides users through the process of specifying cluster attributes such as node types, network settings, authentication methods, and add-on features to meet specific workload requirements and operational preferences.
Typically, users begin by selecting the desired cluster mode, which can include Standard mode for manually managed clusters or Autopilot mode for fully managed clusters. Next, users define cluster details such as the cluster name, location, and Kubernetes version. Users can also specify node pool configurations, including machine type, disk size, and autoscaling options to optimize performance and resource utilization.
Prerequisites
GCP account
Open Console.
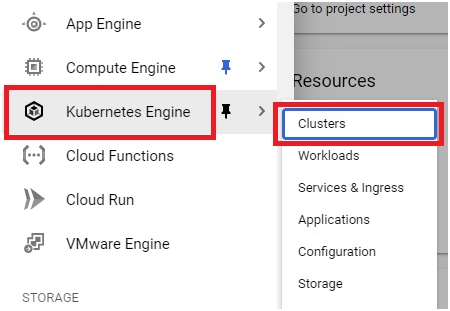
Open Menu > Kubernetes Engine > Clusters
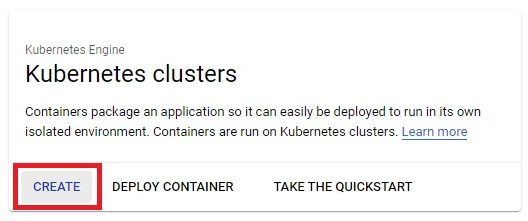
Click Create.
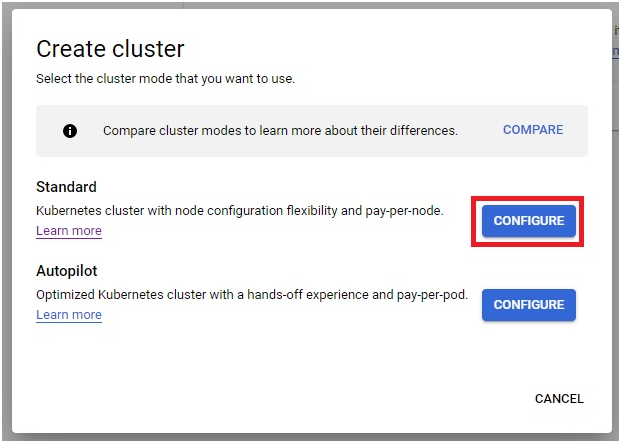
Click Configure of Standard Cluster.
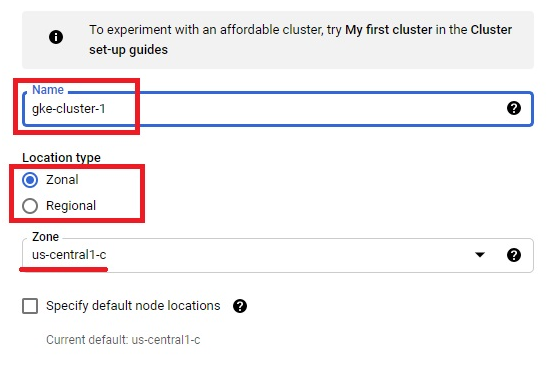
Give the name for cluster.
Choose the location type and zone.
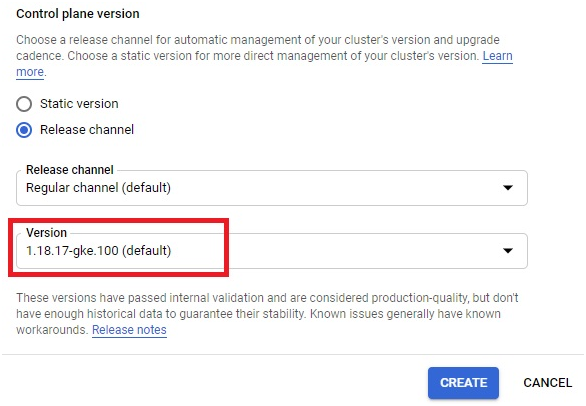
Choose the version for cluster.
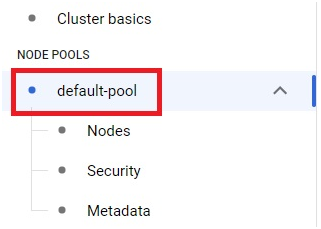
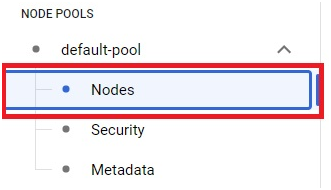
In navigation pane, Click Default pool.
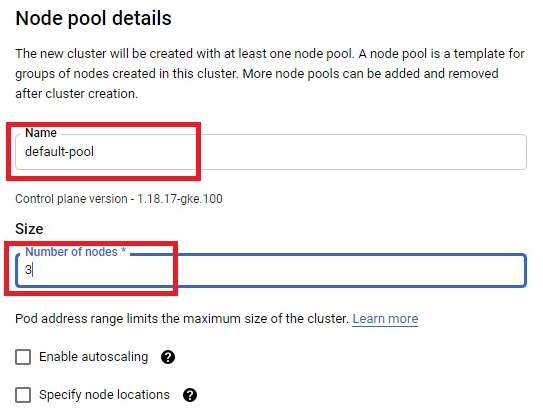
Give the name and size for node poor.
Click on nodes.
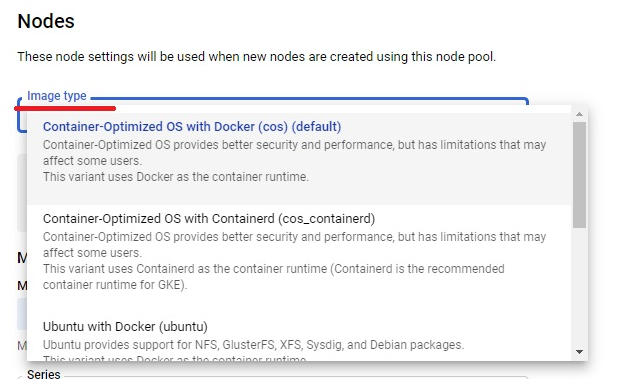
Choose the Image type(OS) for nodes.
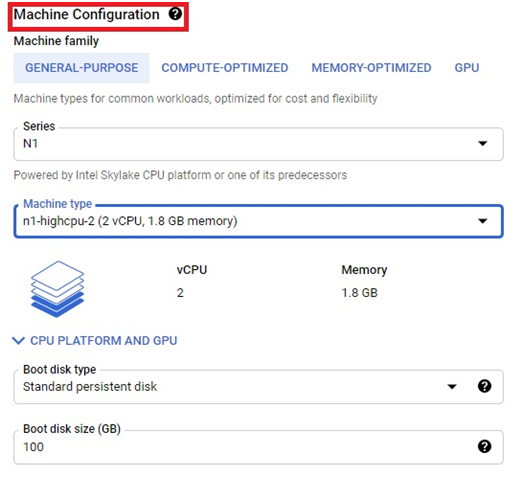
Choose the machine configuration for nodes depending on your requirement.
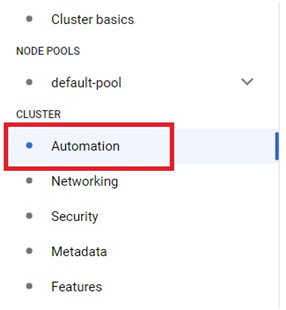
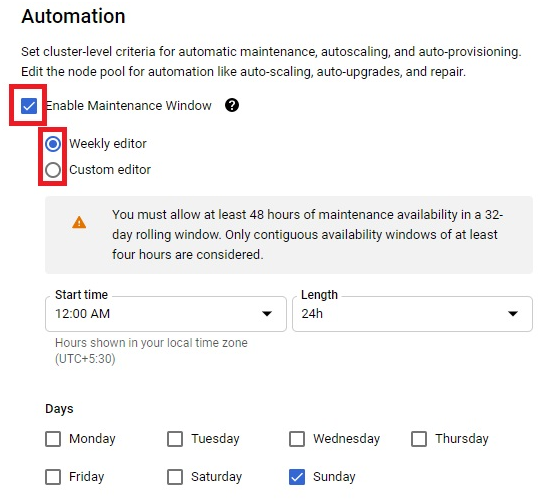
Click on Automation in navigation pane.
Click on Enable Maintenance Window.
Choose a day and time for automatic maintenence
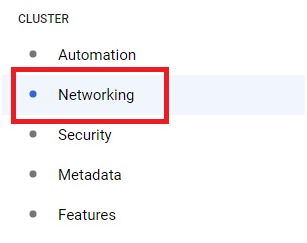
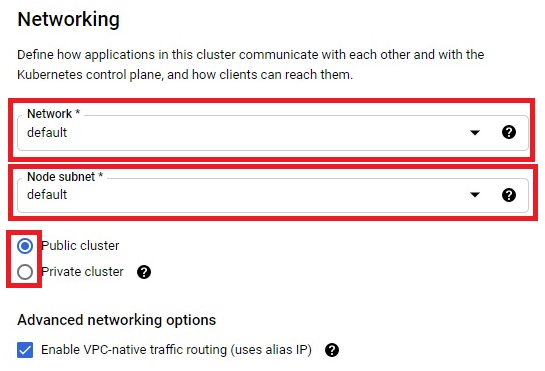
Click on Networking.
You can use either VPC network or public network.
Choose how you want your cluster as private or public.
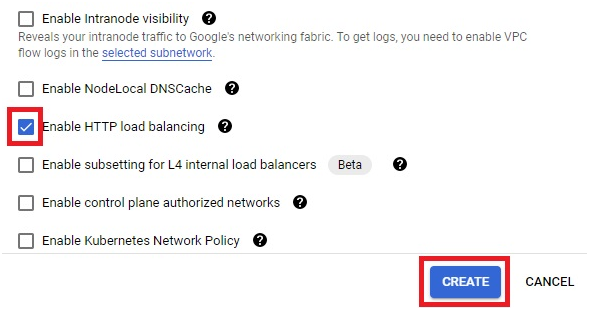
Click on Enable HTTP load balancing.
Click Create.
It will take 3-5 minutes depents on the size of cluster. The Standard GKE cluster will be created.
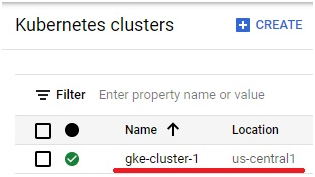
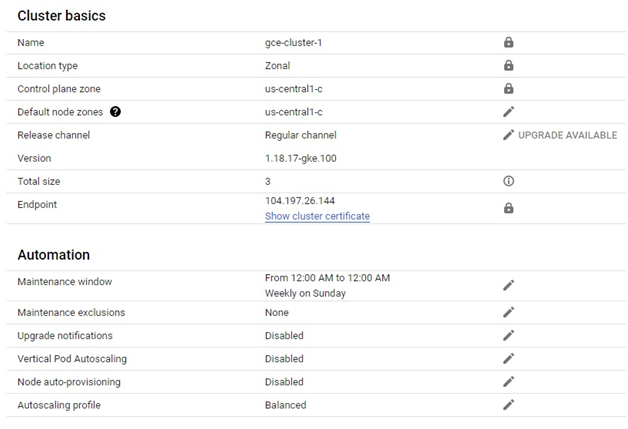
Open the Cluster. You can see the configuration and details of cluster.