Removing Disks from Instances
Detaching and reattaching boot disks
Detaching and reattaching boot disks is a critical capability within cloud computing environments like Google Cloud Platform (GCP), enabling users to manage and troubleshoot virtual machine (VM) instances effectively. Boot disks contain the operating system and boot files necessary to start the VM, and detaching and reattaching them allows users to perform maintenance tasks, troubleshoot issues, and migrate instances between different VMs or projects.
Prerequisites
Hardware : GCP
Google account
Some times we might need to unmount and delete the disks from GCP instances so that other instances in that same zone can use that disk.
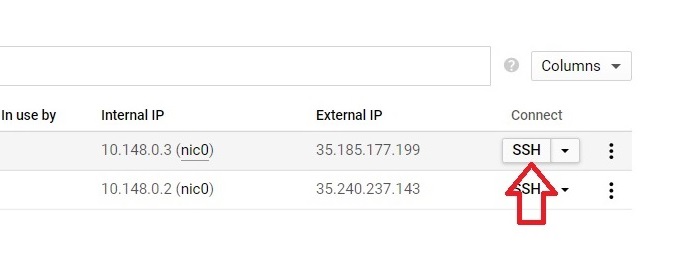
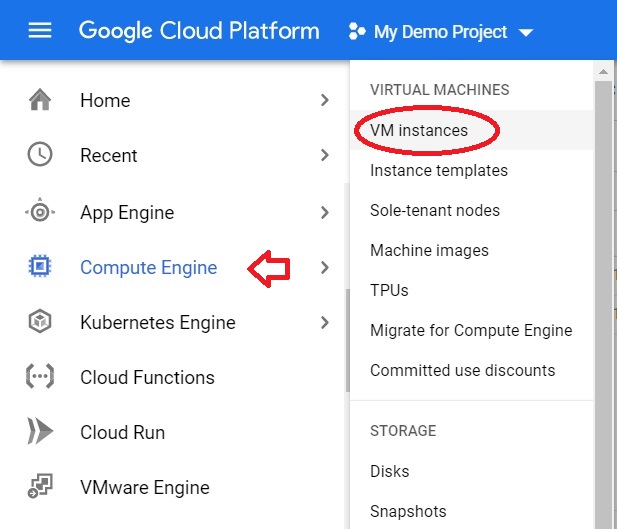
Open VM instances from the Menu > Compute Engine > VM instances.
Open the SSH of instance from which you want to remove the extra disk.
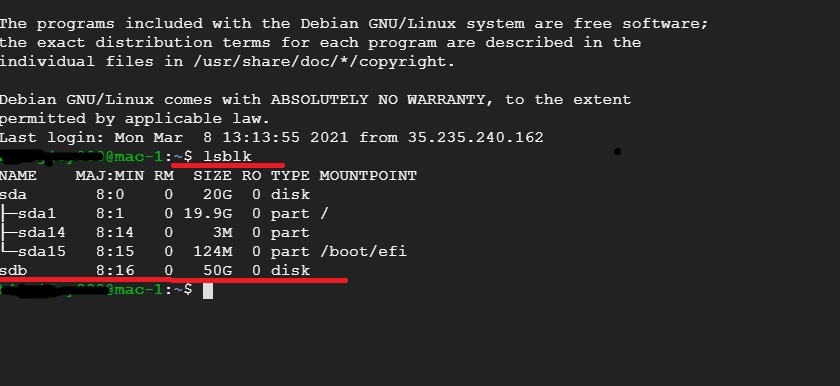
Type $ lsblk.
It will list the blocks.
To unmount the disk, type :
sudo umount /dev/<Disk_Name>
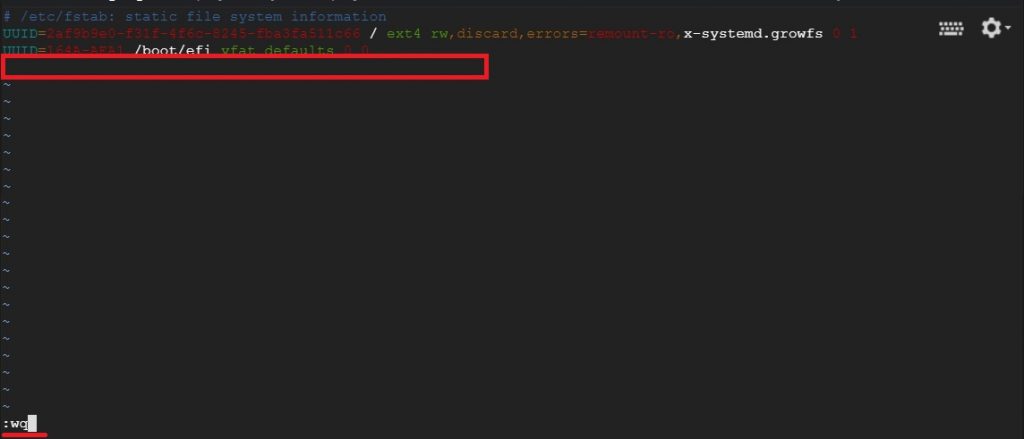
sudo vi /etc/fstab

It will open the file. Remove the directory path which you added, then press “esc” + “:” (shift + 😉 then type wq and enter.
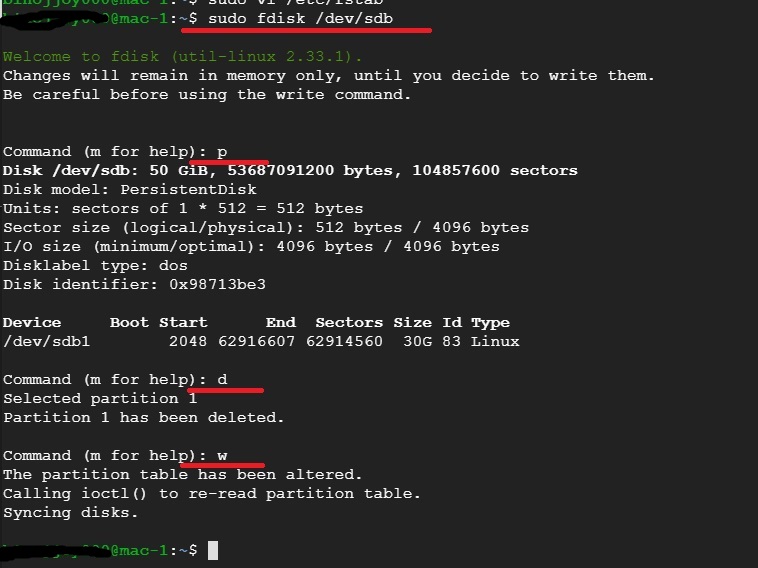
Type sudo fdisk /dev/sdb.
Press p for the partition table.
Type d to delete the partition. Specify the partition number which you want to delete [1-4].
To write the alteration press w.
Open the Compute Engine>VM instances to delete the disk from the machine.
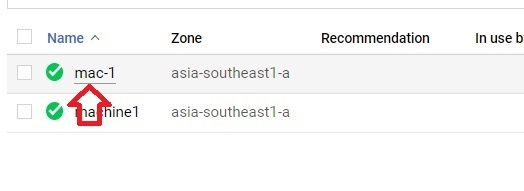
Click on the instance which you have added the disk.
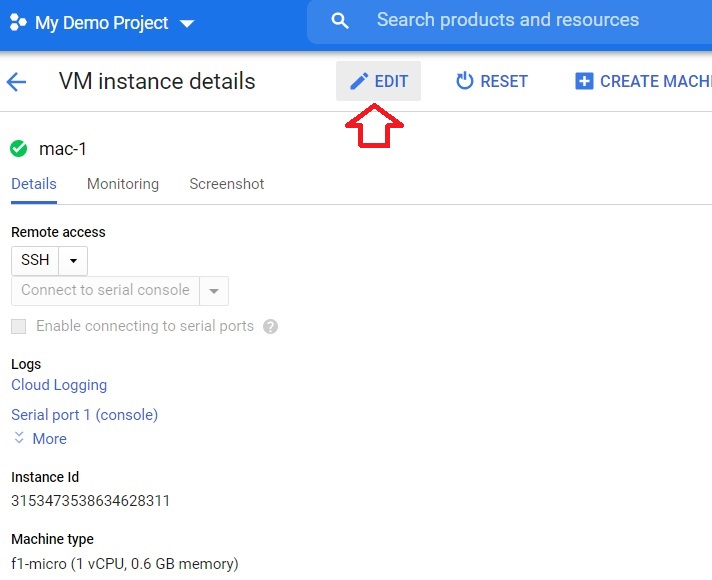
Click the Edit.
In the Additional Disks, Select the disk which you want to delete. And press the delete button.
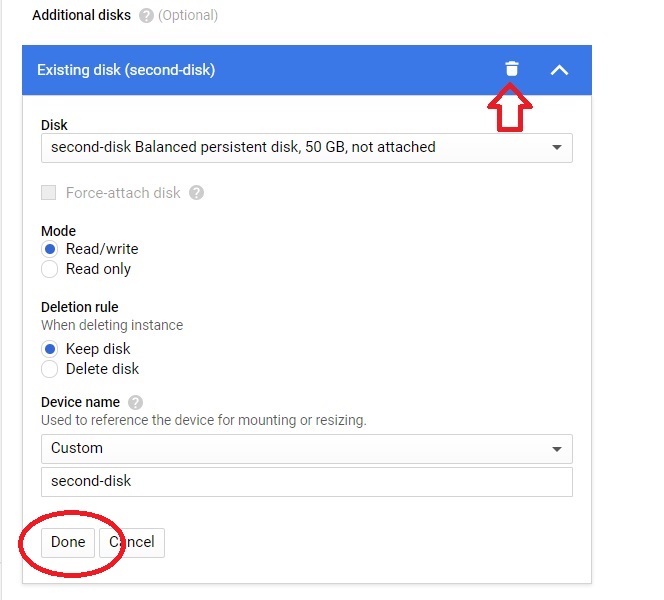
Click Done and press Save.
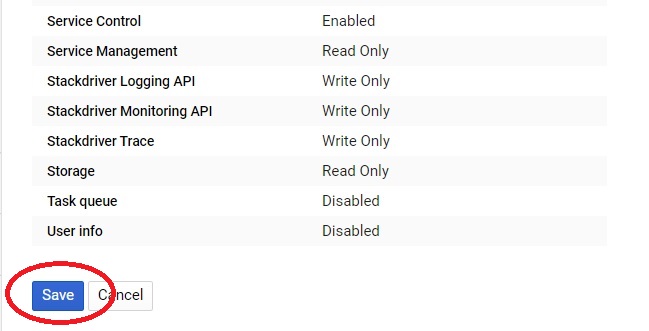
The disk will be detached from the Instance.