Adding disks in GCP Instances
How To Mount Extra Disks On Google Cloud VM Instance
Prerequisites
Hardware : GCP
Google Account
Go to Cloud Console.
We can add disks in GCP cloud compute engine/ Instances to increase disk space so that we can utilize it.
NB : Adding the disk in one Zone will be available in that zone instances only. No other zone instances can use the disk space.
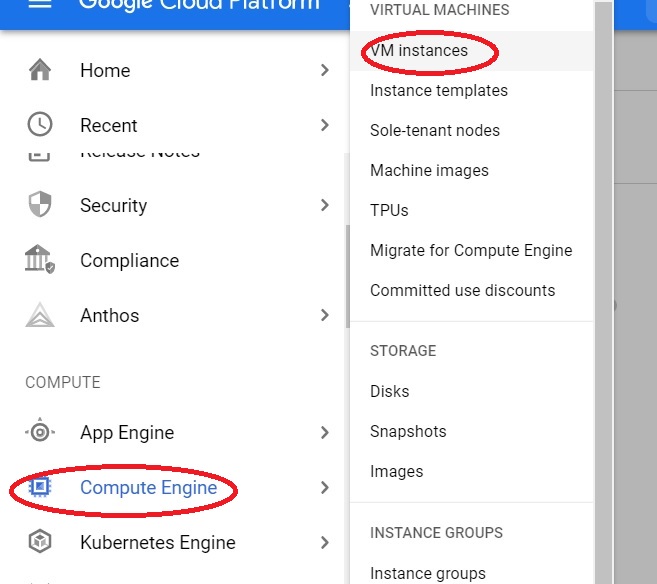
Click Menu > Compute Engine > VM instances.
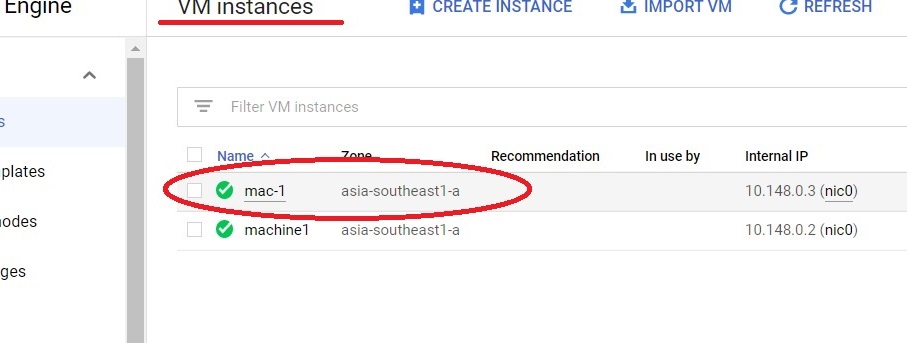
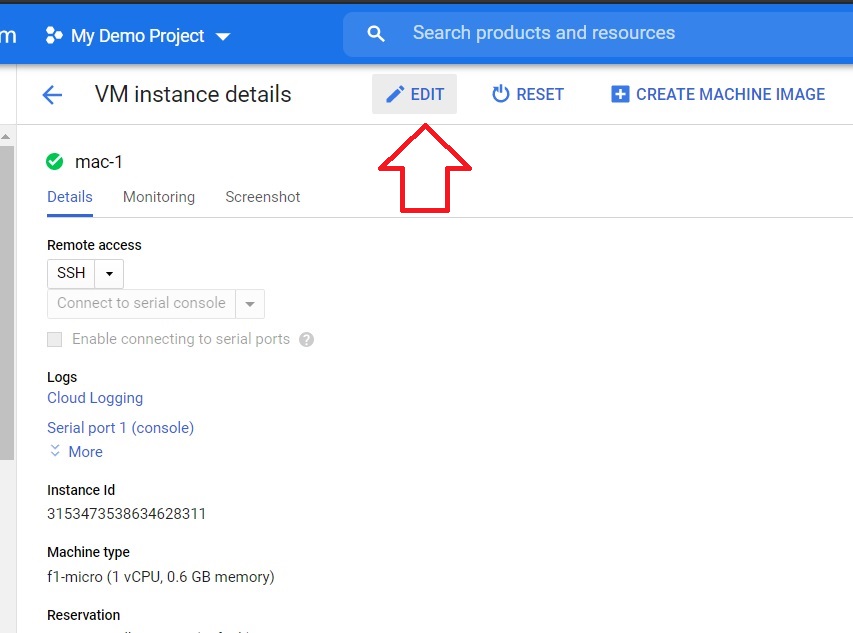
Select which instance you want to add the disk.
Click on edit.
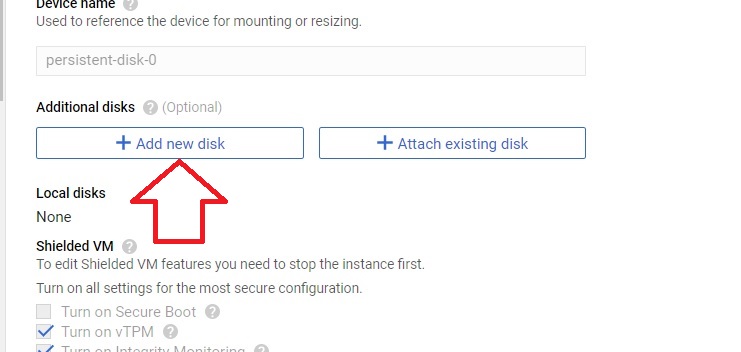
Click on add new disk.
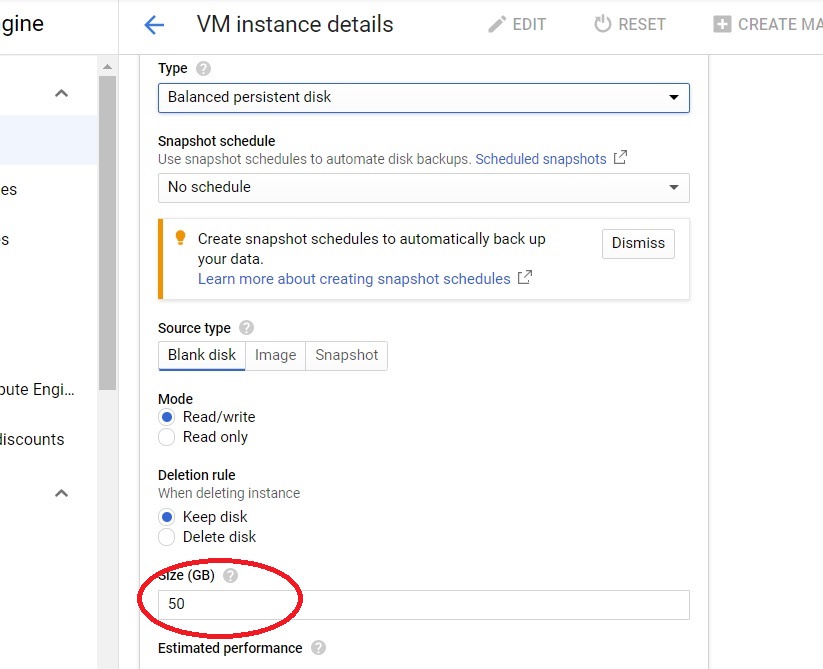
Give the name for the disk and choose the type which you want.

Mention the size of the disk which you want.
Then press done. The disk will be created.
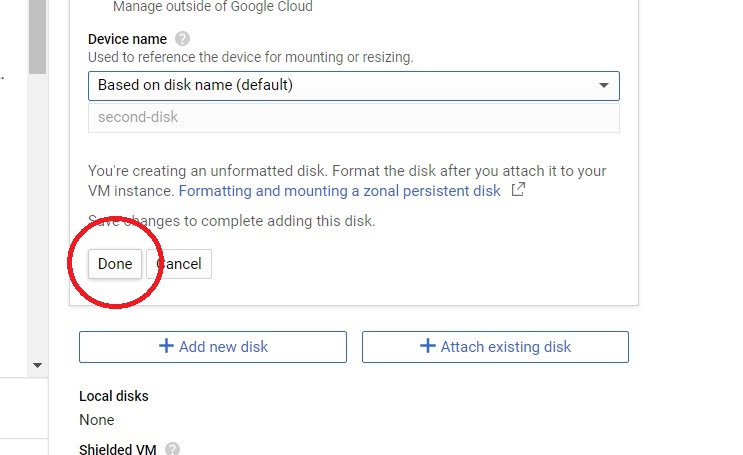
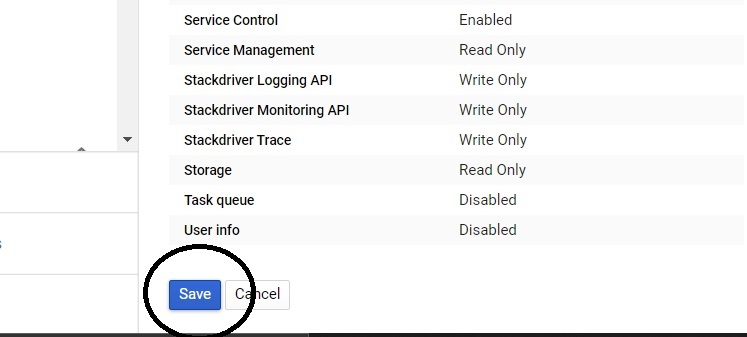
Then press save button. Then only it will be saved in our instance.
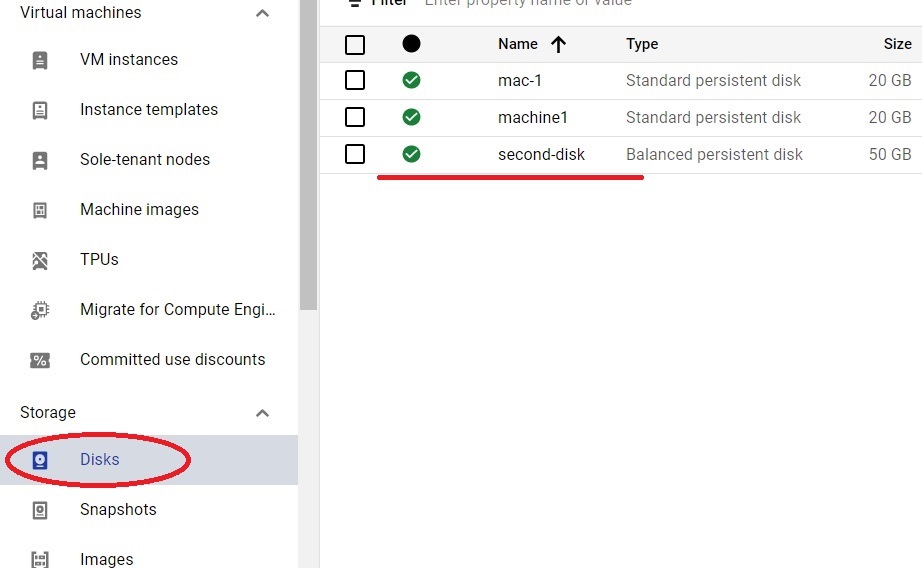
Click on disks. It will list the disks which you have created/used.
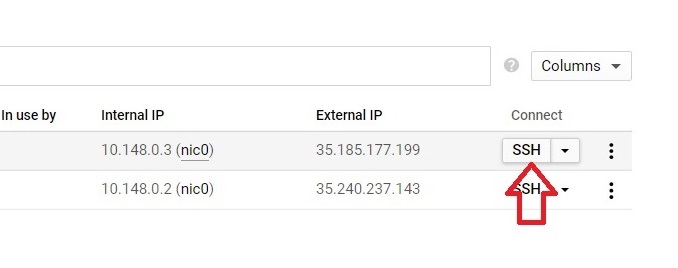
Click VM instances. Click on SSH in the corresponding machine which you added the disk.
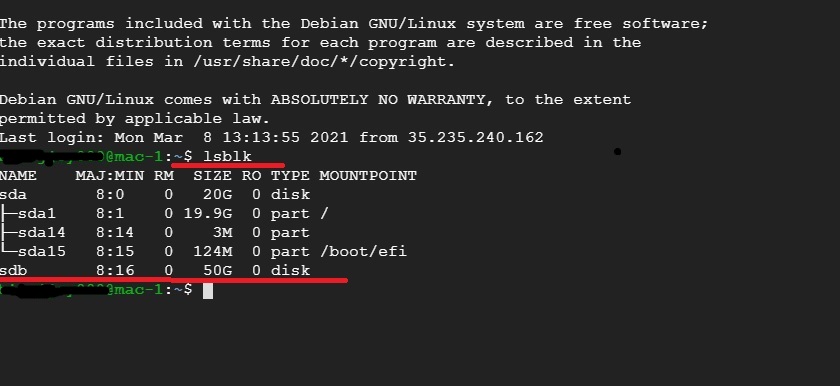
Type $ lsblk.
press Enter. Check whether the created disk is listed or not.
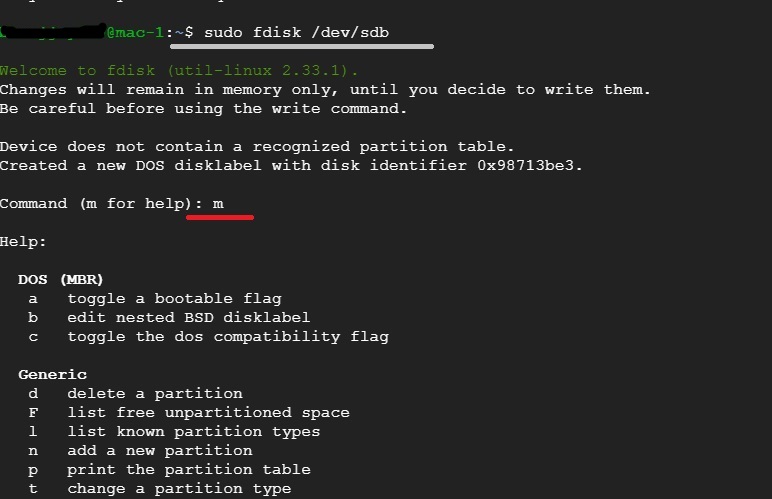
Type $ sudo fdisk /dev/sdb.
Type m. It will lists the commands which is available.
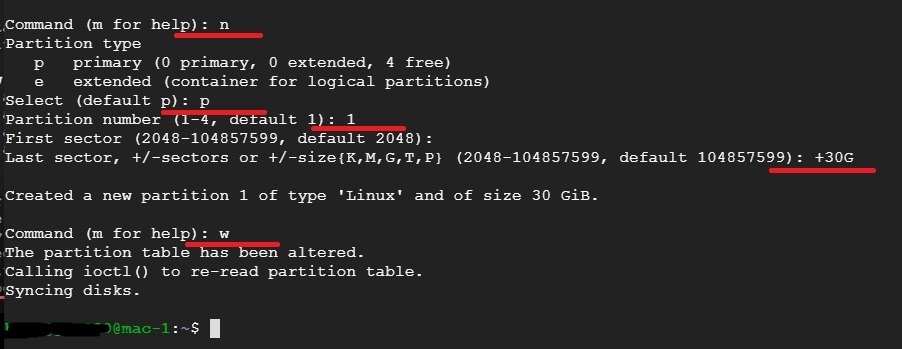
Type n to create new partition.
P for primary partition. You can specify the partition number from 1-4.
Type the size and press enter. This is for getting how much space you need for this instance from the created disk.
Press w to write the alteration.
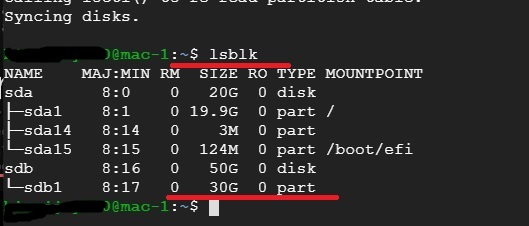
Type lsblk. It will show the partitioned disk with the specified size.
Type sudo mkdir /dev/<Disk_Name>. It will make the directory for the disk.

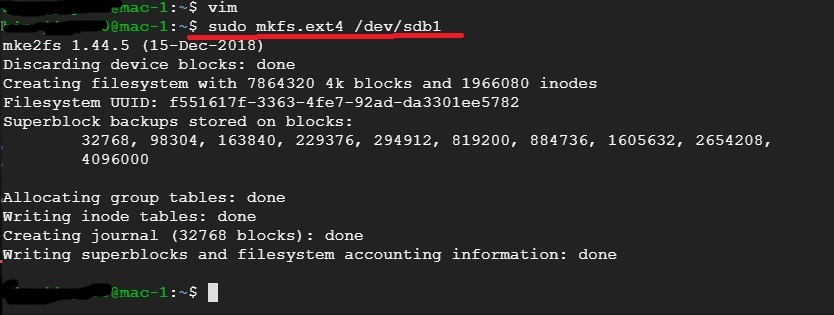
Type sudo mkfs.ext4 /dev/sdb1. It will create a new file system in the format of ext4.
Type sudo partprobe. It will inform the system that the directory has been changed.
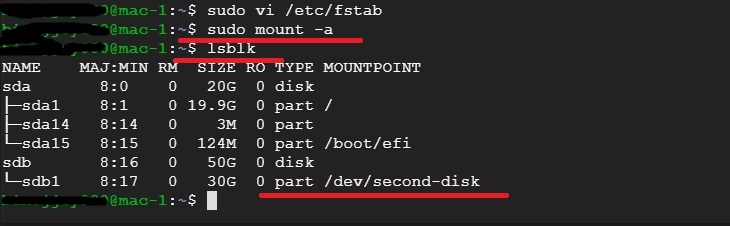
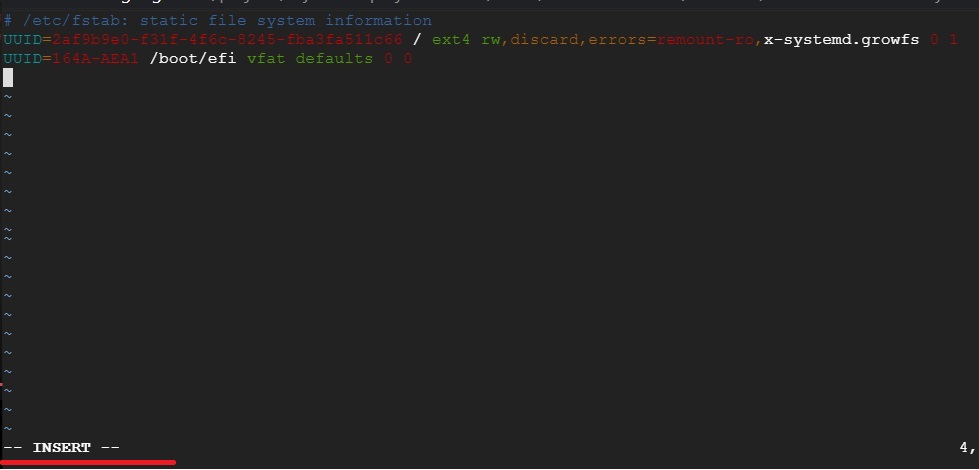
Type sudo vi /etc/fstab. And press enter. It will open up a file.

Type i or press insert in the keyboard. Then only we can edit the file.
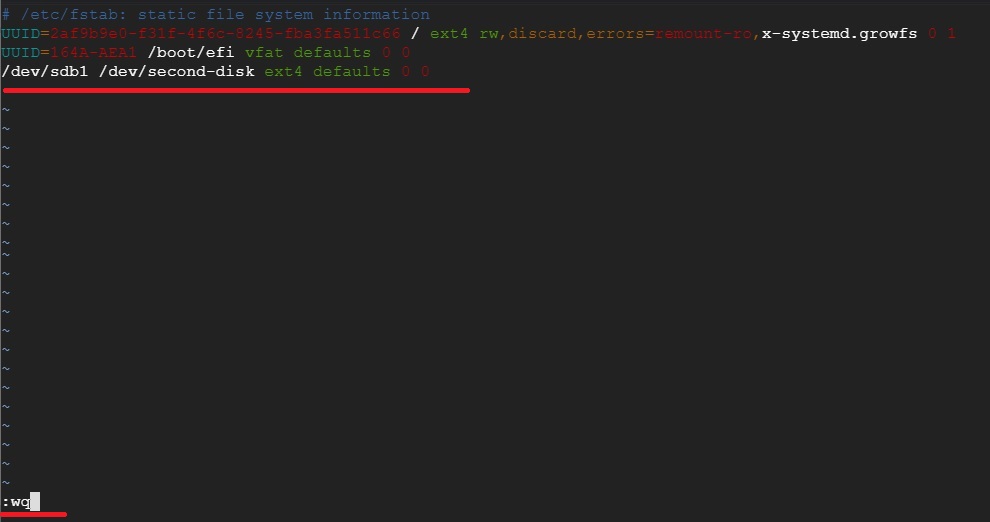
Type /dev/sdb1 /dev/<Disk_Name> ext4 defaults 0 0.
Now press “esc” + “:” (shift + 😉 then type “wq” and enter. It will exit from the file.
Type sudo mount –a. It will mount the disk.
Type lsblk will show the disks and the created disk will show the Mountpoint location.