Creation of Bucket
Creating a Cloud Storage Bucket
A bucket is the top level container everything in Cloud Storage lives inside, the same role a top level folder plays on a hard drive, except a bucket also carries its own location, storage class, and access settings that apply to everything stored in it. A few of the choices made while creating one are effectively permanent, so it is worth understanding what each setting actually does before clicking through it.
This walks through every step of creating a bucket in the console, including the two decisions, location and storage class, that decide most of what you end up paying for it.
Step One: Open Cloud Storage
Open the console, then the menu, then Cloud Storage.
Click on menu > Cloud Storage.
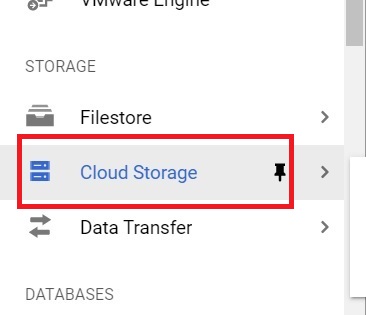
Step Two: Create a Bucket
Click Create Bucket.
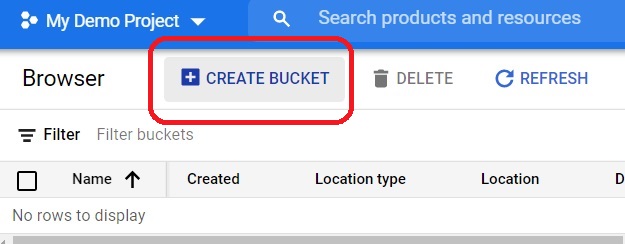
Step Three: Name the Bucket
Give the bucket a name, then click Continue. Bucket names have to be unique across the whole of Google Cloud, not just your own project, so a short, generic name is often already taken by someone else entirely. Including your project name or a random string in the bucket name usually resolves this.
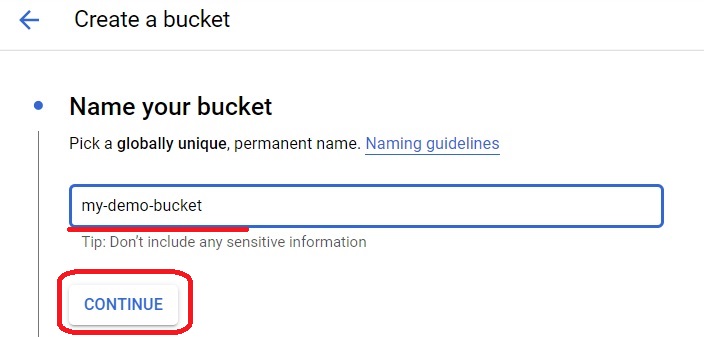
Step Four: Choose a Location Type
Click Continue after selecting a location type.
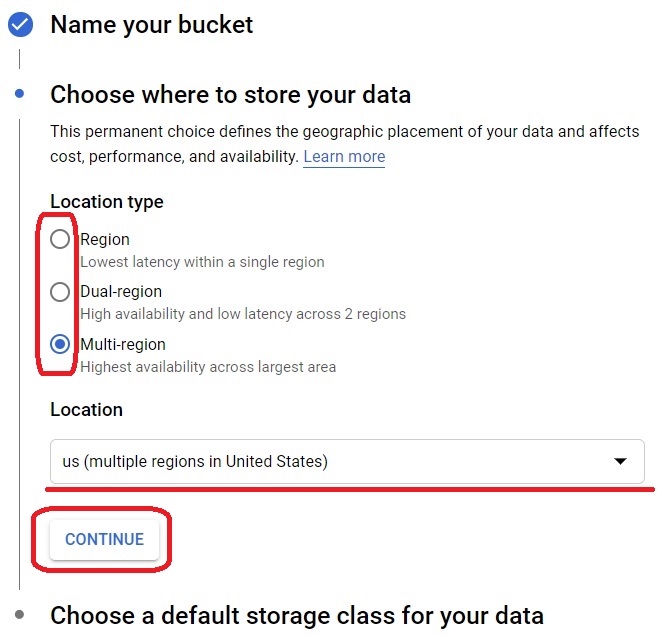
- Region, a single specific location, the cheapest option and the best choice when your data only needs to be close to one set of users or one set of compute resources.
- Dual region, two specific regions, giving you redundancy across both at a higher cost than a single region.
- Multi region, a large geographic area such as the United States, giving the broadest redundancy and generally the highest cost of the three.
Step Five: Understanding the Cost Note
The live console shows a brief note here that each storage class has its own cost. Here is what that actually means in numbers.
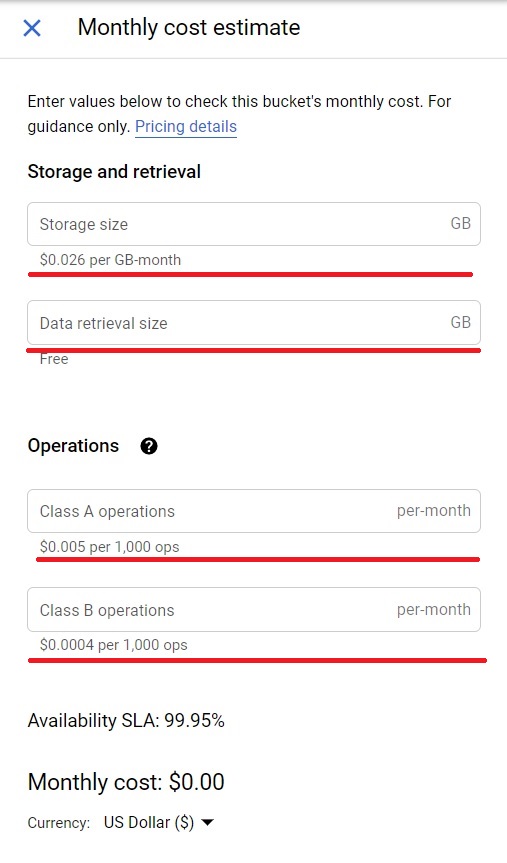
What Each Storage Class Actually Costs
| Class | Storage Cost | Minimum Storage | Best For |
|---|---|---|---|
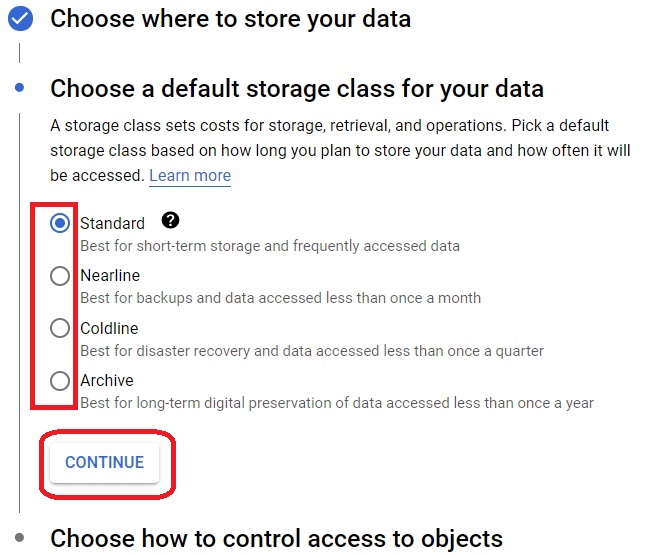
| Standard | About $0.020 per GB monthly | None | Data accessed regularly |
| Nearline | About $0.010 per GB monthly | 30 days | Data accessed about once a month |
| Coldline | About $0.004 per GB monthly | 90 days | Data accessed about once a quarter |
| Archive | About $0.0012 per GB monthly | 365 days | Data accessed less than once a year |
Storage gets cheaper as you move down this list, but retrieving data from a colder class costs more, and each colder class charges you for the full minimum storage duration even if you delete the data earlier. Prices vary by region and change over time, so treat these as a starting point for comparing classes against each other, not an exact quote for your bucket.
Step Six: Choose a Storage Class
Choose the class that fits how often this data will actually be accessed, then click Continue.
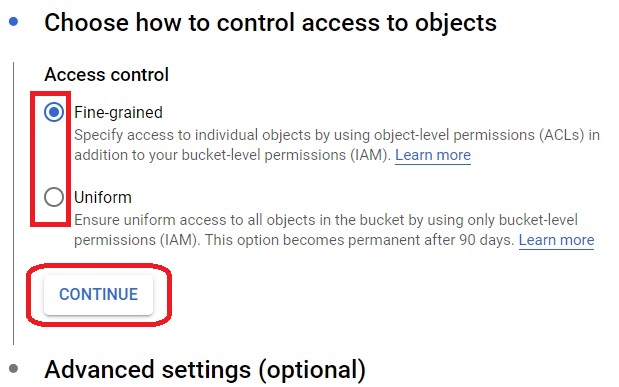
Step Seven: Select Access Control
Choose between Fine Grained and Uniform access control, then click Continue. Uniform is the current default and generally the recommended option, but it is worth knowing that once Uniform has been active on a bucket for 90 consecutive days, it cannot be switched back to Fine Grained. The Cloud Storage Bucket Permissions guide in this series covers the difference in more depth.
Step Eight: Choose Encryption and Create the Bucket
Choose the encryption type you need, then click Create.
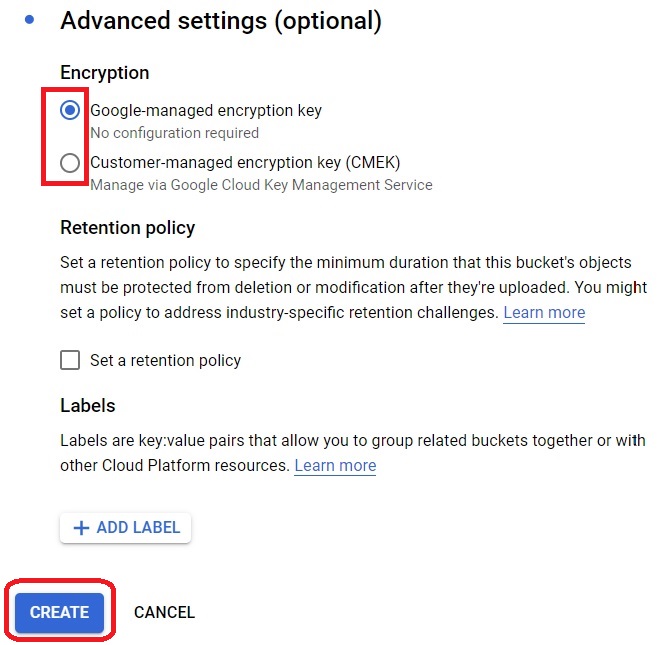
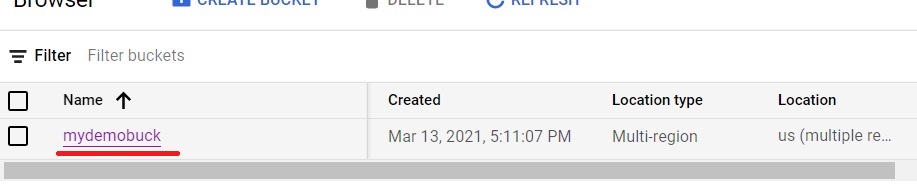
The bucket will be created.
Common Mistakes to Avoid
- Assuming a short, simple bucket name will be available. Names are unique across all of Google Cloud, so a generic name is often already taken.
- Choosing Coldline or Archive for data you actually need to access often. The storage rate looks appealing until retrieval fees and the minimum storage duration are added in.
- Picking Multi region by default without needing that level of redundancy. It costs more than a single Region, and most projects do not need the broadest option available.
- Choosing Uniform access control without knowing about the 90 day one way switch. Decide deliberately rather than by default if you might need Fine Grained access again later.
That covers creating a Cloud Storage bucket and what its location and storage class settings actually cost. To go further, explore Prwatech’s Google Cloud training program, which includes placement assistance.






