Working with composer using airflow
Cloud Composer and Airflow Integration
Cloud Composer is Google Cloud’s managed version of Apache Airflow, used for authoring, scheduling, and monitoring workflows made up of individual tasks called a DAG, short for directed acyclic graph. This walks through deploying a sample DAG, one that creates a Dataproc cluster, runs a Hadoop job on it, then tears the cluster down again, and watching it execute.
Prerequisites
- A Google Cloud Platform account
- An existing Cloud Composer environment. Build it on Composer 3 rather than Composer 1, for the reasons above.
Complete Process of Cloud Composer and Airflow Integration
Step One: Create a Storage Bucket
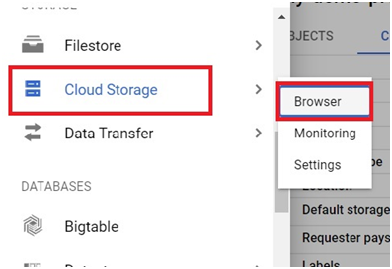
Open the console menu and go to Cloud Storage, then Browser.
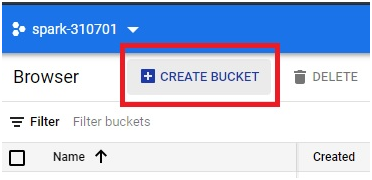
Click on Create Bucket
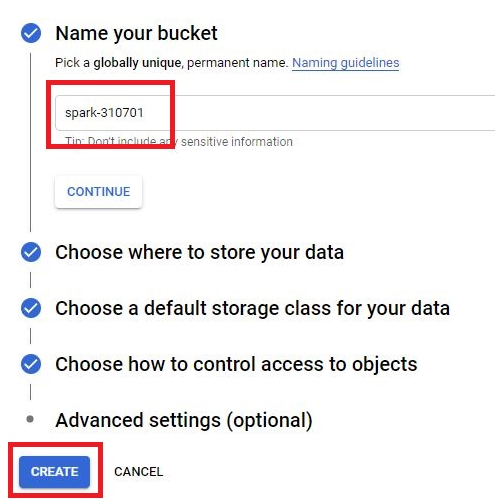
Name the bucket the same as your project ID, then click Create.
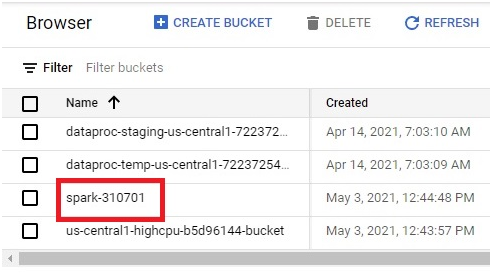
The bucket will be created.
Step Two: Open the Airflow Web Interface
From your Composer environment, click Airflow to open its web interface.
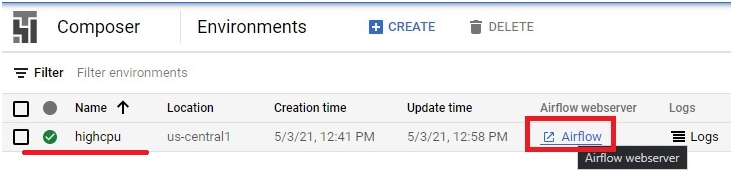
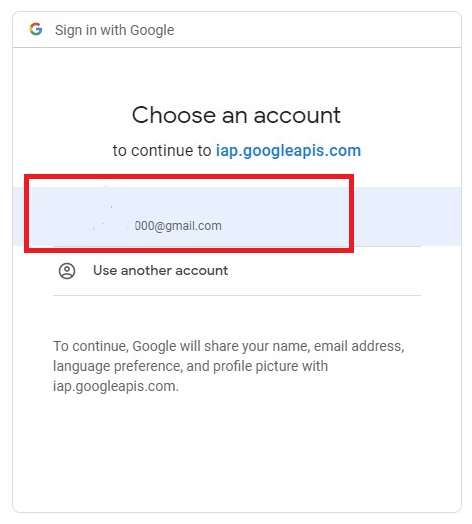
Choose your login when prompted.
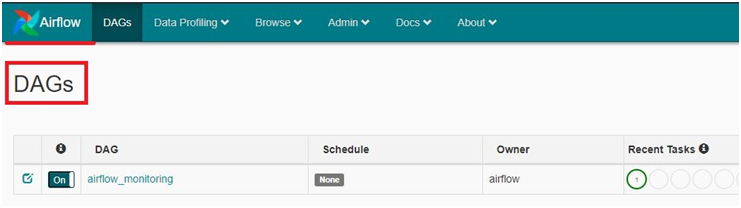
The Airflow DAGs view opens.
Step Three: About the Underlying Cluster
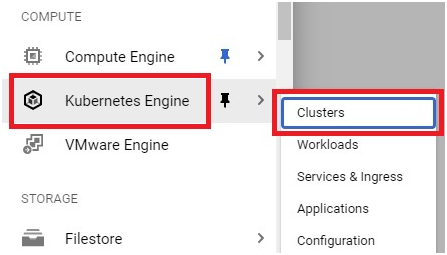
On Composer 1, opening the Kubernetes Engine section of the console menu and going to Clusters shows the GKE cluster Composer created for you behind the scenes. This is the step that does not carry over cleanly to Composer 3, since Composer 3 deliberately hides this infrastructure rather than exposing it in your project’s Kubernetes Engine list. If you are on Composer 1 or an older Composer 2 environment, you can still follow this step as shown.
The cluster has been created.
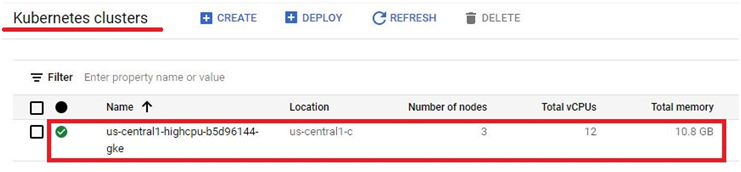
Step Four: Set Airflow Variables
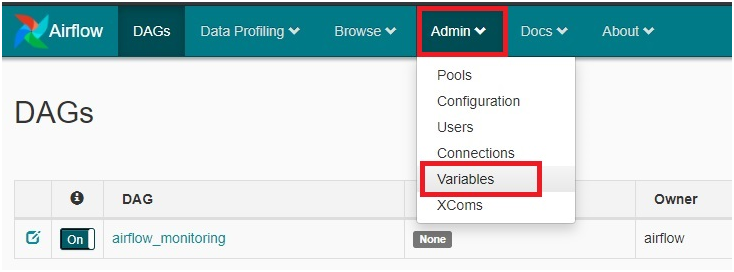
In Airflow, go to Admin, then Variables.
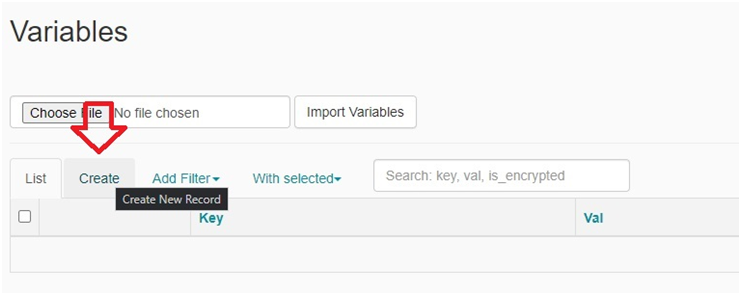
Click on Create.
Key Val
gcp_project <your-project-id>
gcs_bucket gs://<your-bucket-name>
gce_zone <the zone of your cluster>
Do these one by one in Key and Val. And press Save and Add Another
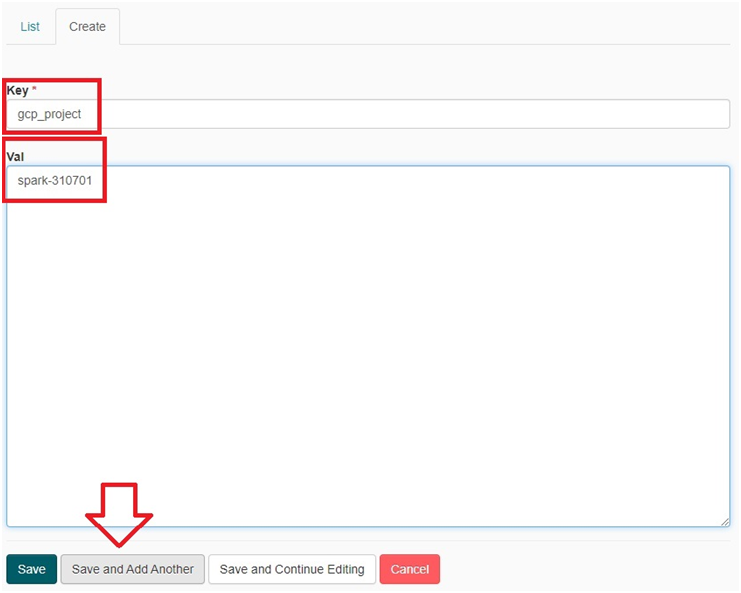
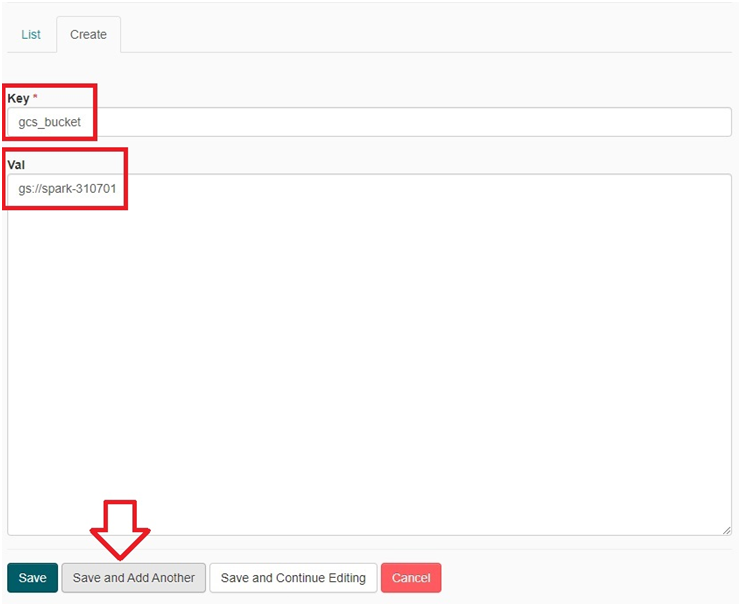
On the last one, click Save instead.
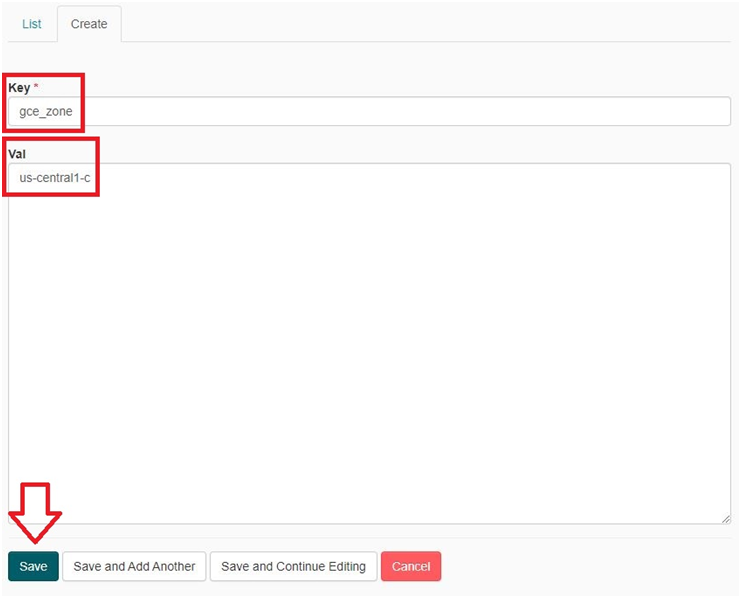
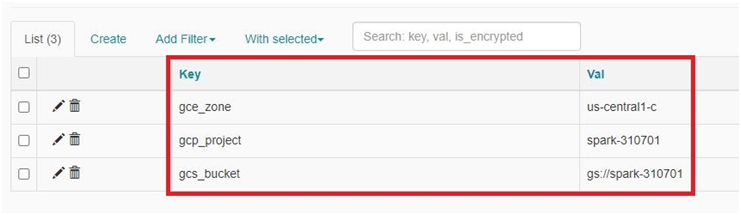
The key and Value will be added.
Step Five: Copy the Sample DAG Into Your Environment
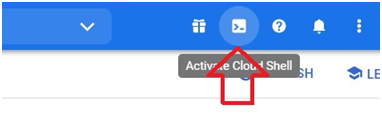
Open your Composer environment and click the DAGs folder link.
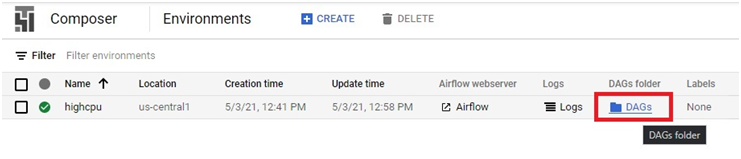
Copy the folder’s path.
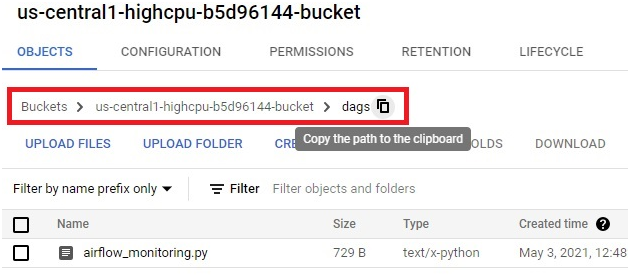
Open Cloud Shell.
Run the following, pasting your copied DAG path in place of the placeholder, then press enter:
$ gsutil cp gs://cloud-training/datawarehousing/lab_assets/hadoop_tutorial.py gs://<paste the DAG path>
This copies the sample DAG file into your cluster’s bucket.

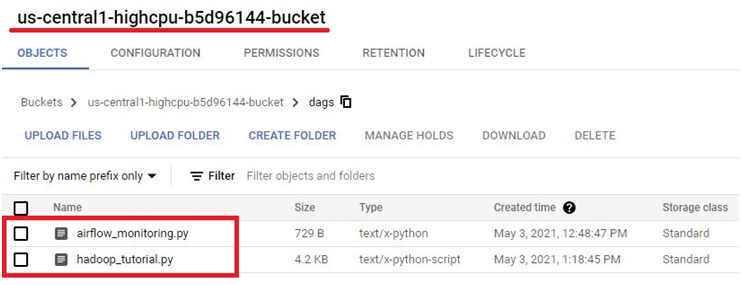
Step Six: Explore the DAG
In Airflow, click the DAG.

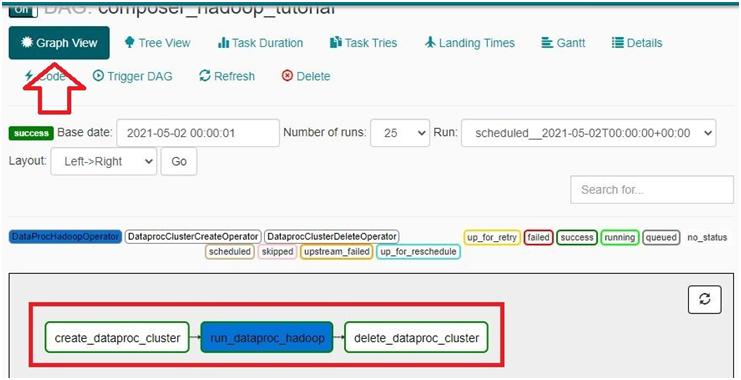
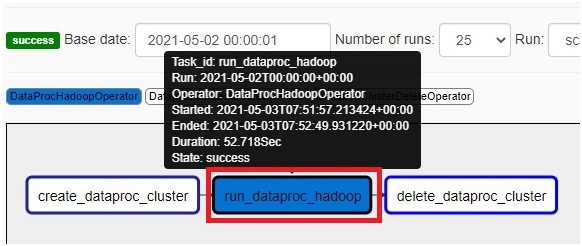
Hover the curser to each one. You can see the details.
Click any one of it.
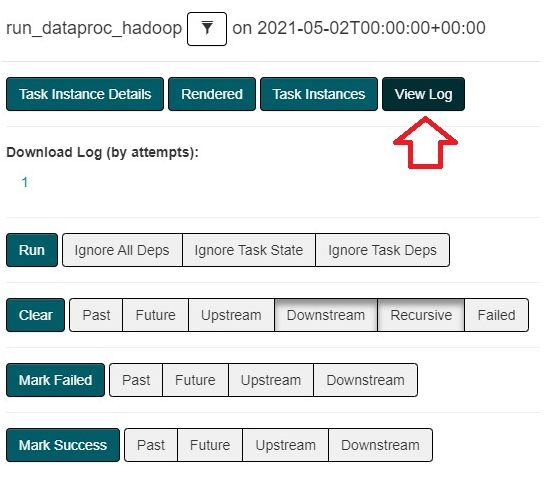
Press View Log.
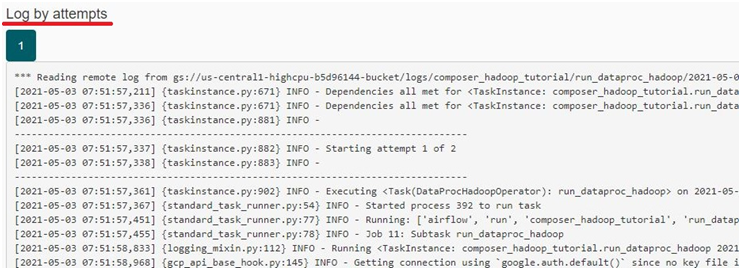
You can see the log for the Execution.
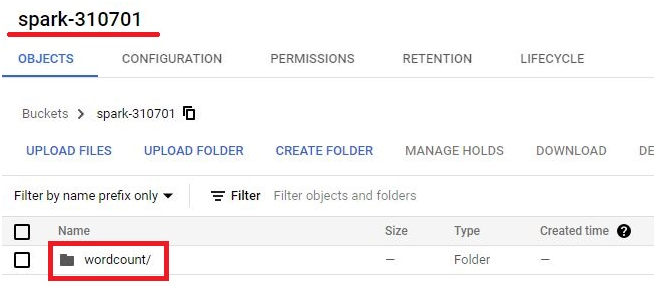
Step Seven: Check the Bucket
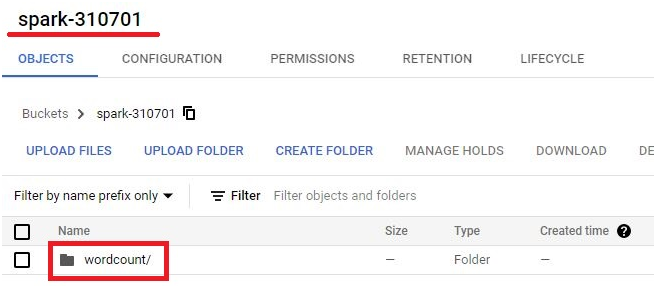
Open the bucket you created earlier.
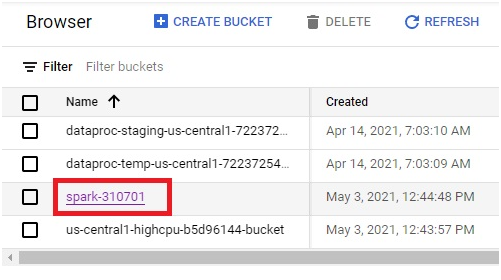
The file has been saved there.
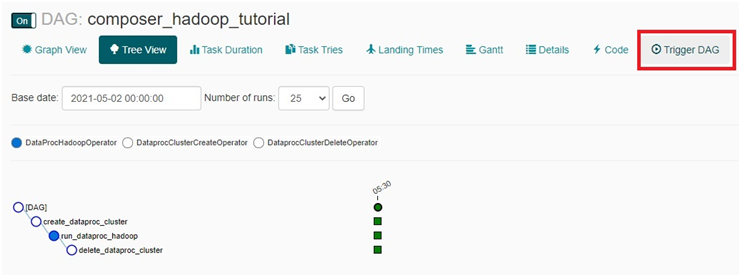
Step Eight: Trigger the DAG
If the DAG has not run yet, open Airflow and find composer_hadoop_tutorial, then click Trigger DAG.
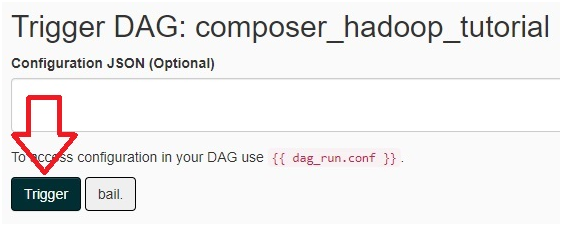
Trigger
Step Nine: Watch It Run
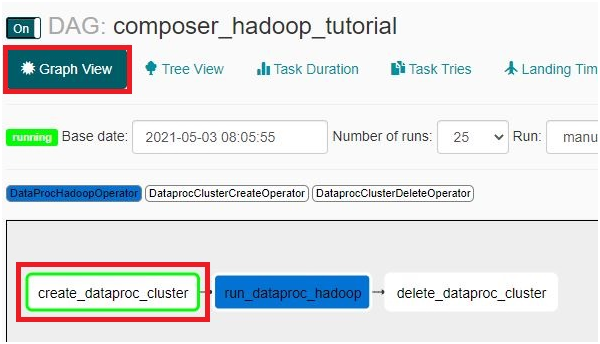
In the graph view, colors show each task’s current state as the DAG executes.

Its runnning create_dataproc_cluster.
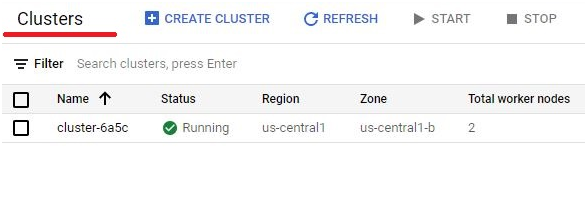
Open Menu > Dataproc > Clusters
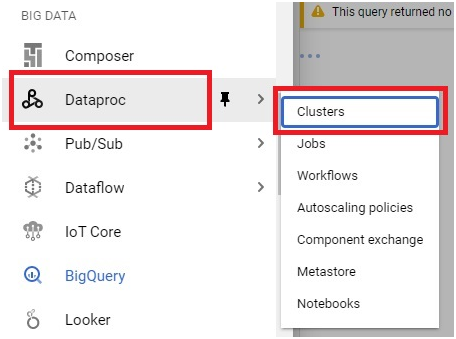
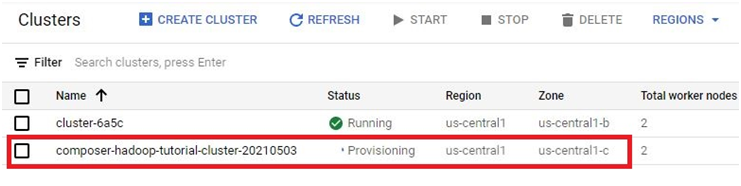
cluster created.
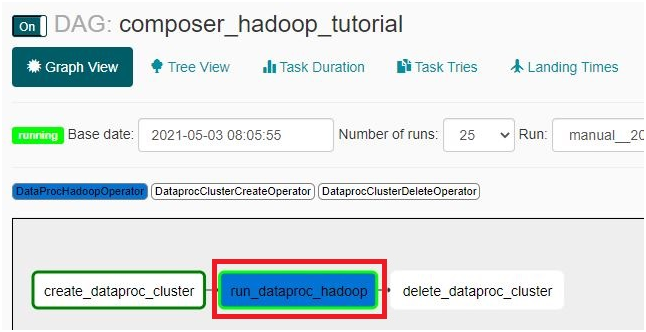
Now the green border is on run_dataproc_hadoop. It is executing the content
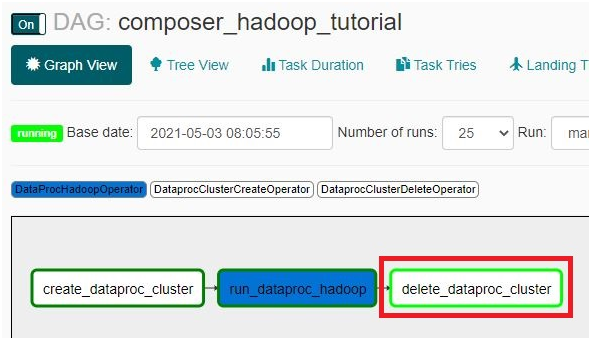
Then it changes to delete_dataproc_cluster. It will delete the cluster.
Check the cluster in dataproc. deleted.
Step Ten: Review the Job Output
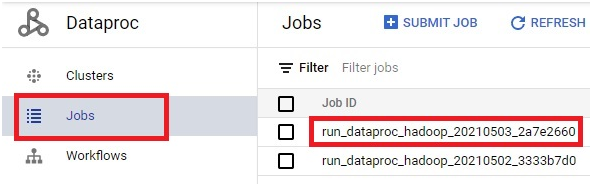
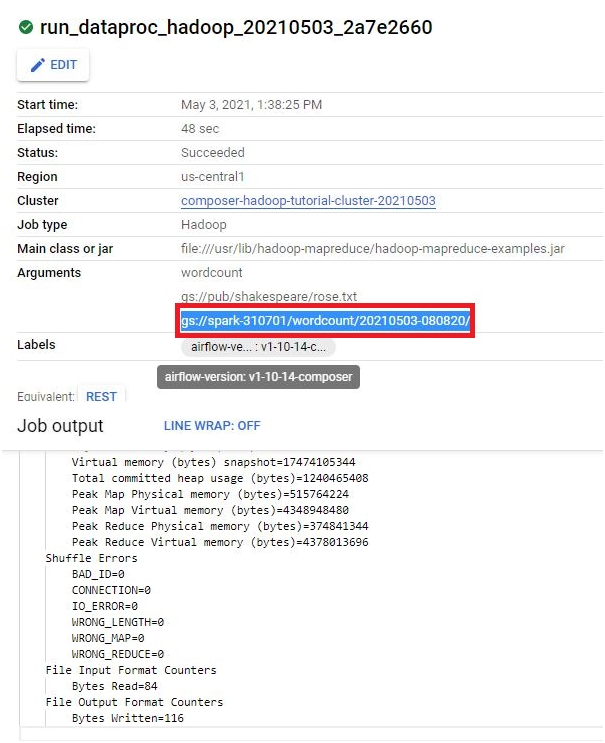
In Dataproc, open Jobs, then open the job that ran.
Step Eleven: Review the DAG’s Code
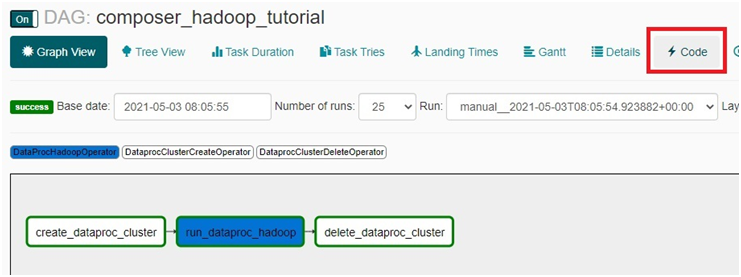
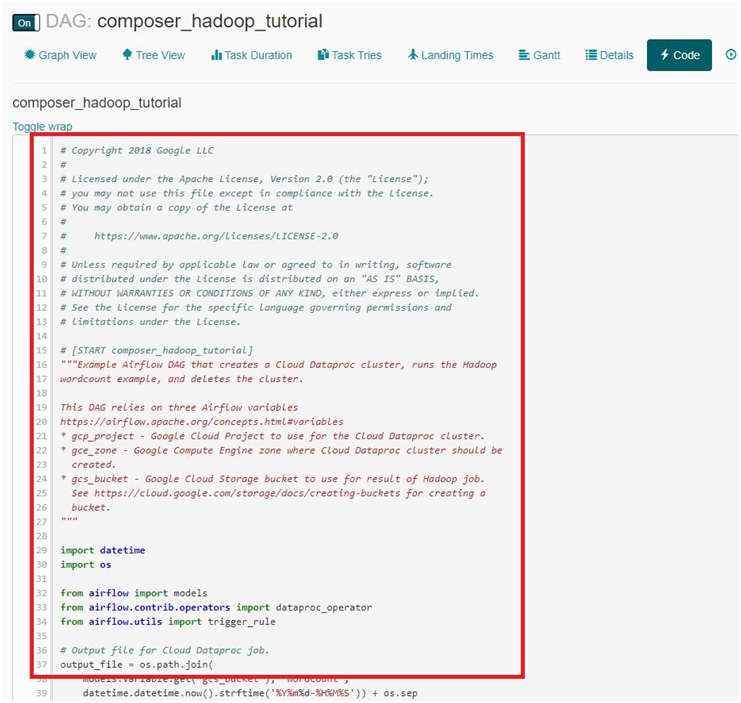
Back in Airflow, click Code to see the DAG definition that produced this whole run.
Step Twelve: Clean Up
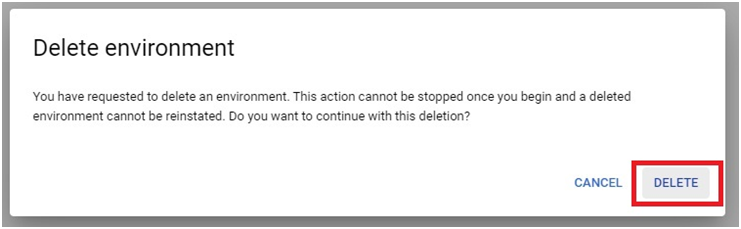
To avoid ongoing charges, delete the Composer environment once you are finished. Click Delete.

Confirm by pressing Delete again.
What Changes on Cloud Composer 3
- Hidden infrastructure. The GKE cluster backing your environment is not exposed in your project’s Kubernetes Engine list the way it was on Composer 1, so Step Three above will not show you anything there.
- Simplified networking. Composer 3 reduces the number of networking options you need to configure directly when creating an environment.
- Evergreen versioning. Infrastructure updates and security patches are applied automatically, rather than requiring a manual environment upgrade.
The Airflow concepts, DAGs, tasks, variables, and triggering, work the same way regardless of which Composer version sits underneath them, since Airflow itself has not changed, only how Google manages the infrastructure running it.
Common Mistakes to Avoid
- Building a new environment on Composer 1 today. It is past or approaching its end of life, so any new work should start on Composer 3 instead.
- Expecting to find your environment’s cluster in the Kubernetes Engine console on Composer 3. Look at the Composer environment details instead, since the cluster itself is intentionally not shown there anymore.
Mistyping a variable name. The sample DAG expects the exact variable names gcp_project, gcs_bucket, and gce_zone. A typo in any of them will cause the DAG to fail when it tries to read a variable that does not exist.
That covers deploying, triggering, and monitoring an Airflow DAG in Cloud Composer. To go further, explore Prwatech’s Google Cloud training program, which includes placement assistance.






