Prerequisites
Hardware requirements:
Local machine
RAM 8 GB or above
software requirements:
VMware Workstation: https://prwatech.in/blog/software-installation/vmware-workstation-installation/
Ubuntu 10.x or above: https://prwatech.in/blog/software-installation/vmware-workstation-installation/
Programming language: Linux
Learn Linux: https://prwatech.in/blog/linux/linux-architecture/
1.Open the ubuntu vm in VMware Workstation
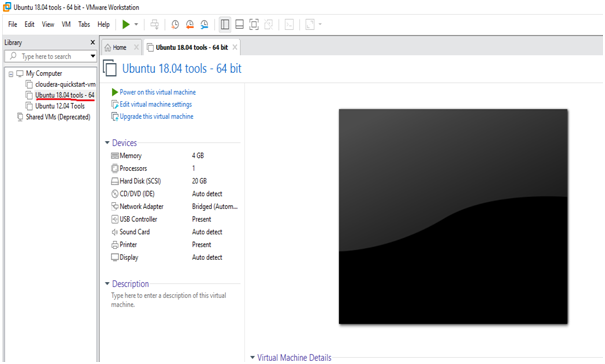
2. Power on the virtual machine

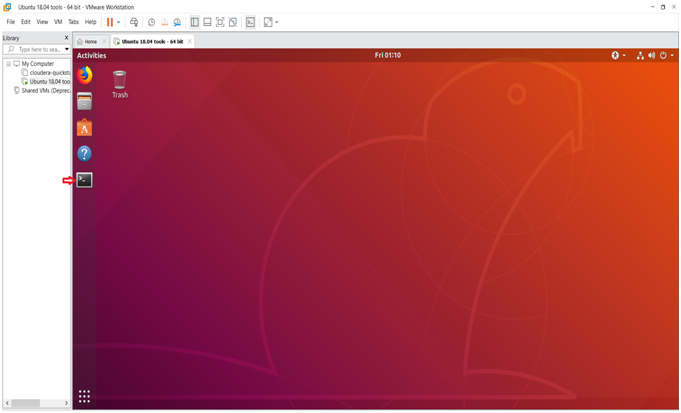
3.Open the Terminal
4.Update the repository
command: sudo apt-get update
password is password

5.Install java
Command: sudo apt-get install openjdk-8-jdk

6.check the java version whether it is installed or not

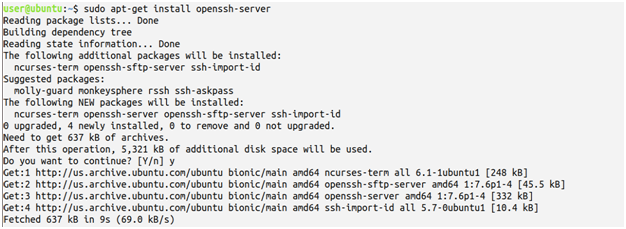
7.Install openssh-server
Command: sudo apt-get install openssh-server

Type 'y' if asked and password is the password
8. Download and extract hadoop: http://prwatech.in/online-softwares/
9. Now go to the directory where the hadoop is downloaded and extract the hadoop folder in the terminal by using command : tar -xvf hadoop- 1.2.0.tar.gz
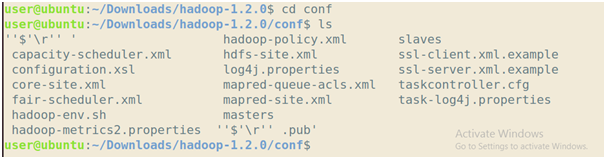
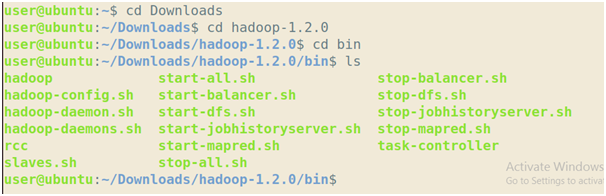
10. Get into hadoop-1.2.0 directory

11. Go to conf directory and type ls
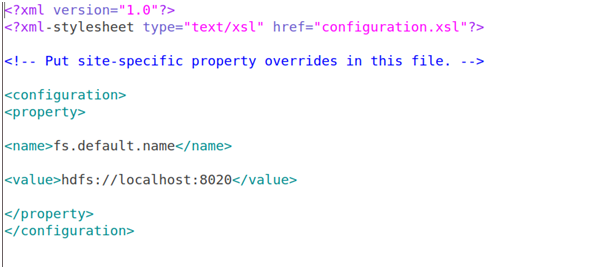
12. Edit core-site.xml
Command: sudo gedit core-site.xml

Now add the below lines:
<property>
<name>fs.default.name</name>
<value>hdfs://localhost:8020</value>
</property>
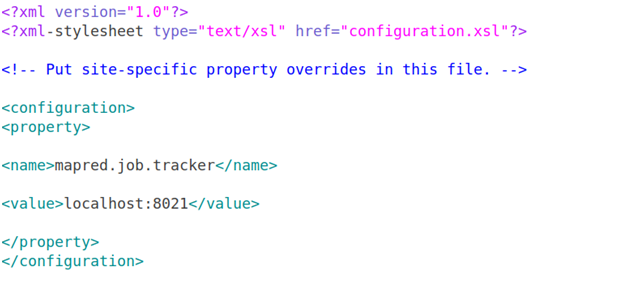
13. Edit mapred-site.xml
Command: sudo gedit mapred-site.xml

Add the below lines:
<property>
<name>mapred.job.tracker</name>
<value>localhost:8021</value>
</property>
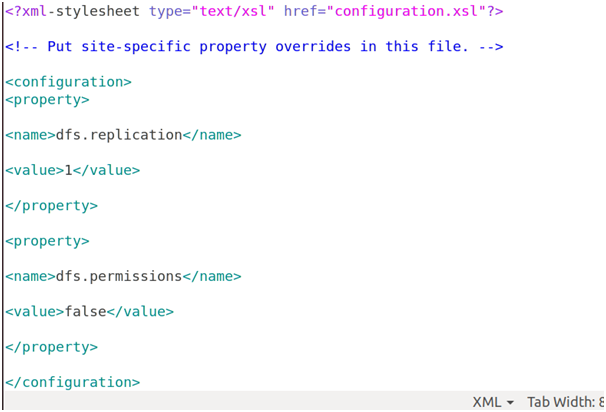
14. Edit hdfs-site.xml
Command: sudo gedit hdfs-site.xml

Add the below lines:
<property>
<name>dfs.replication</name>
<value>1</value>
</property>
<property>
<name>dfs.permissions</name>
<value>false</value>
</property>
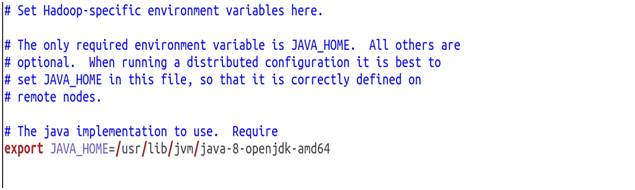
15. Add java home path in hadoop-env.sh file
Command: gedit hadoop-env.sh

Uncomment the below shown export and add the below the path to your JAVA_HOME:
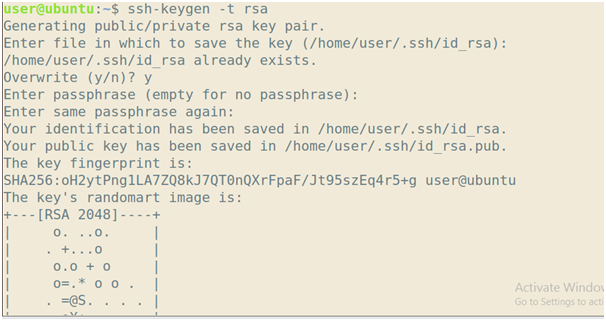
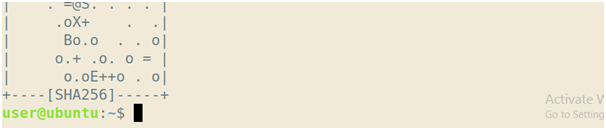
16. Create a ssh key
Command: ssh-keygen -t rsa
17. Moving the key to authorized key
Command: cat $HOME /.ssh /id_rsa.pub>>$HOME/ .ssh/ authorized_keys

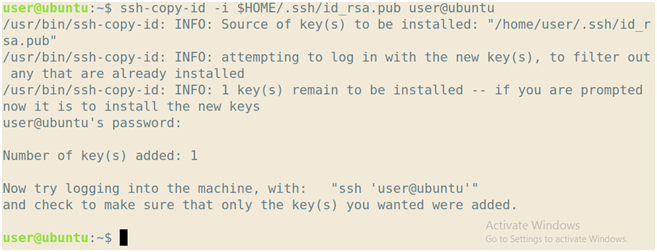
18. Copy the key to other hosts
Command: ssh-copy-id -i $HOME/.ssh/id_rsa.pub user@hostname
19. Get into your bin directory.
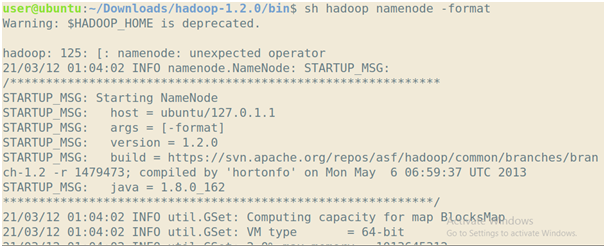
20. Format the name node
Command: sh hadoop namenode –format
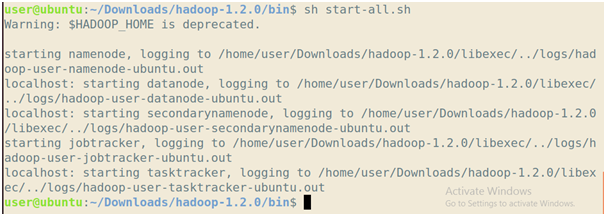
21. Start the nodes
Command: sh start-all.sh
22. To check hadoop started correctly type 'jps' command
Command: jps
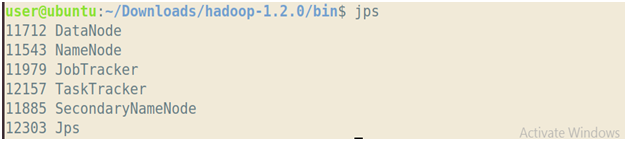
Note- if you get the above output by typing jps command then you have successfully installed hadoop 1.2.0

